
Whew. Okay, I’ve recovered from my final design appointment about our house, and I’m finally ready to post about it!
I’ll share a couple of finish choices (because really, isn’t that the fun stuff??), but first, I have to share about how my obsessive self found a mistake that put our plans in a bit of a tailspin. Ryan and I have been hemming and hawing about these decisions for a long time, trying to weigh out the benefits v. the costs, and pretty much decided to put most of our money in the kitchen. (No surprise there!) Since we were spending the money, we really pushed the builder and cabinet people to make a few things work for us, one of those being the fridge and microwave wall. Here’s the rendering of what it will look like, from the cabinet vendor:
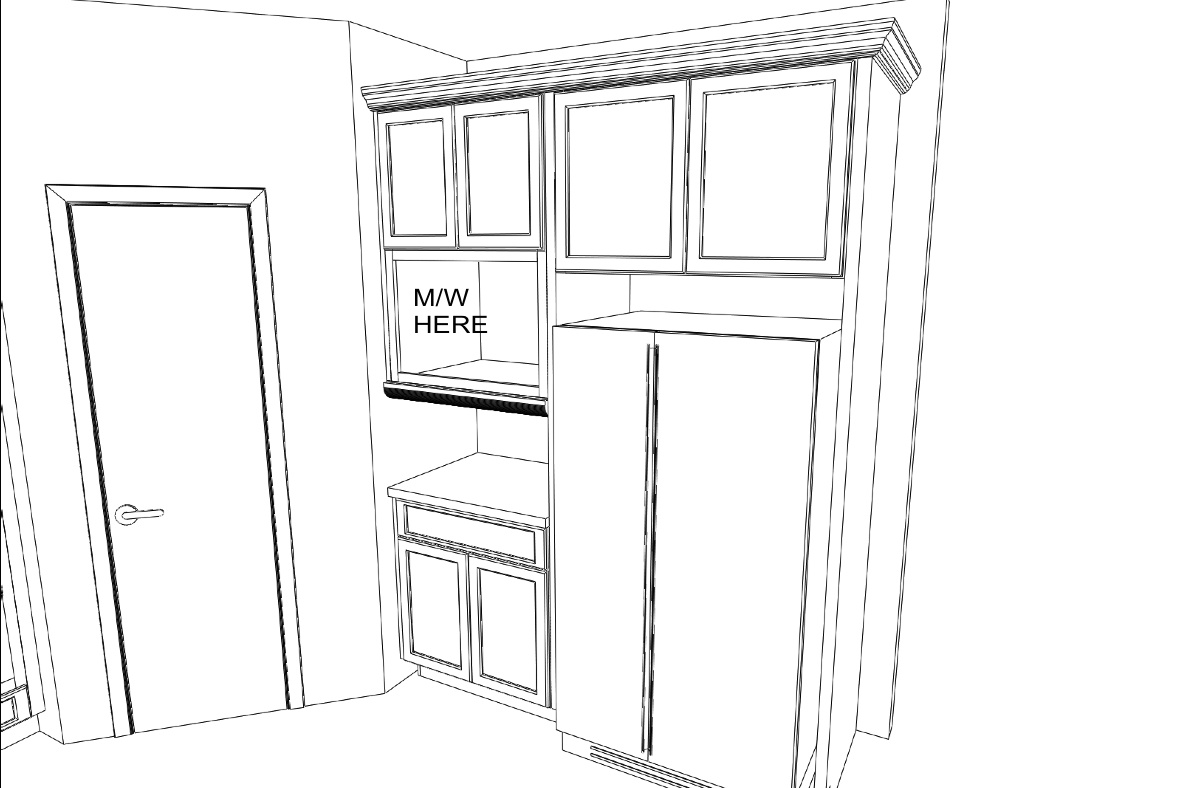
We had a ton of issues because they’d never added the built-in microwave in that spot before, which caused all the other cabinetry to bump out and get rearranged. We wanted an appliance garage underneath the microwave (to be efficient with that random countertop), but their vendor didn’t offer one that would fit that exact space. I did my crazy OCD research and found one online, and have been working with the cabinet guy and designer to ensure that we’re set up to be able to add it ourselves after market. All seemed to be going well, and right before our final design appointment we got confirmation from the appliance garage company that we’d be good to go. Yay! Then, remember how Cricket and I went to see that last house the night before our appointment? My crazy self took one look at that particular house’s refrigerator wall and thought, “No way that our microwave and appliance garage are going to fit there!”
With a bad hunch bothering me, I measured the cabinet next to the fridge (because, yes, I brought a measuring tape with me, duh), and it’s only 18″. Our microwave and garage require a 30″ cabinet space. Oops. I freaked out a bit, but the next day at our final design appointment, I mentioned it to the designer. She assured me that it would be fine. Surely the architects and cabinet vendor know what they’re doing. I was ready just to hand over my unease in return for their expertise, but after we finished up everything and had signed off, the designer looked worried. “Let me just run over to the architects’ office and double check that kitchen issue for you.” Fifteen minutes later, she returned with an architect in tow.
“It’s a mistake.”
Of course the architect blames the cabinet guy and vice versa, but regardless of where the measurement got lost in translation, the kitchen wall was off by 10″ in the cabinet guy’s plans, meaning that the setup we had agreed on wouldn’t actually fit the real space. Ack! So much for being done-done! The designer asked for a couple days to talk to the head architect to see what they could figure out, which was fine with me. And, even though it was a hassle, I’m glad I’m a crazy person who thought to measure out the space for myself; this issue would’ve been way worse to discover once the house was drywalled and the cabinets were ordered, right??
Anyways, a few days later they decided to just adjust the framing, adding 10″ to our mudroom and moving over the door 10″, subsequently giving us enough space to do what we have been planning this whole time. Yay! All’s well that ends well. Who would’ve imagined that 10 little inches could cause such commotion?? ;)
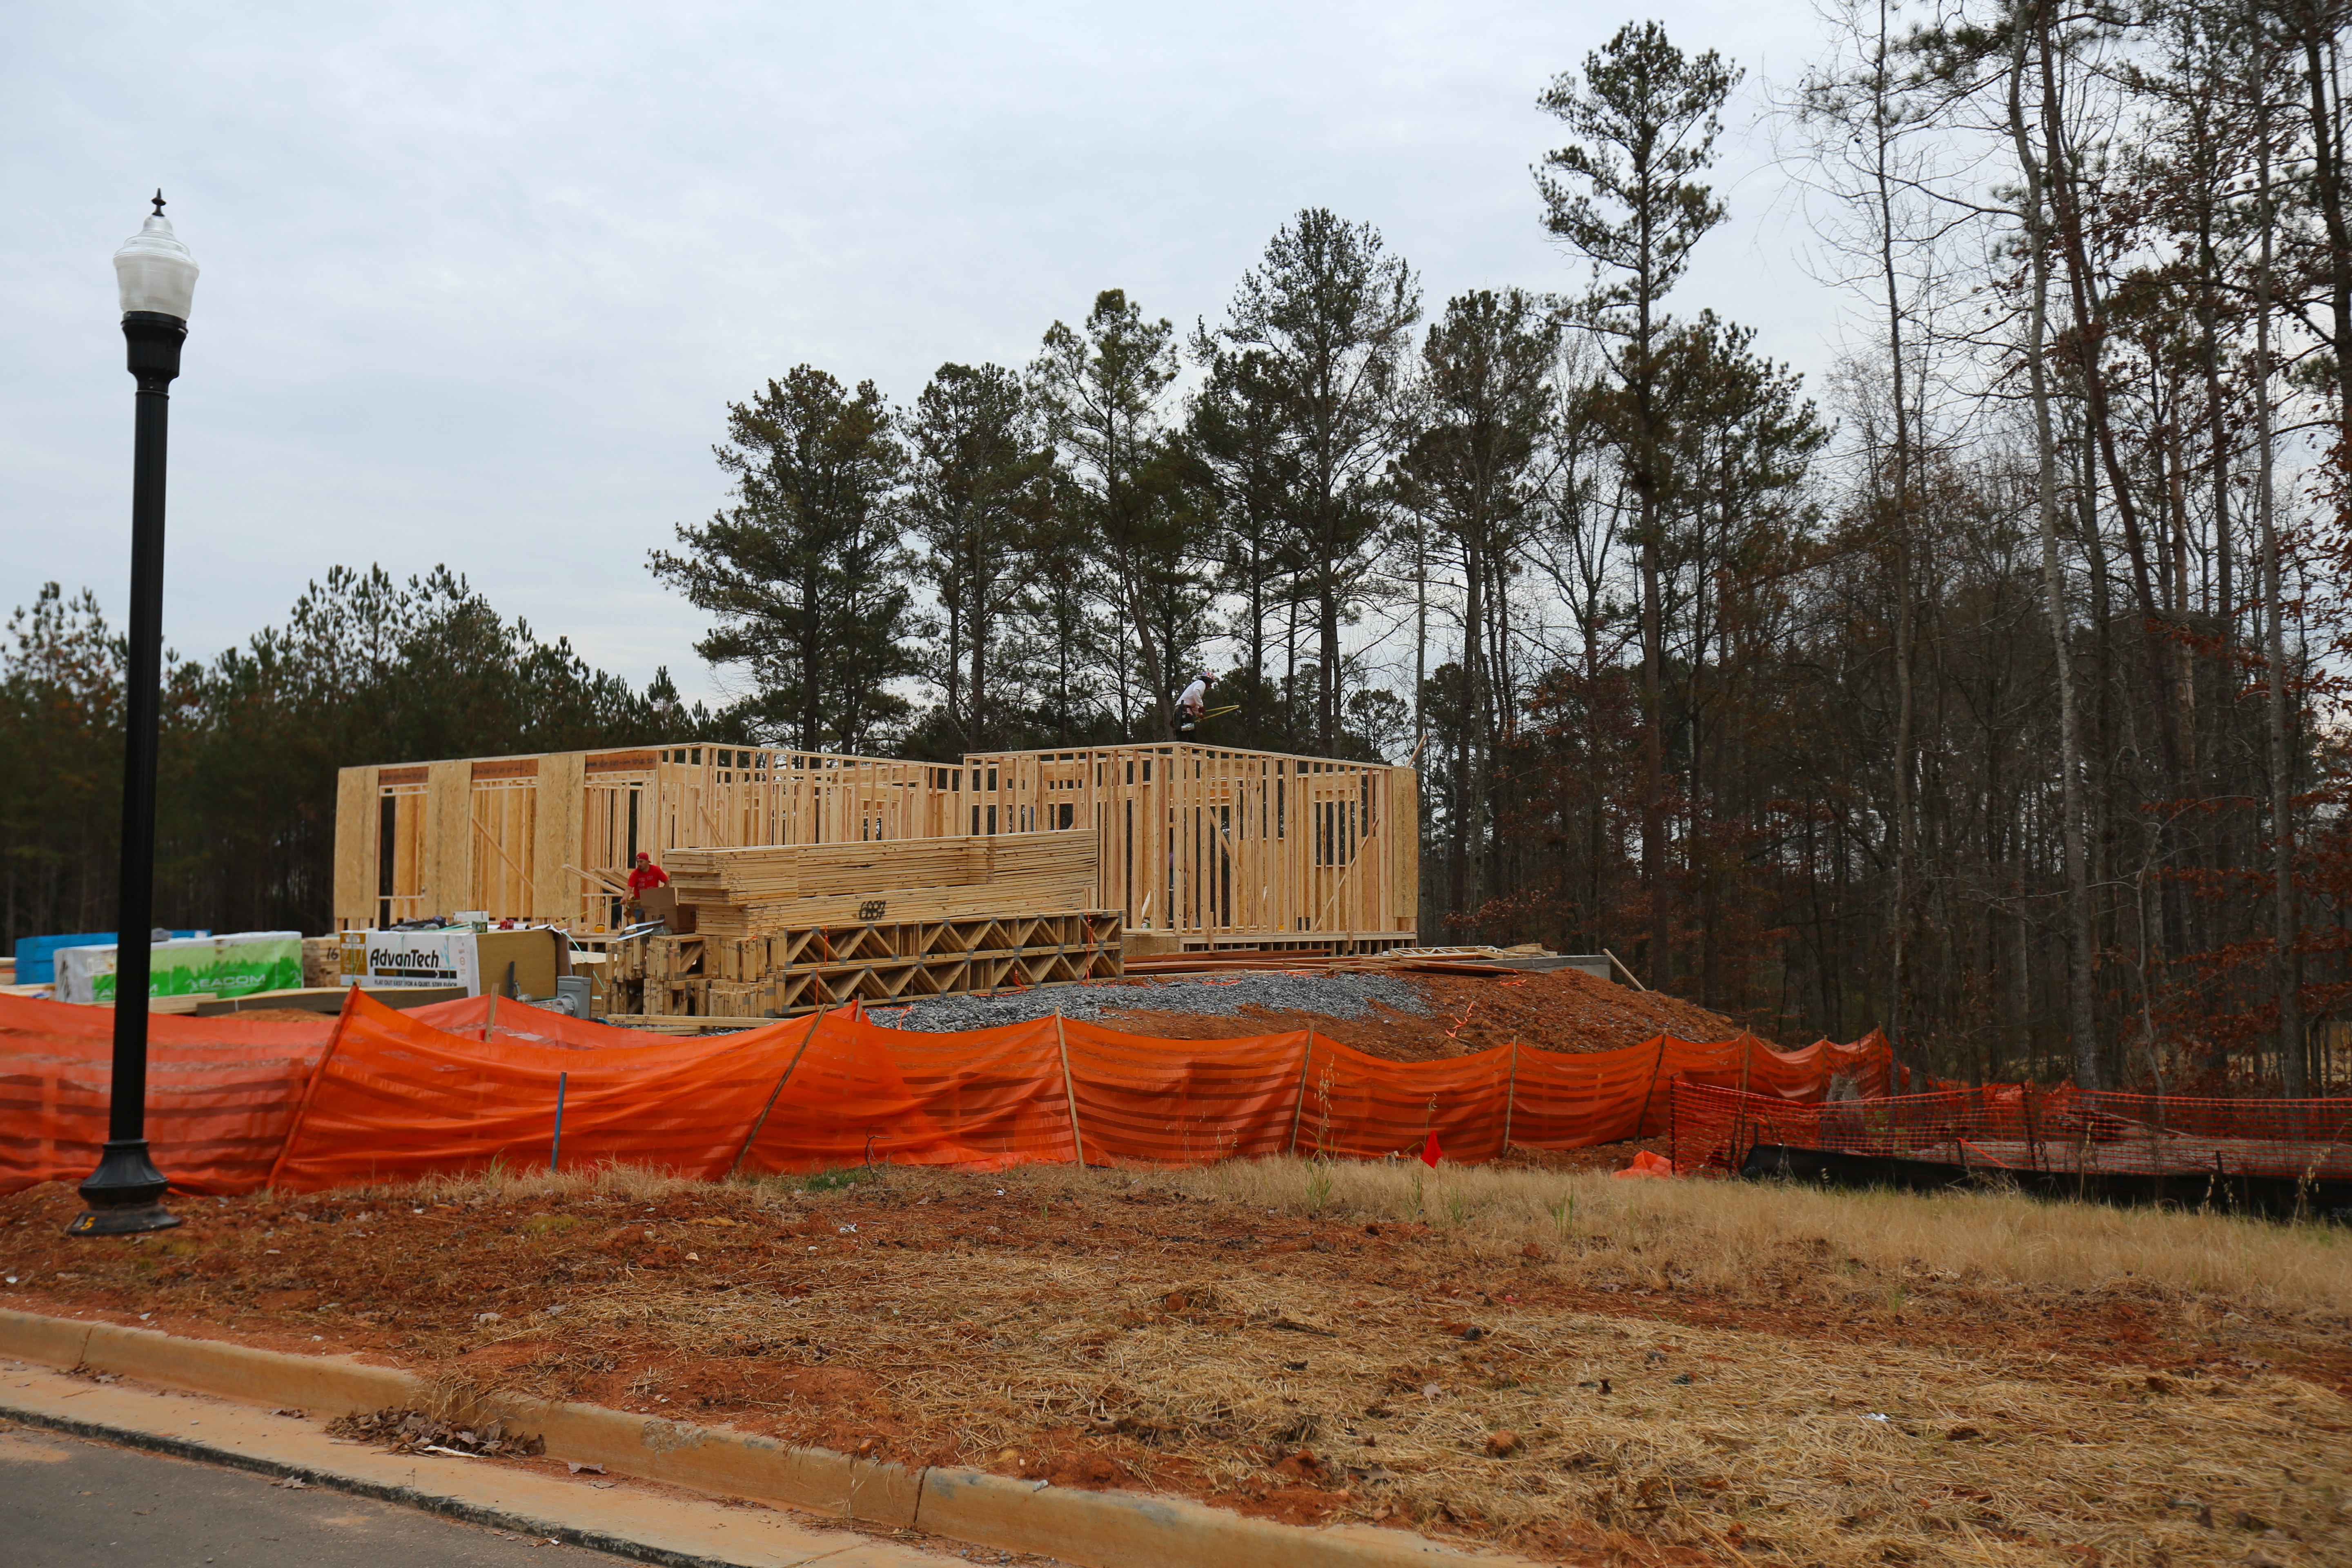
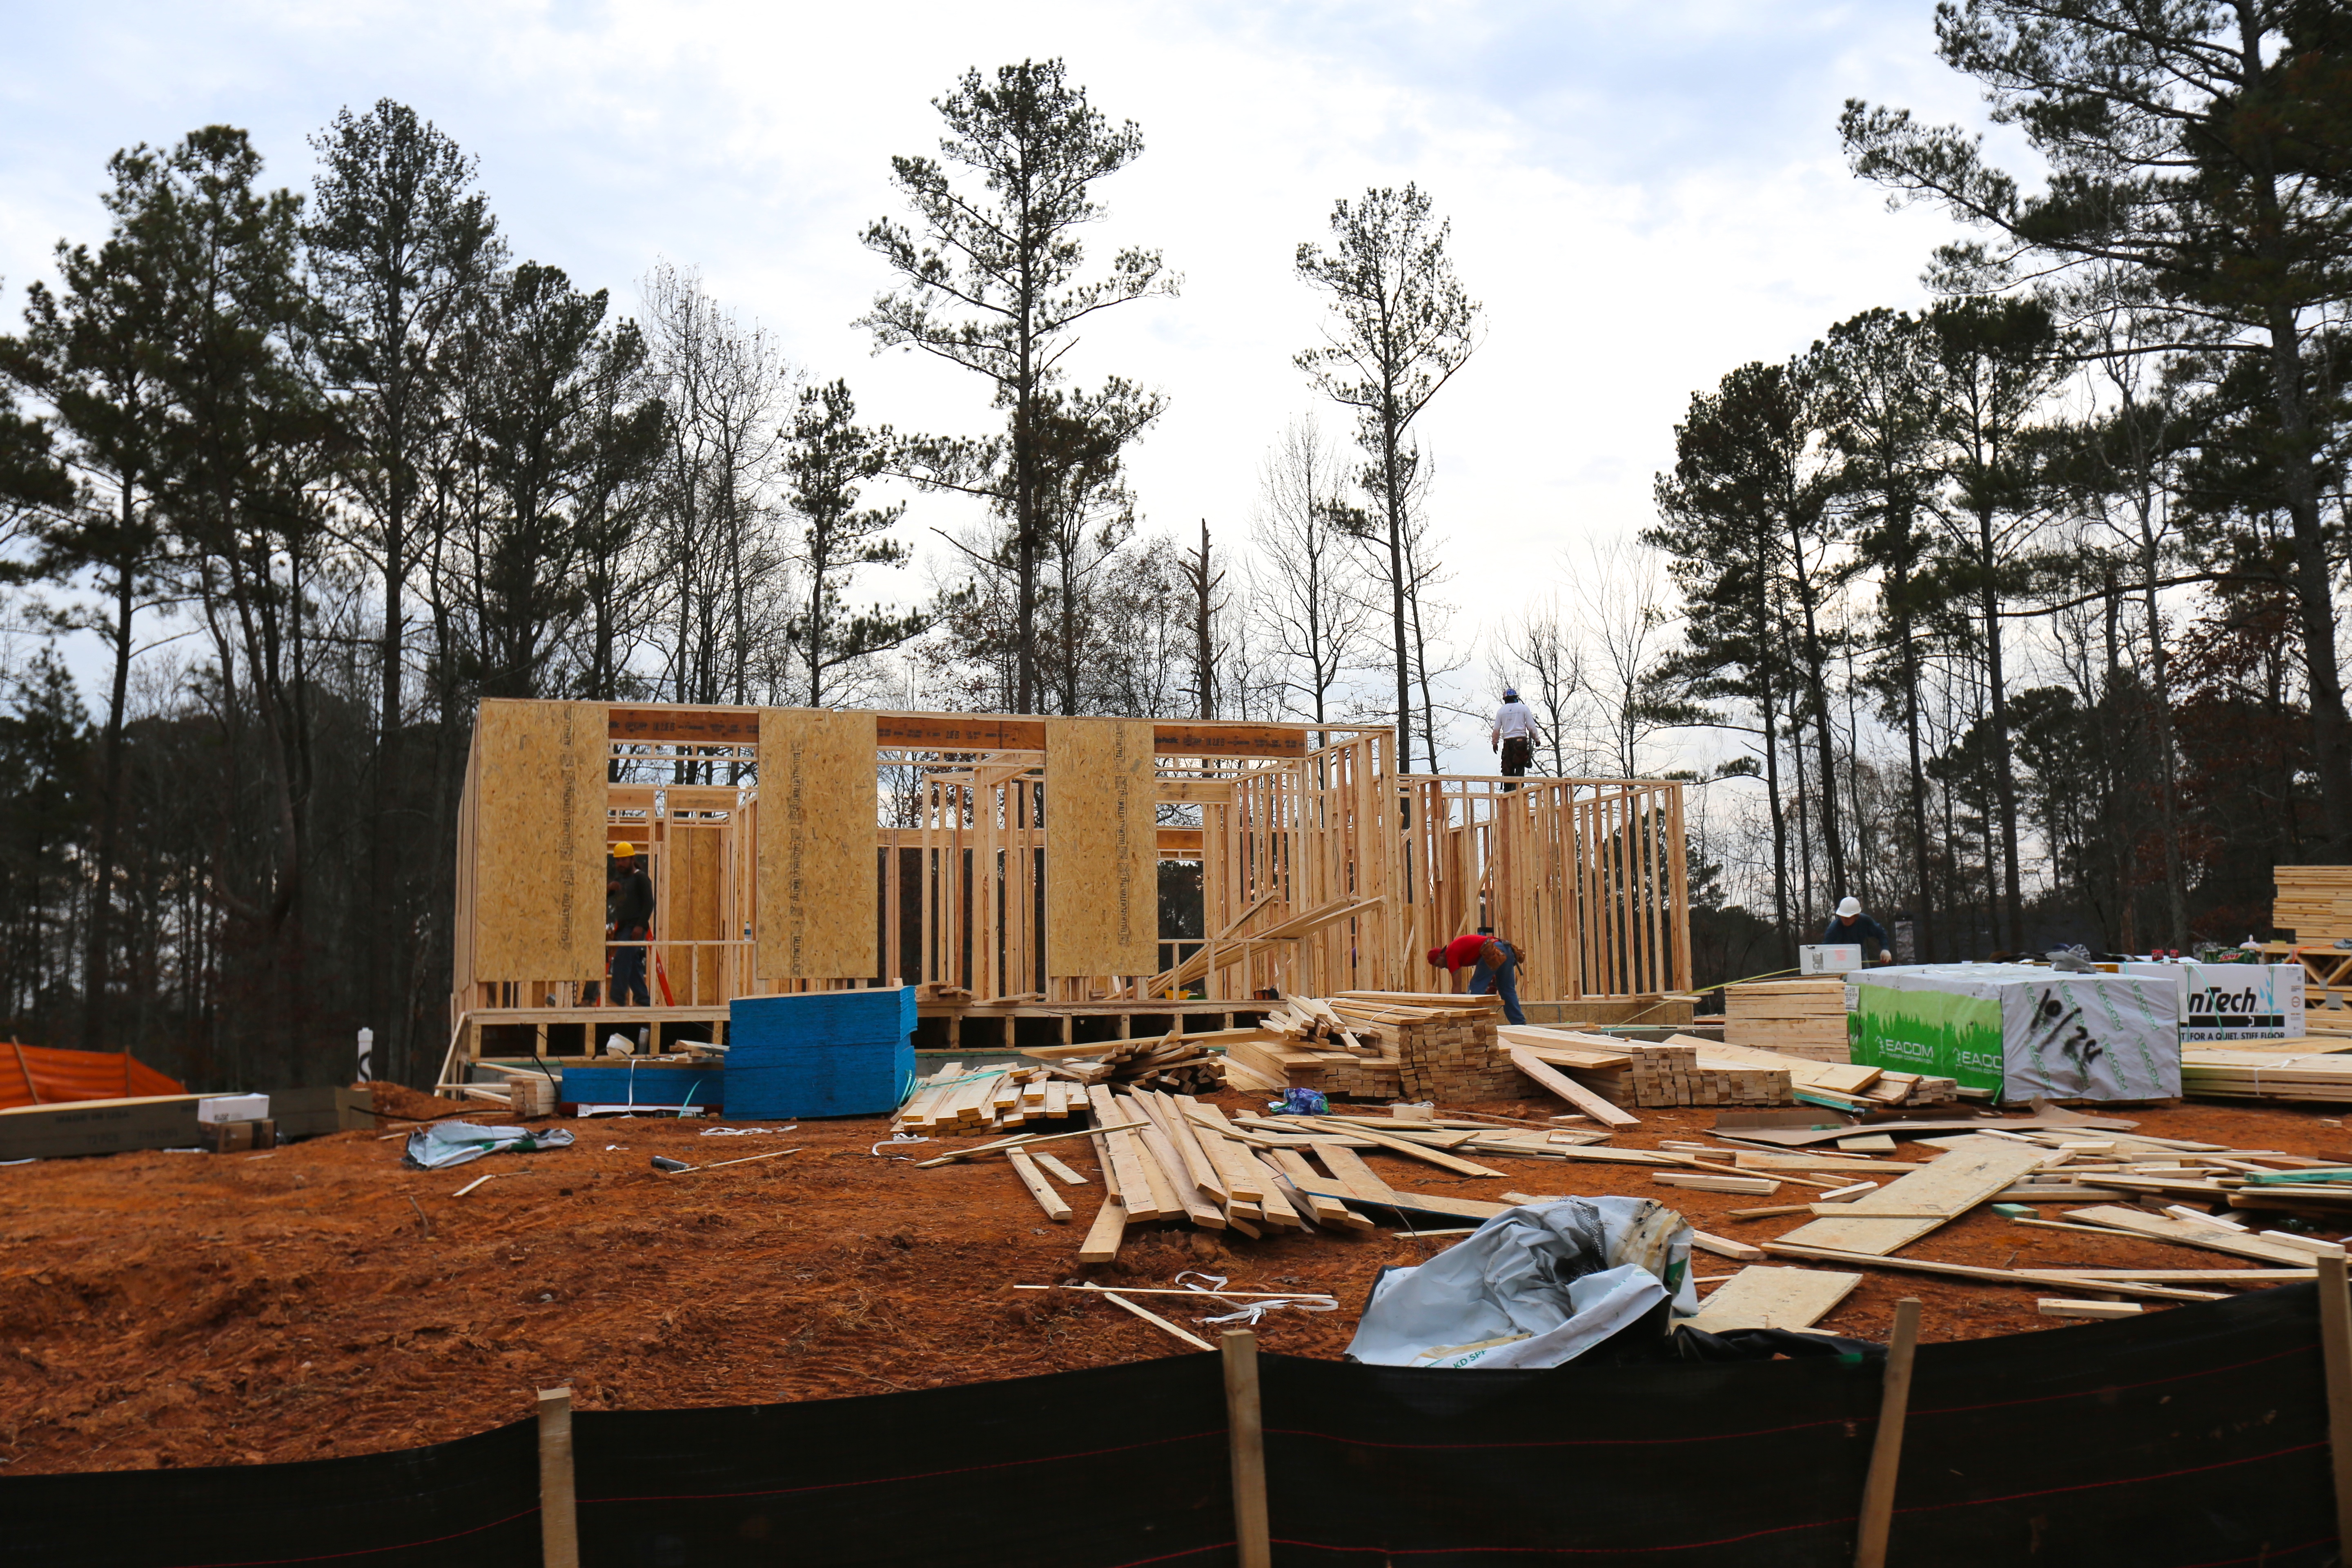
Right after we resolved that issue, the framing began. Ryan and I have been driving by every single day to watch the progress, which is happening so fast! Now that our house is actually taking shape and the major decisions are made, we’re pretty much cruising. We have to sign off on our kitchen cabinet color still (the sample is in the works) and pick out our lighting, but things are winding down on our side — and gearing up on the builder’s side. Here are a few pictures of the framing progress:
Okay, as promised, here’s some of our choices. You’ll have to use your imagination just a little bit, but what fun would it be not to? ;)
For our exterior, we went with 100% brick. It’ll be painted a greige from Sherwin-Williams called Pavestone with a beige-y trim called City Loft; we’re leaving the porch unpainted dark red brick with white grout. Our chimney is cedar shake, and against Ryan’s opinion I told them to stain it an espresso instead of painting it to match the house. Please let me be right or I’ll never hear the end of it. We’ve got a black roof, black shutters and a double door with a lot of windows. My dogs are going to be barking like crazy all. day. long. Lord help me!
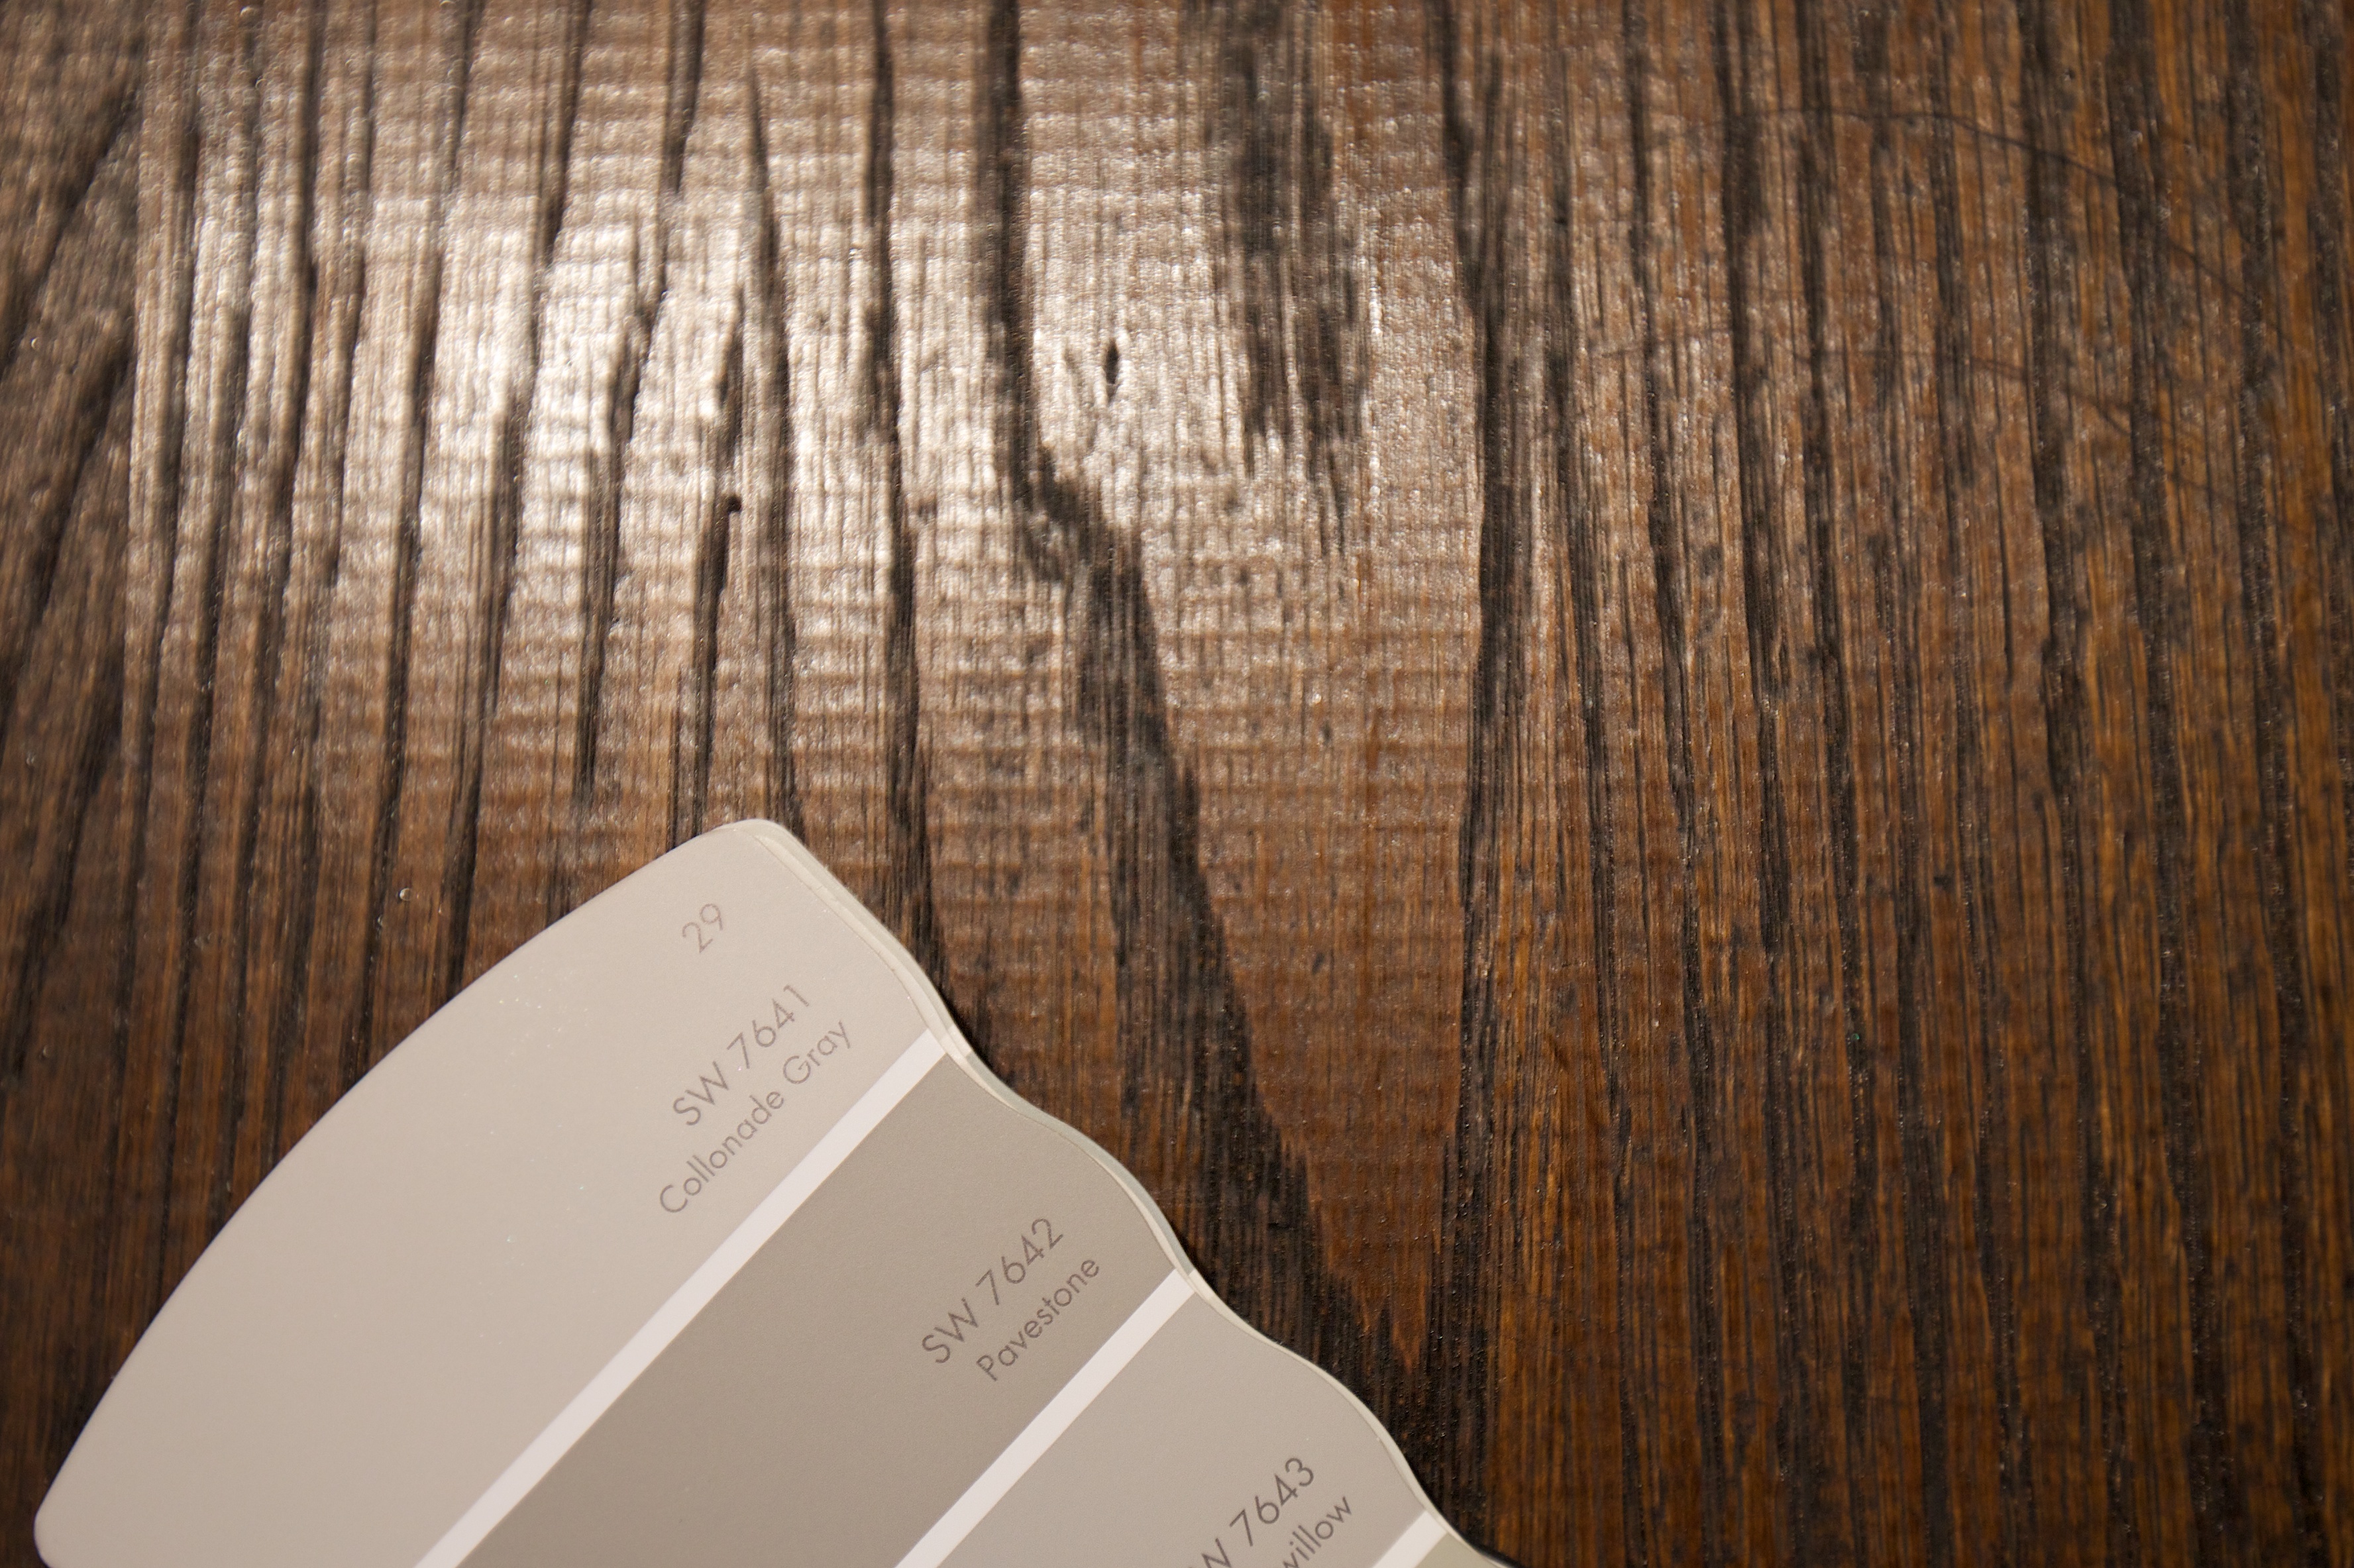
Pavestone Paint Color + Door Stain Color
Black Shingles + Cedar Shake Stain Color
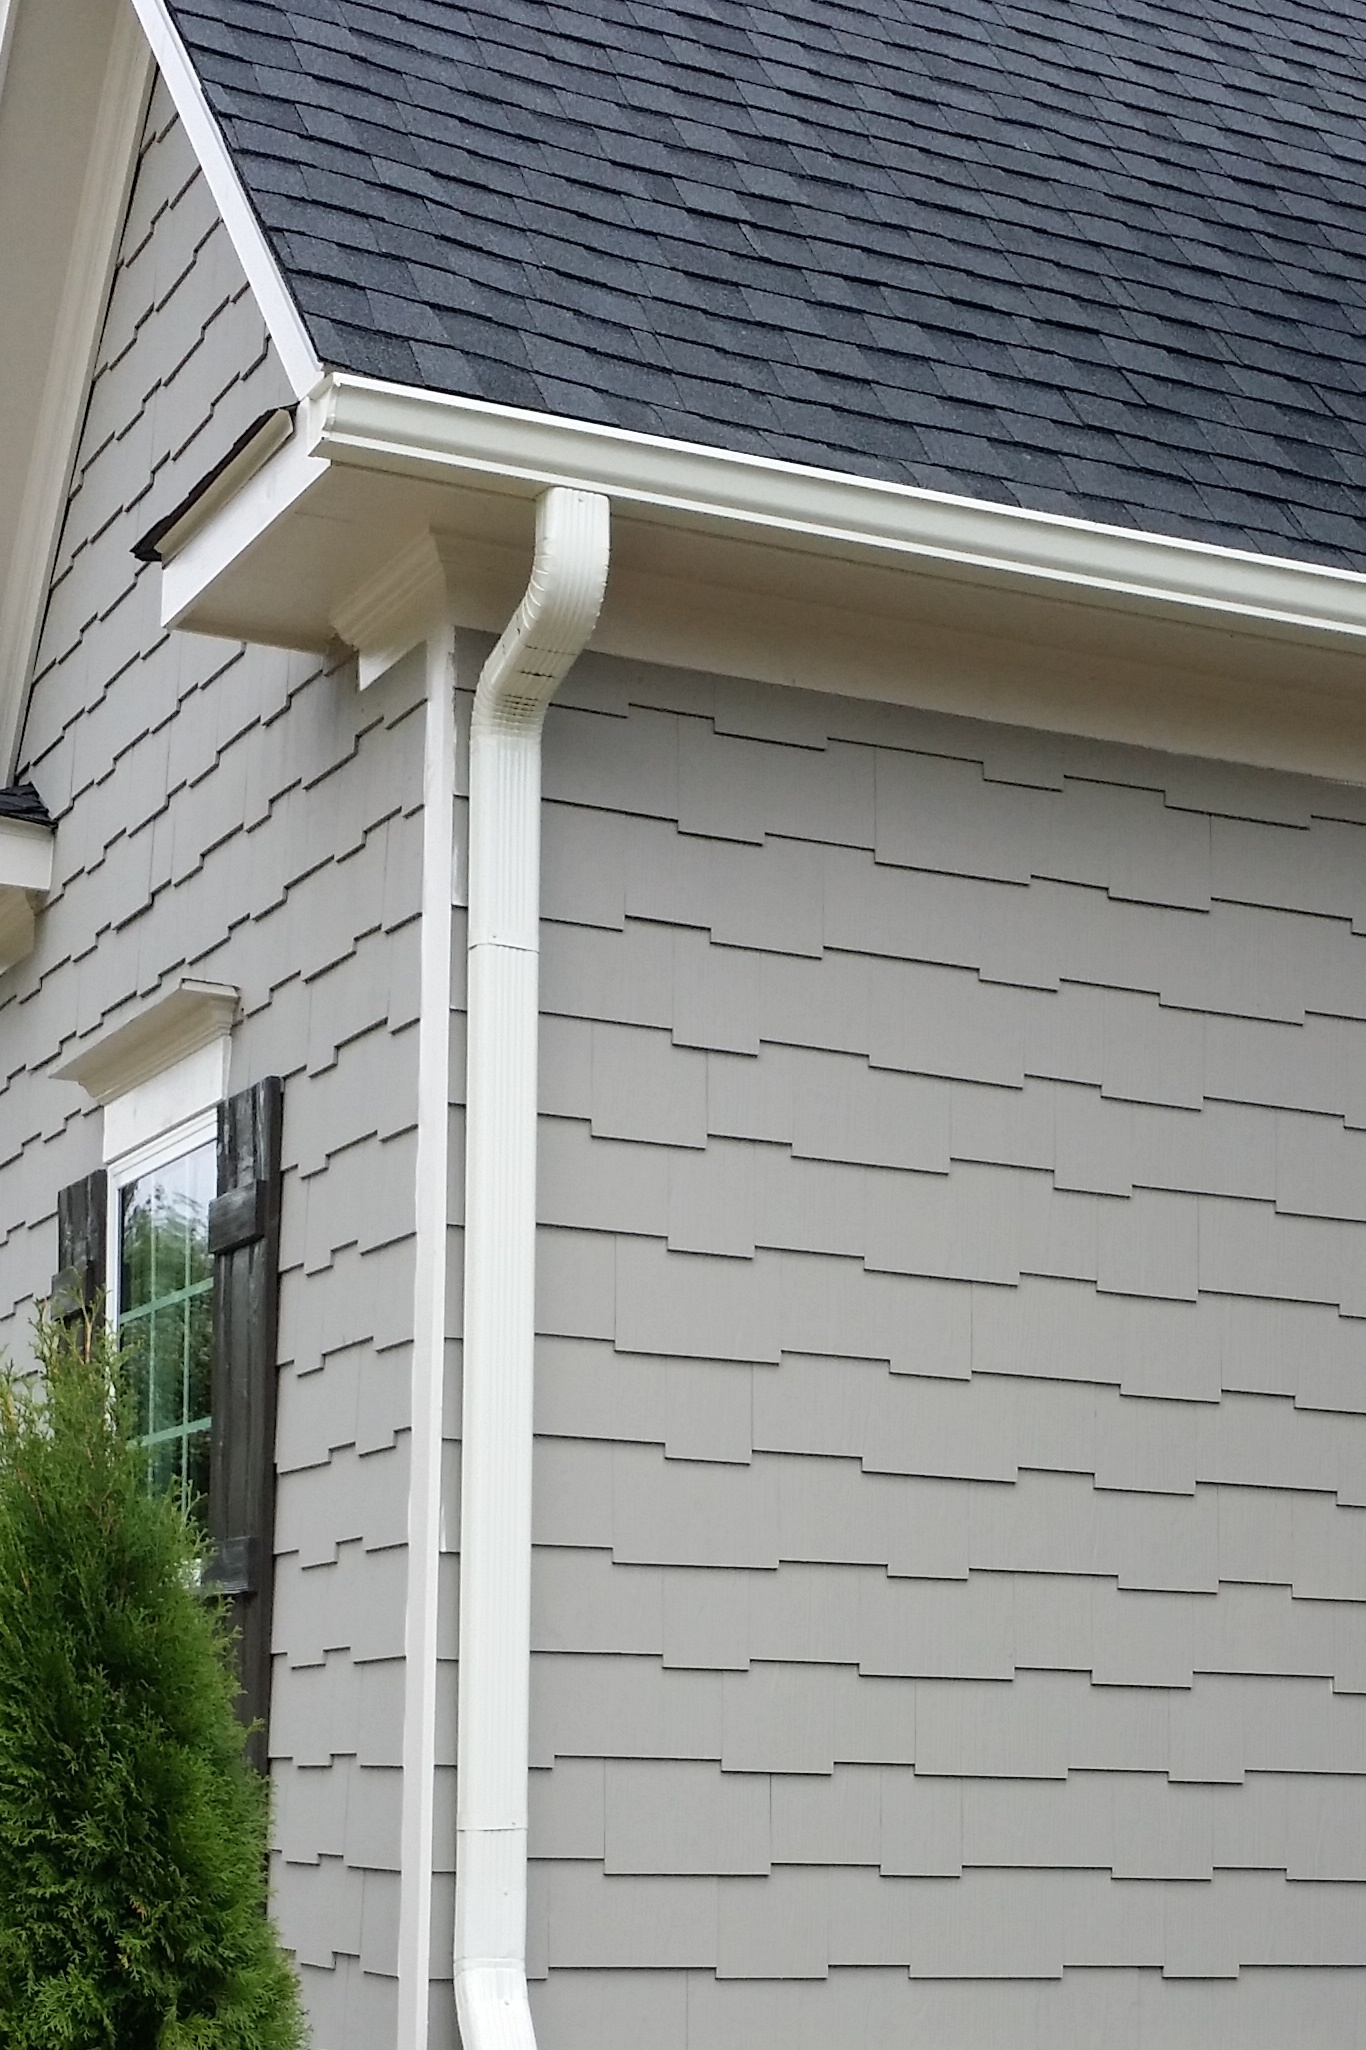
The Color Combo All Together!
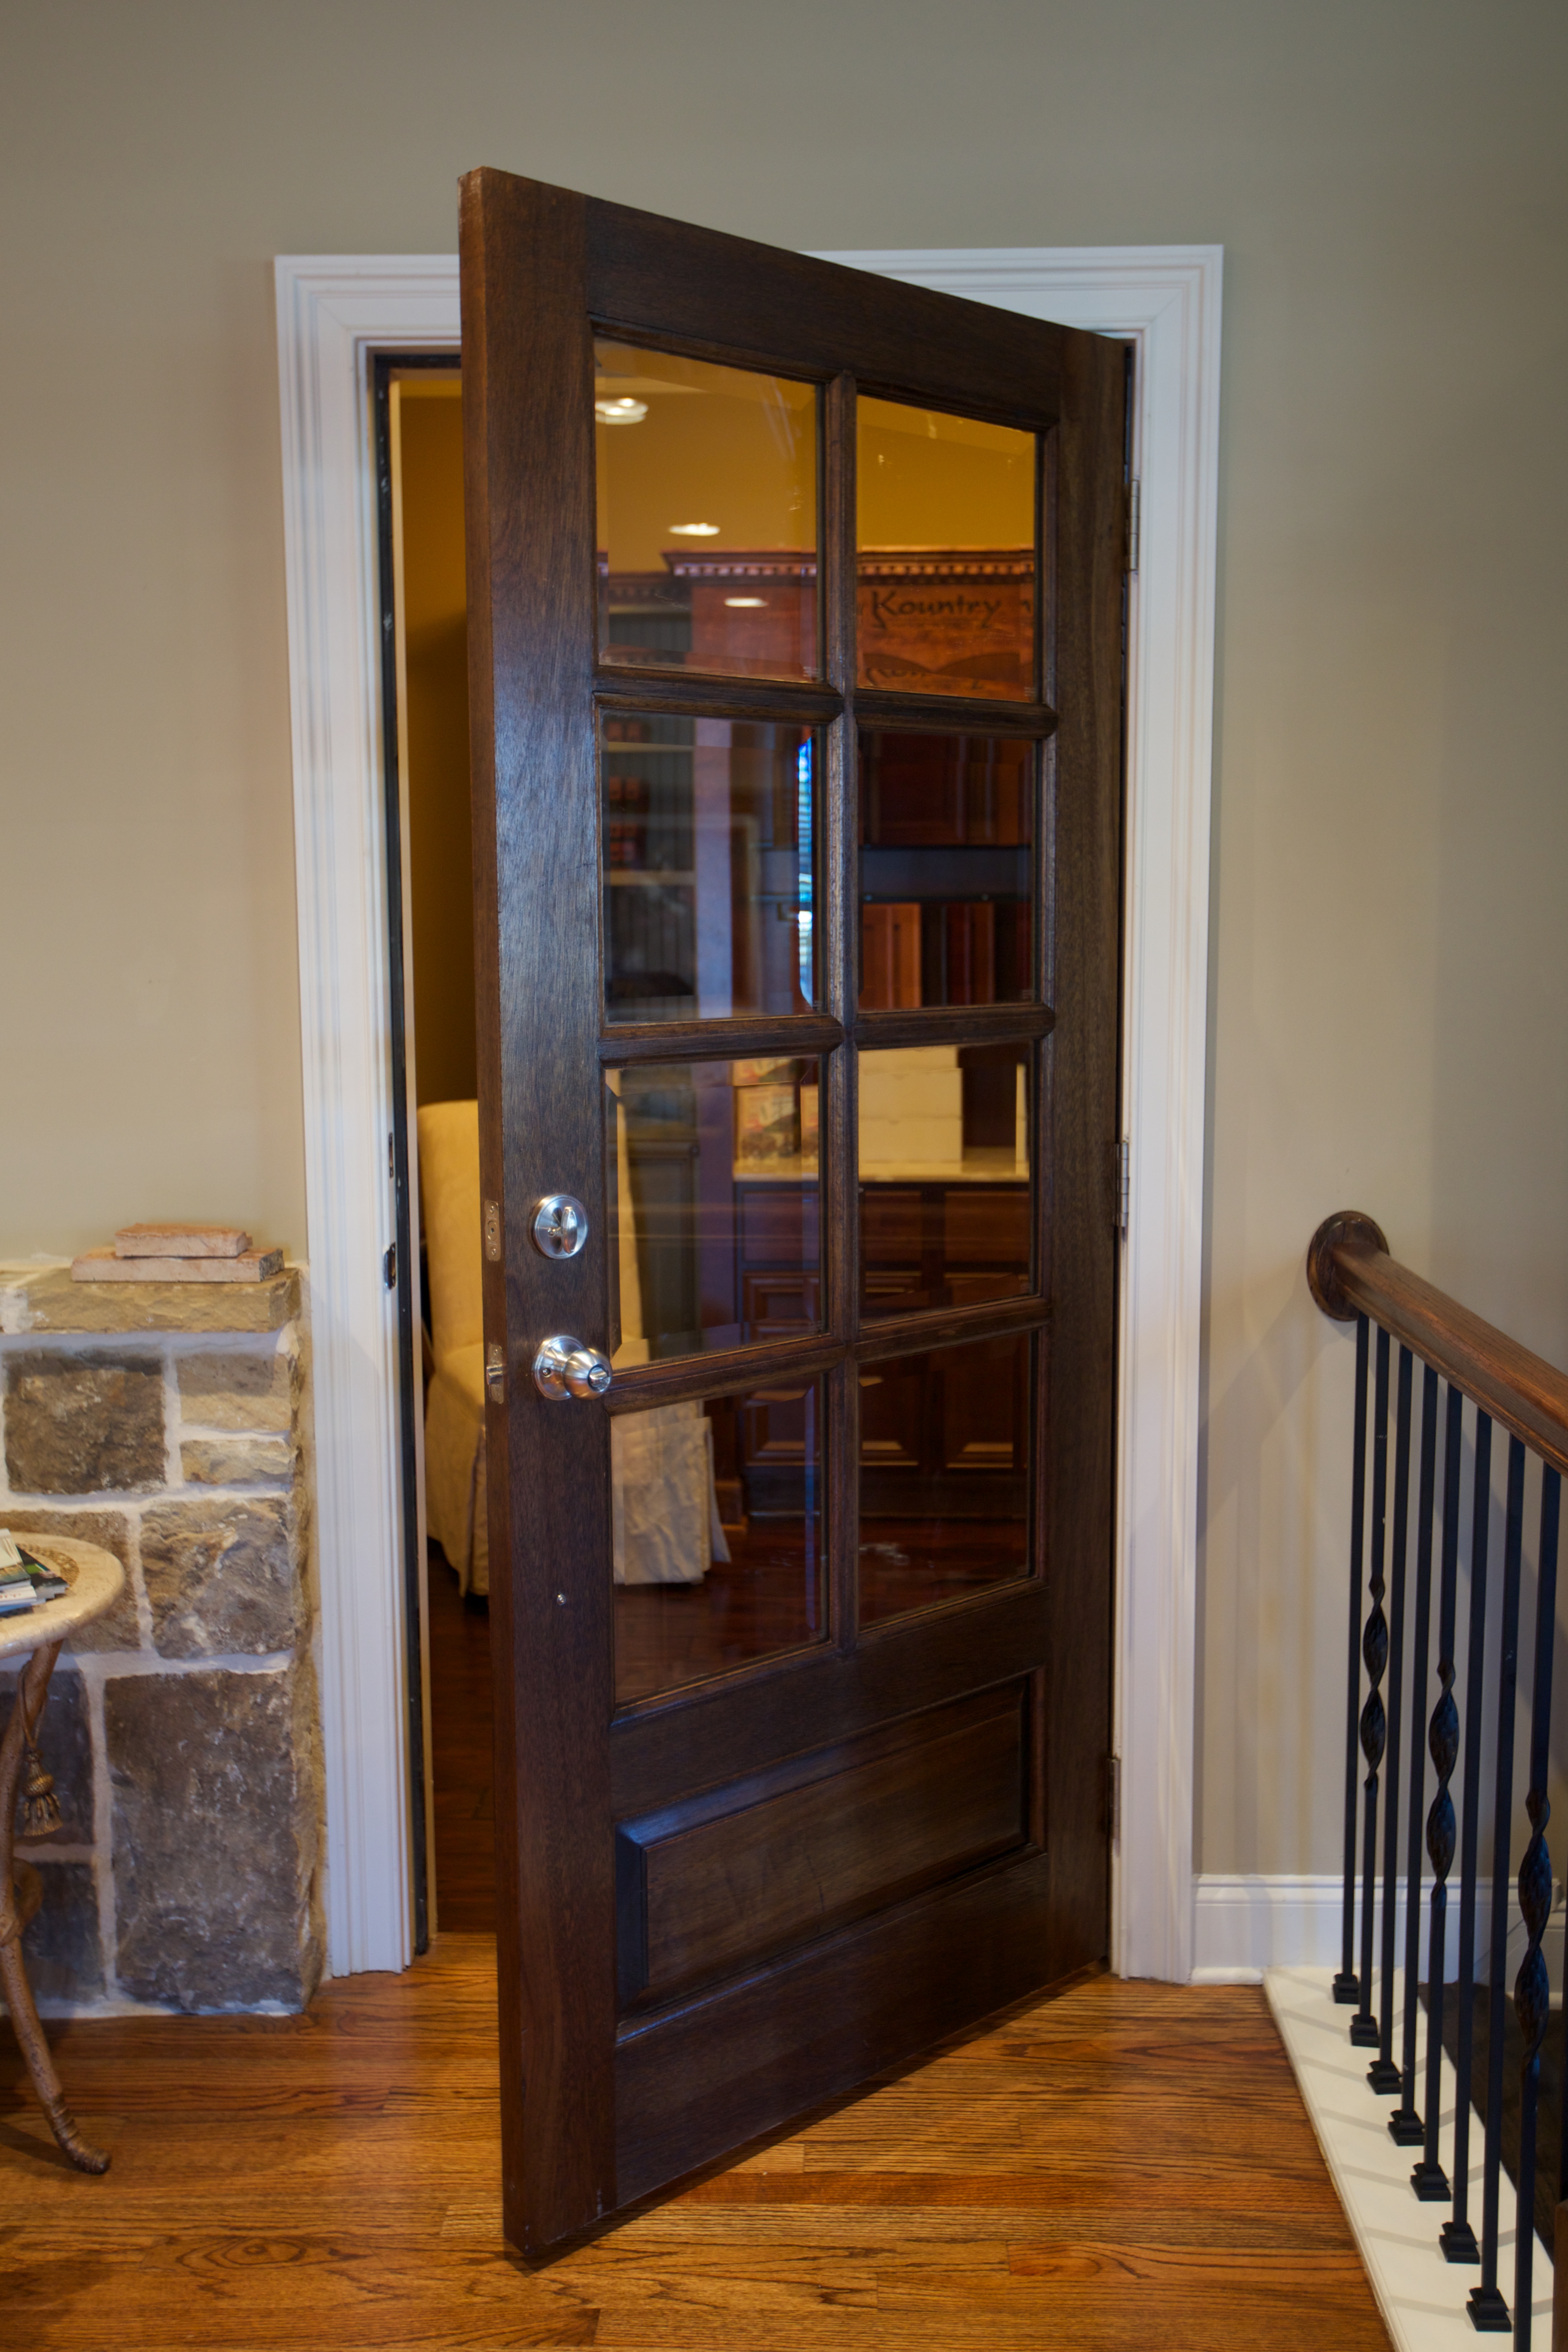
Wiiiiiindows That Will Let My Dogs See Eeeeeverything
Our Front Doorknob…I Know, I Know — Boring ;)
Inside we went with City Loft again (It was one of the “free” paint colors the builder has to choose from. Thankfully we like it!), white-white trim and super dark espresso floors. I was weary about going so dark (what a pain to clean!), but Ryan didn’t like any of the other options.
Our kitchen will have shaker-style cabinets. I was leaning toward ones that were a little more detailed, but Ryan had a strong preference for the basic shaker look, so I deferred to him. (Plus they were more affordable, so how can you argue with that?) The perimeter cabinets are going to be a light gray (color still TBD) with plain white quartz counters. Our backsplash is going to be subway tile with white grout. (Oh, let’s fast forward a decade for a chuckle when subway tile is so passé! ;) ) The cost to upgrade the basic island even a tiny bit was waaaay out of our price range, so instead we’re having a friend of Ryan’s build one for us and install it after we close. It’ll be a darker gray with a honed carrara marble countertop, and we’re opting for one big island with seating for the family and skipping having a traditional kitchen table.
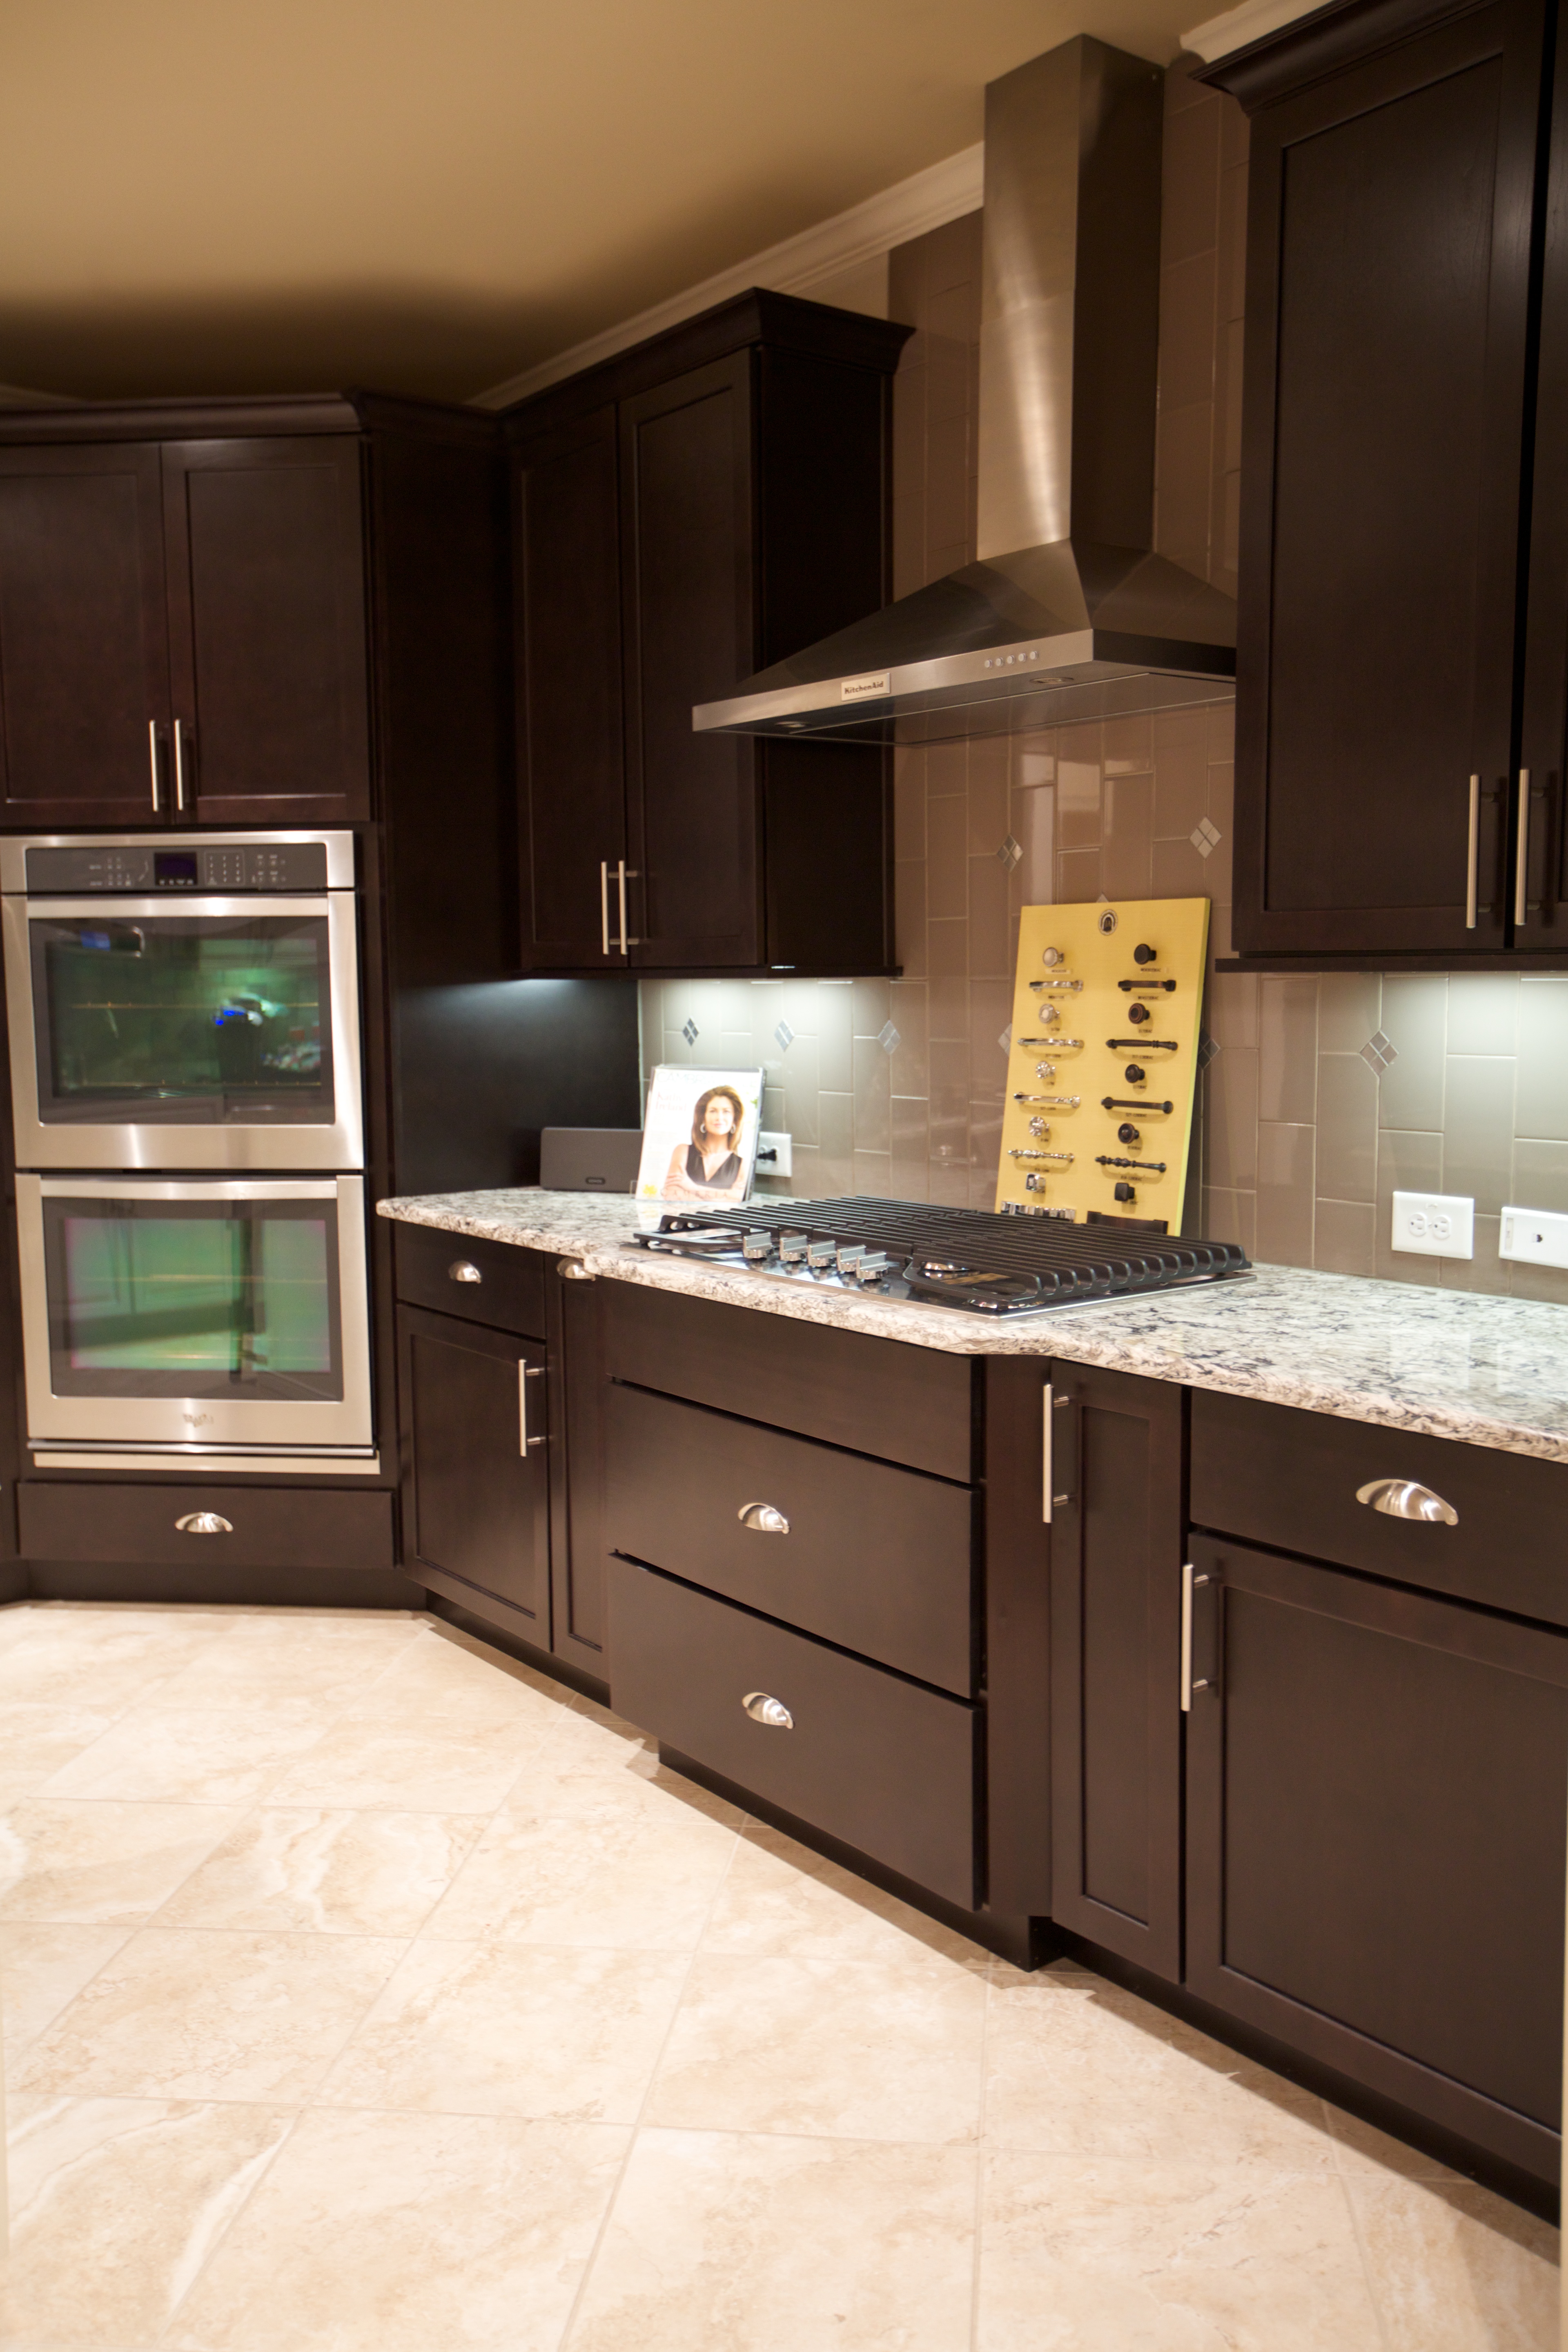
Shaker Cabinets
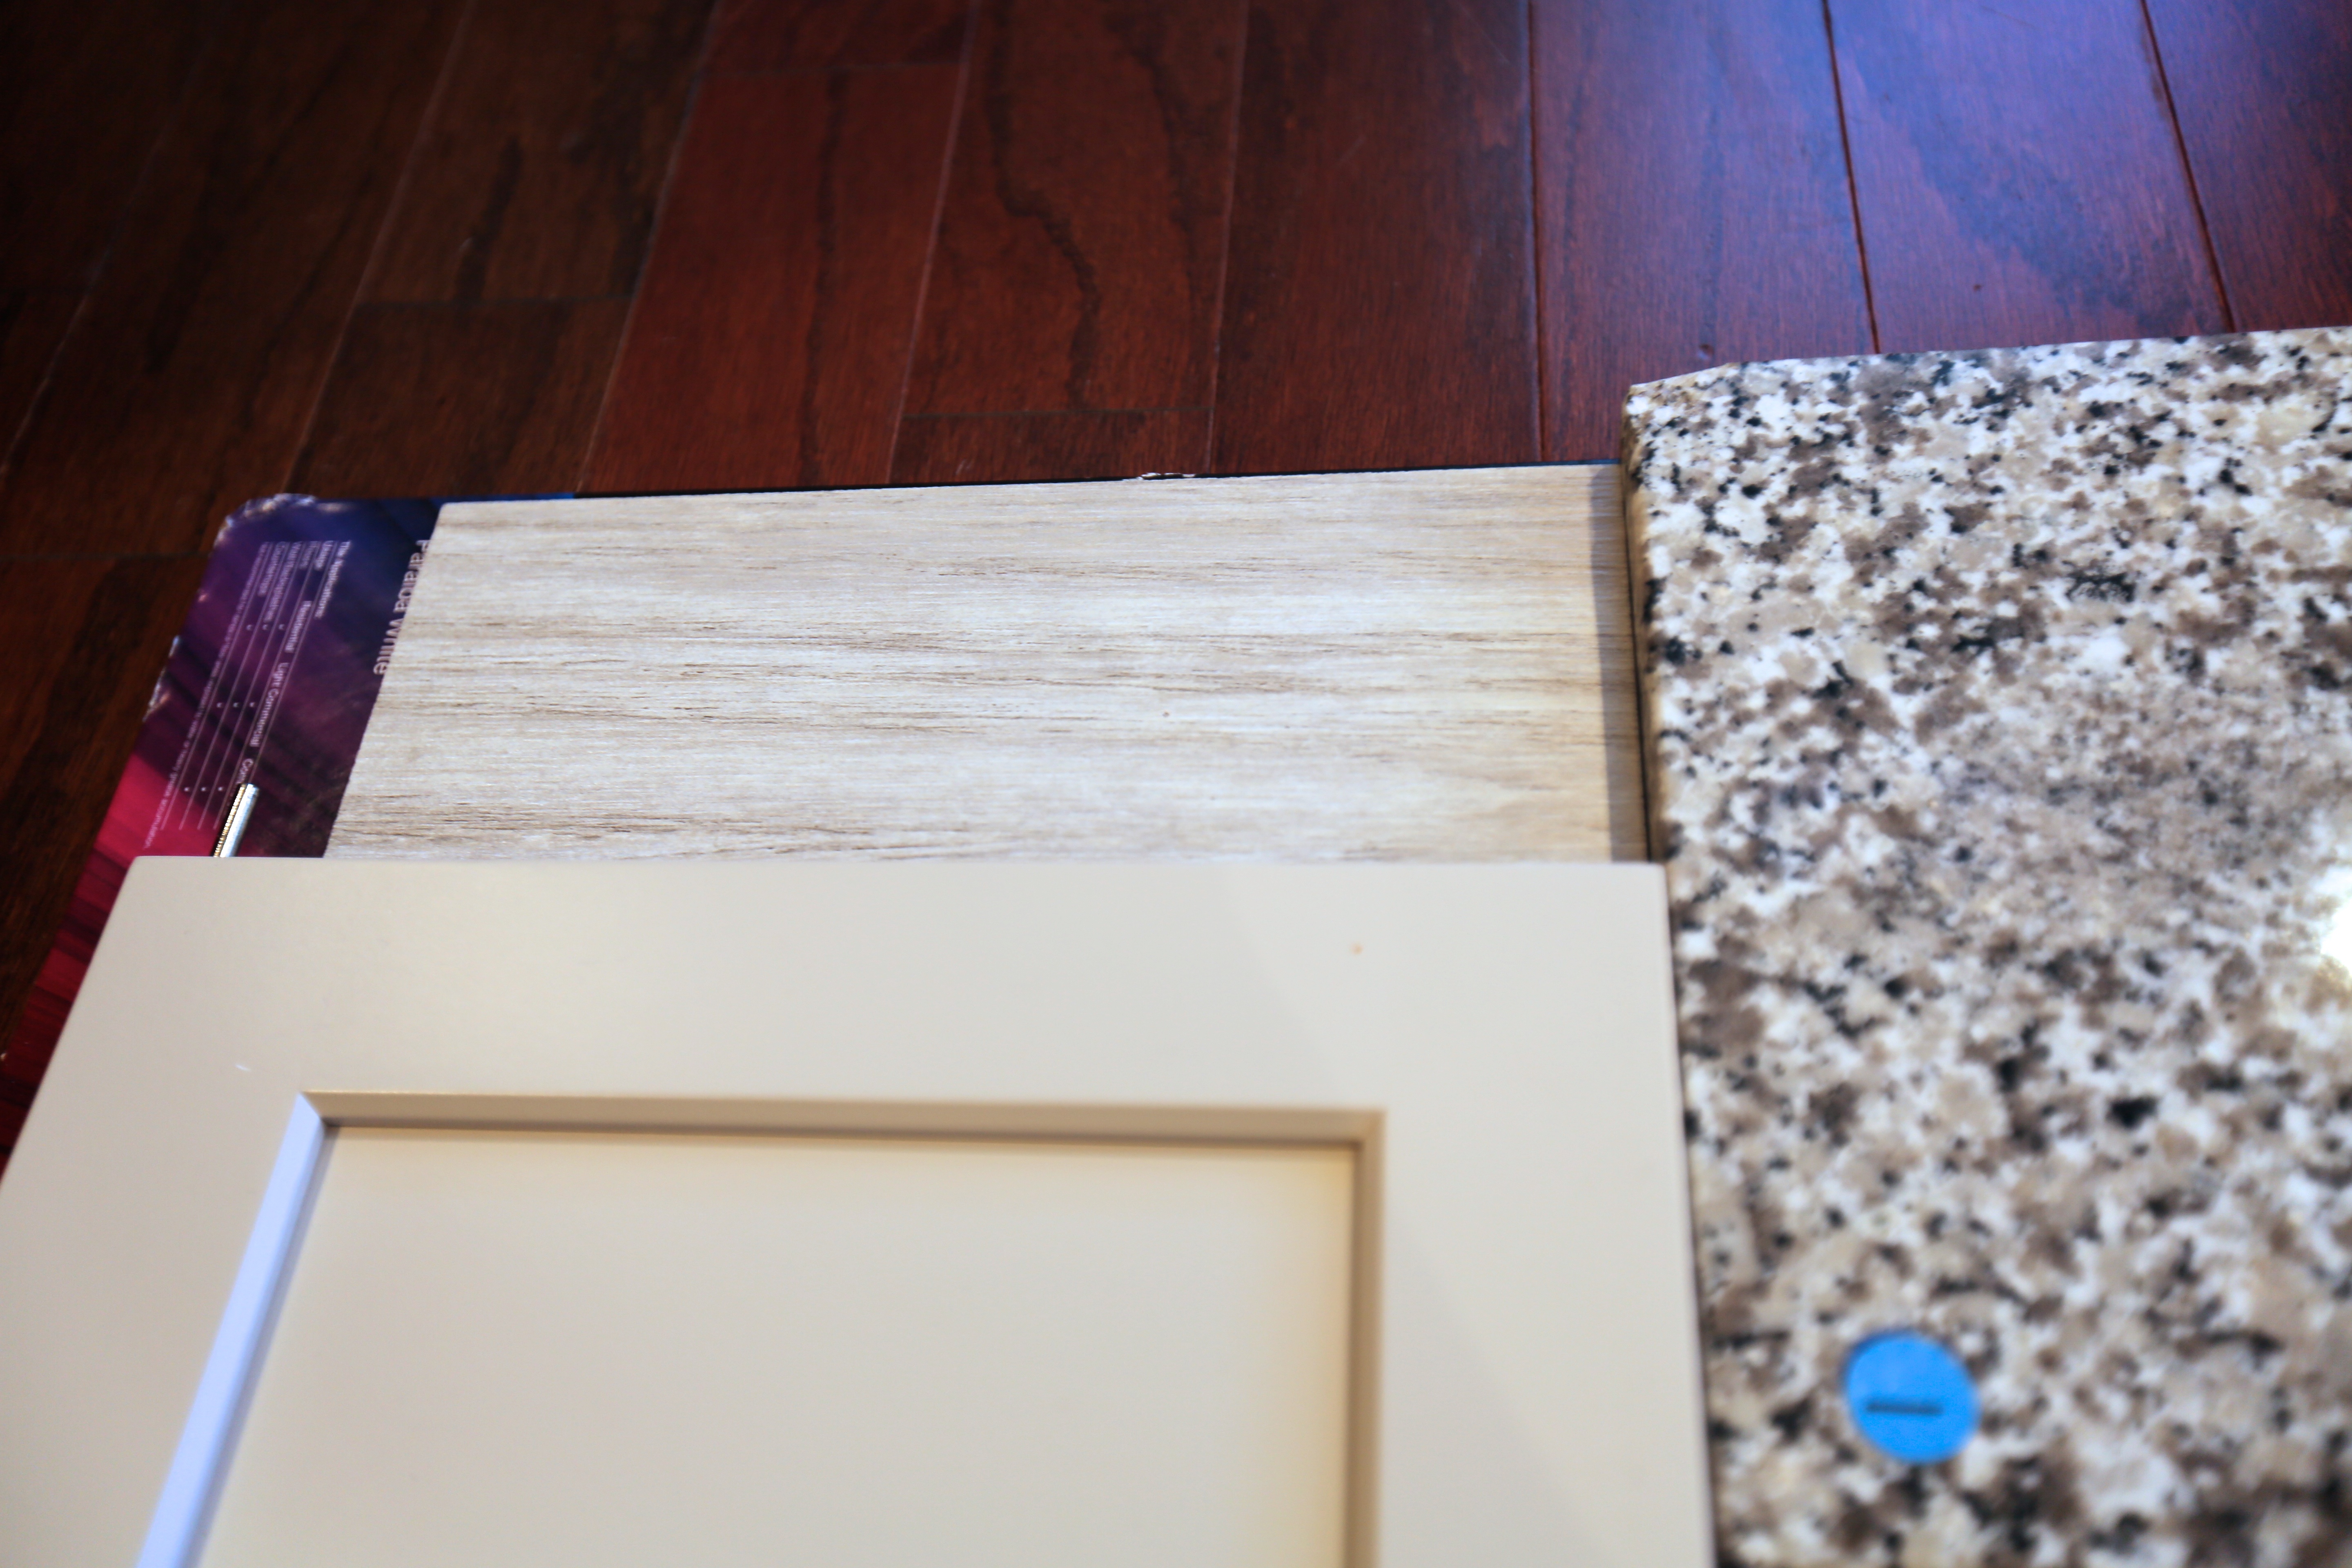
Kitchen Finishes
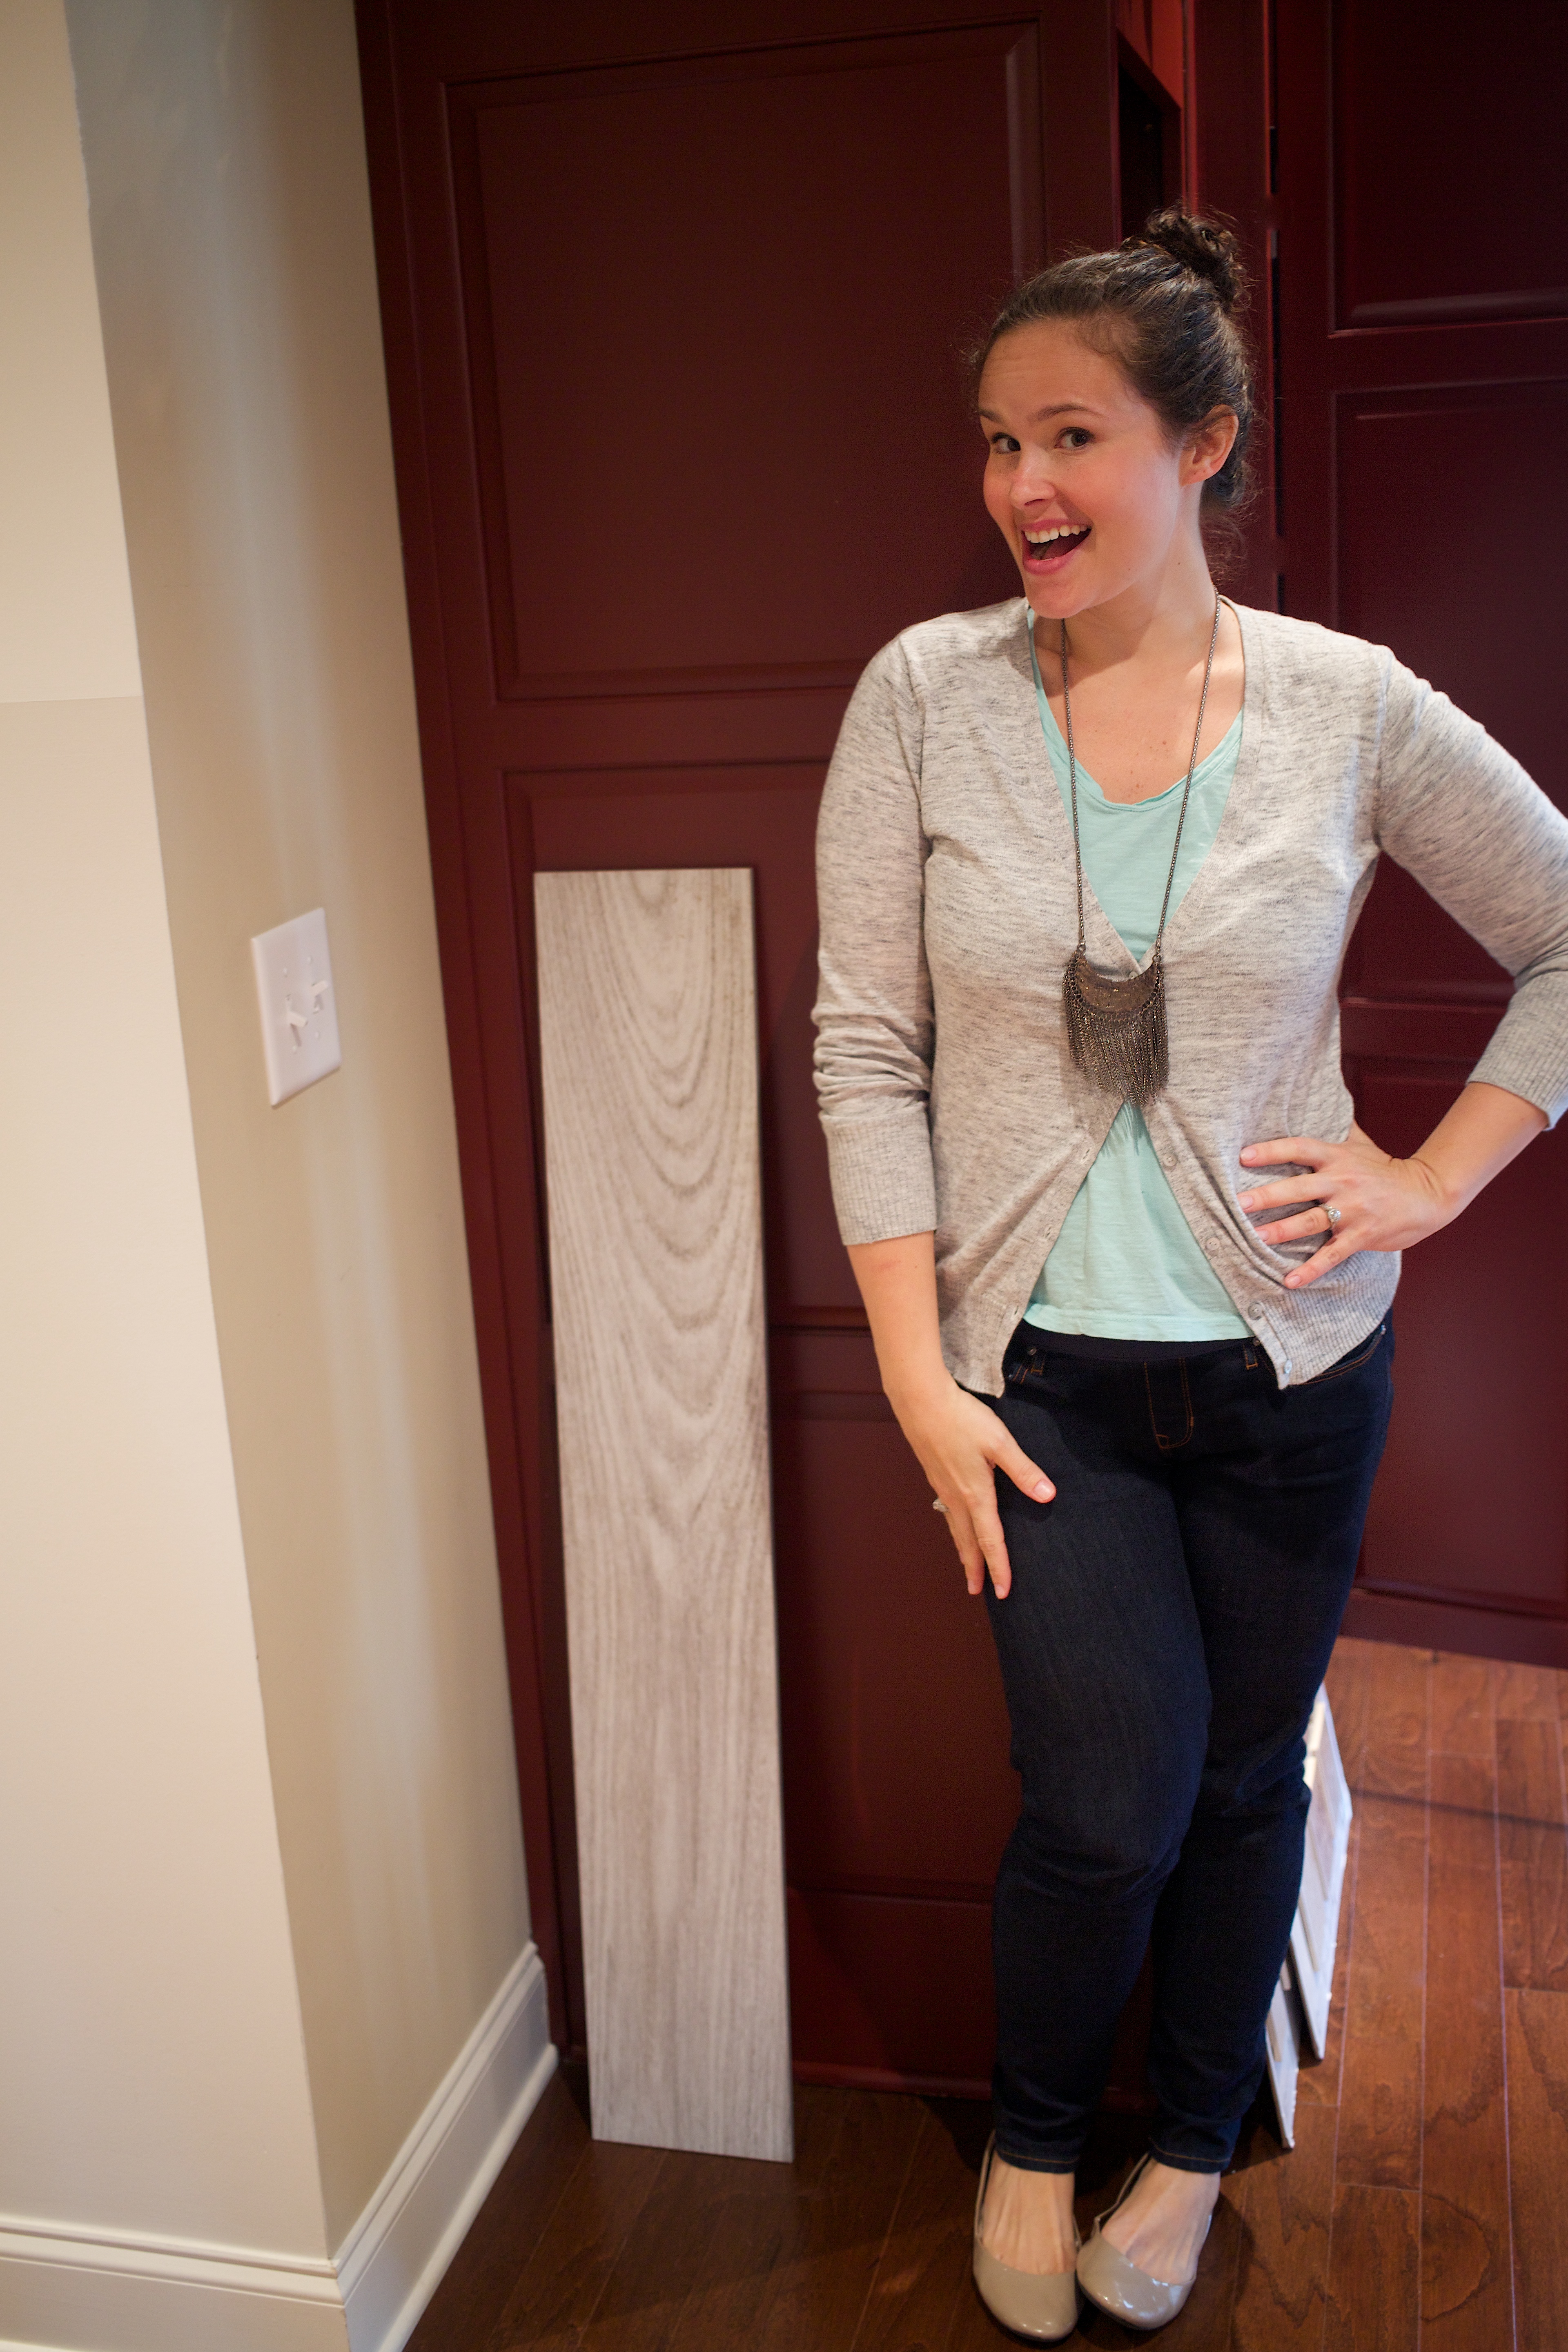
The only other really exciting thing (to me) in our finish choices is our master bath floor tile. I LOVE it because it looks like worn weather wooden planks. We’re going with a white-washed wood look for the floor, then white subway tile and dark grout for the shower. We got the same shaker-style cabinets as the kitchen in white and one of the “free” granite countertops that has some gray speckling. I learned through this design process that I’m not obsessed with granite patterns in general, so choosing one for our master bath was difficult — and Ryan didn’t want to pay to upgrade them, so… ;)
 Okay, that’s it for now, folks! Time to let the builder do what he does best…build!