I’m in full-on freak out mode. This happened right before I had Emma Vance, too, and I’m sure most soon-to-be moms go through this phase — the phase where you realize that you’ll have about zero capacity to do anything other than survive once that new baby is in your arms. Of course, now that E.V.’s almost TWO (!) I know that life DOES return to normal (or at least a “new normal”), but I’m still stuck in the must-do-it-now-or-never mentality. Hence my craft of the day…
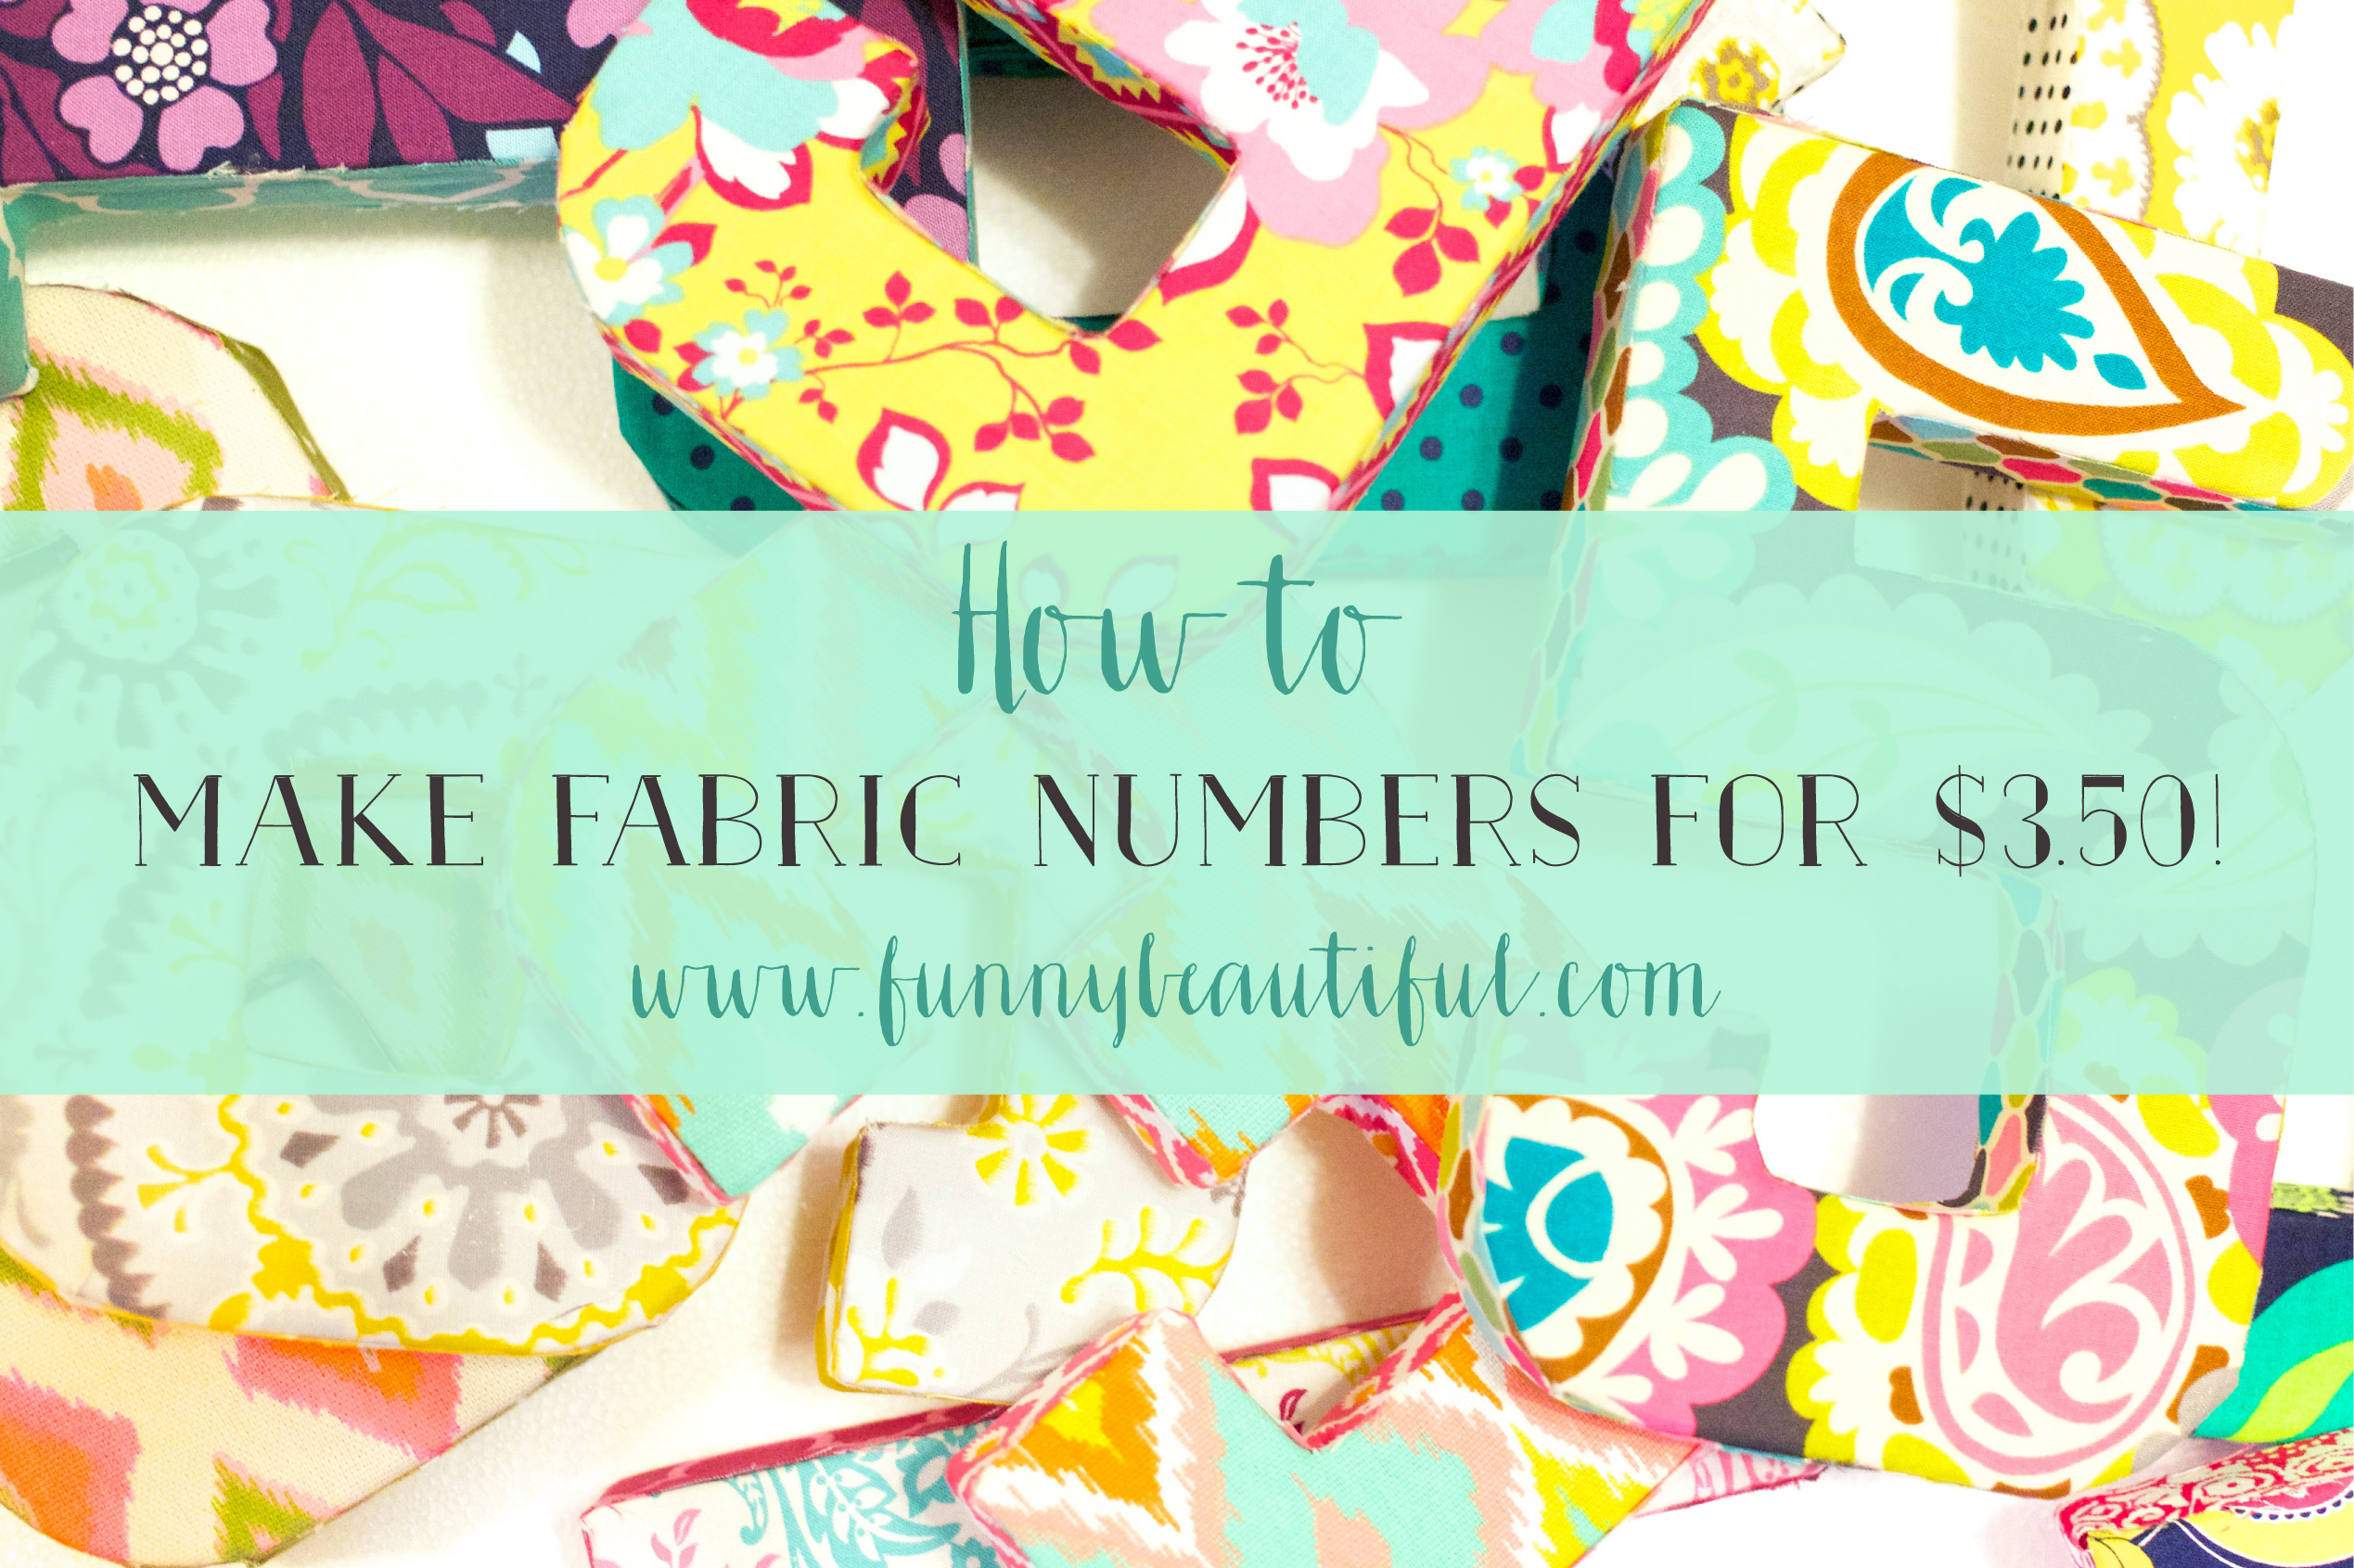
For E.V.’s monthly pictures, I used cardboard letters and wooden numbers and wanted it to be very matchy-matchy. I opted to paint the numbers month-by-month instead of all at once, and it became a big hassle. This time around I was determined that I’d create all the numbers at once, which, once I decided that I wanted to do fabric numbers, turned out to be a much more involved project than I imagined. Originally I thought I’d be able to buy knock-off versions of the infamous, expensive Anthro fabric letters, but in all my searching, ALL of the fabric numbers I came across were uber pricey! I’m totally one of those “I can make that” people, and at about $3.50 a piece, it was worth the crafting energy and time. I knew that I didn’t want to sew the numbers (like the original Anthro ones) because I’m just not that talented of a seamstress, so I bought a ton of fabrics and some chipboard numbers and got out my GLUE GUN…
Fast forward five hours. Whew.
Really, the price difference ($16 v. $3.50) was worth my time and effort, and I’d rate this craft about a 2 on a scale of 1-to-10 on difficulty. :)
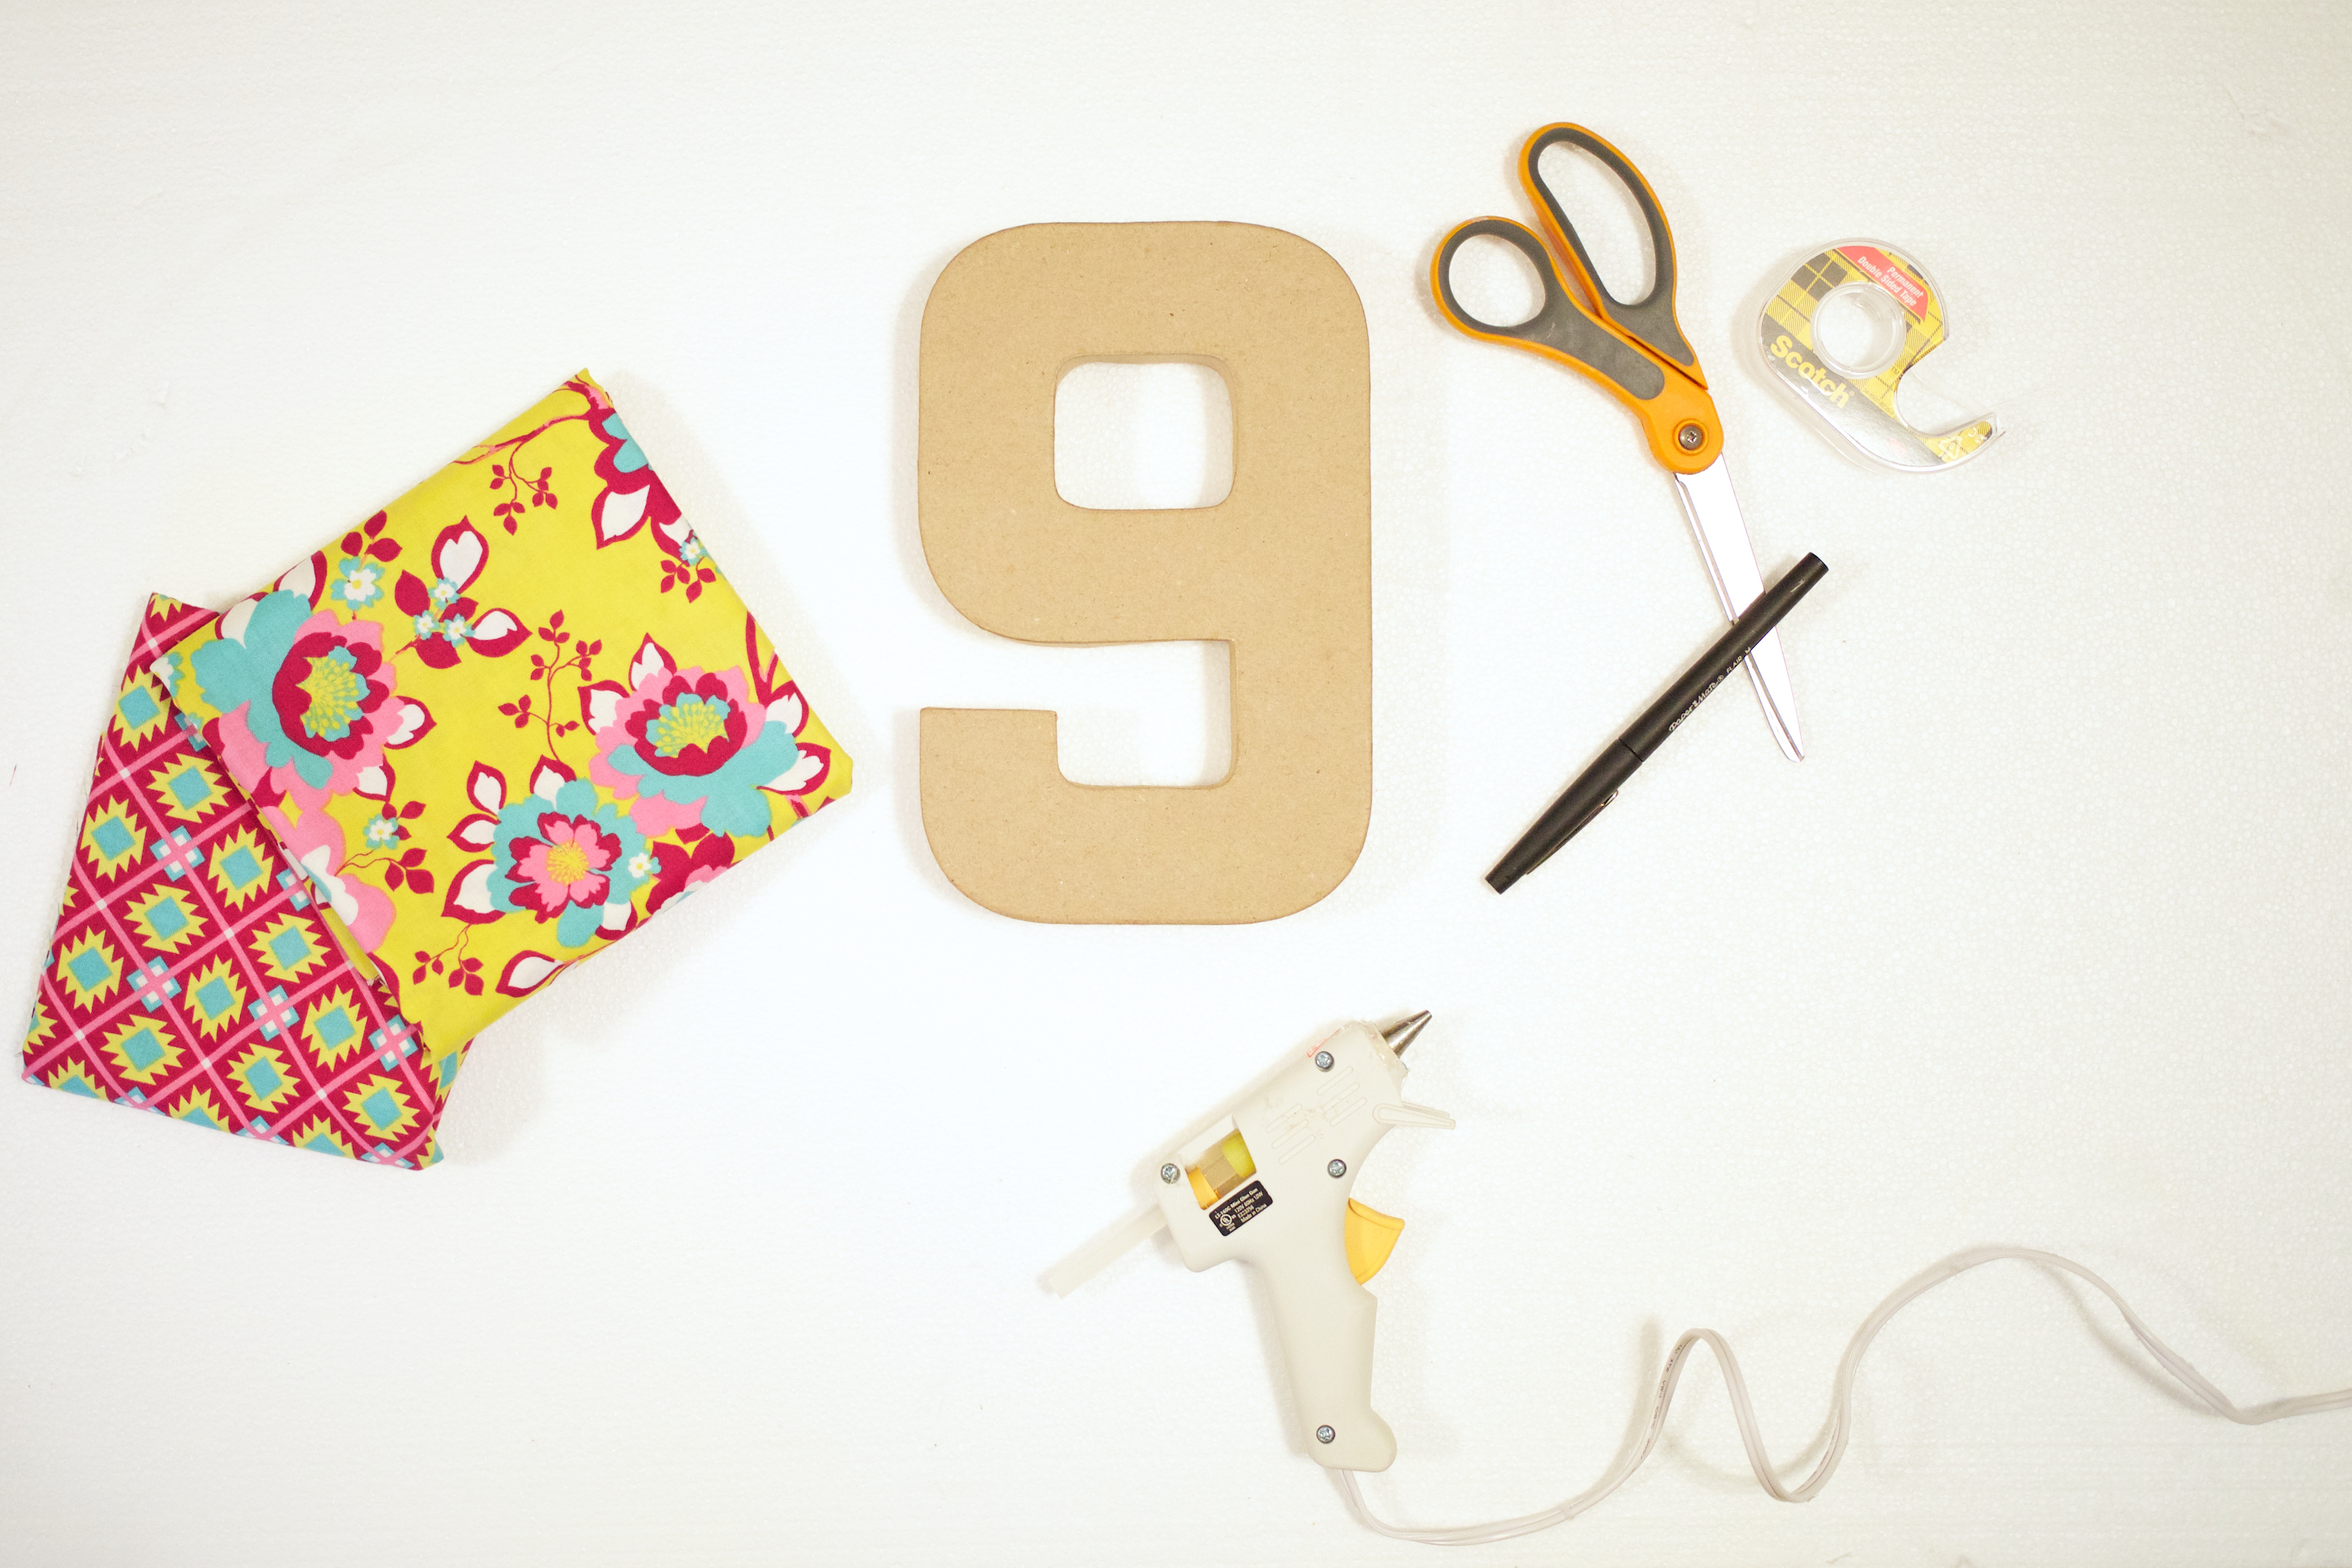
MATERIALS
- Chipboard numbers ($2.47 each from Hobby Lobby)
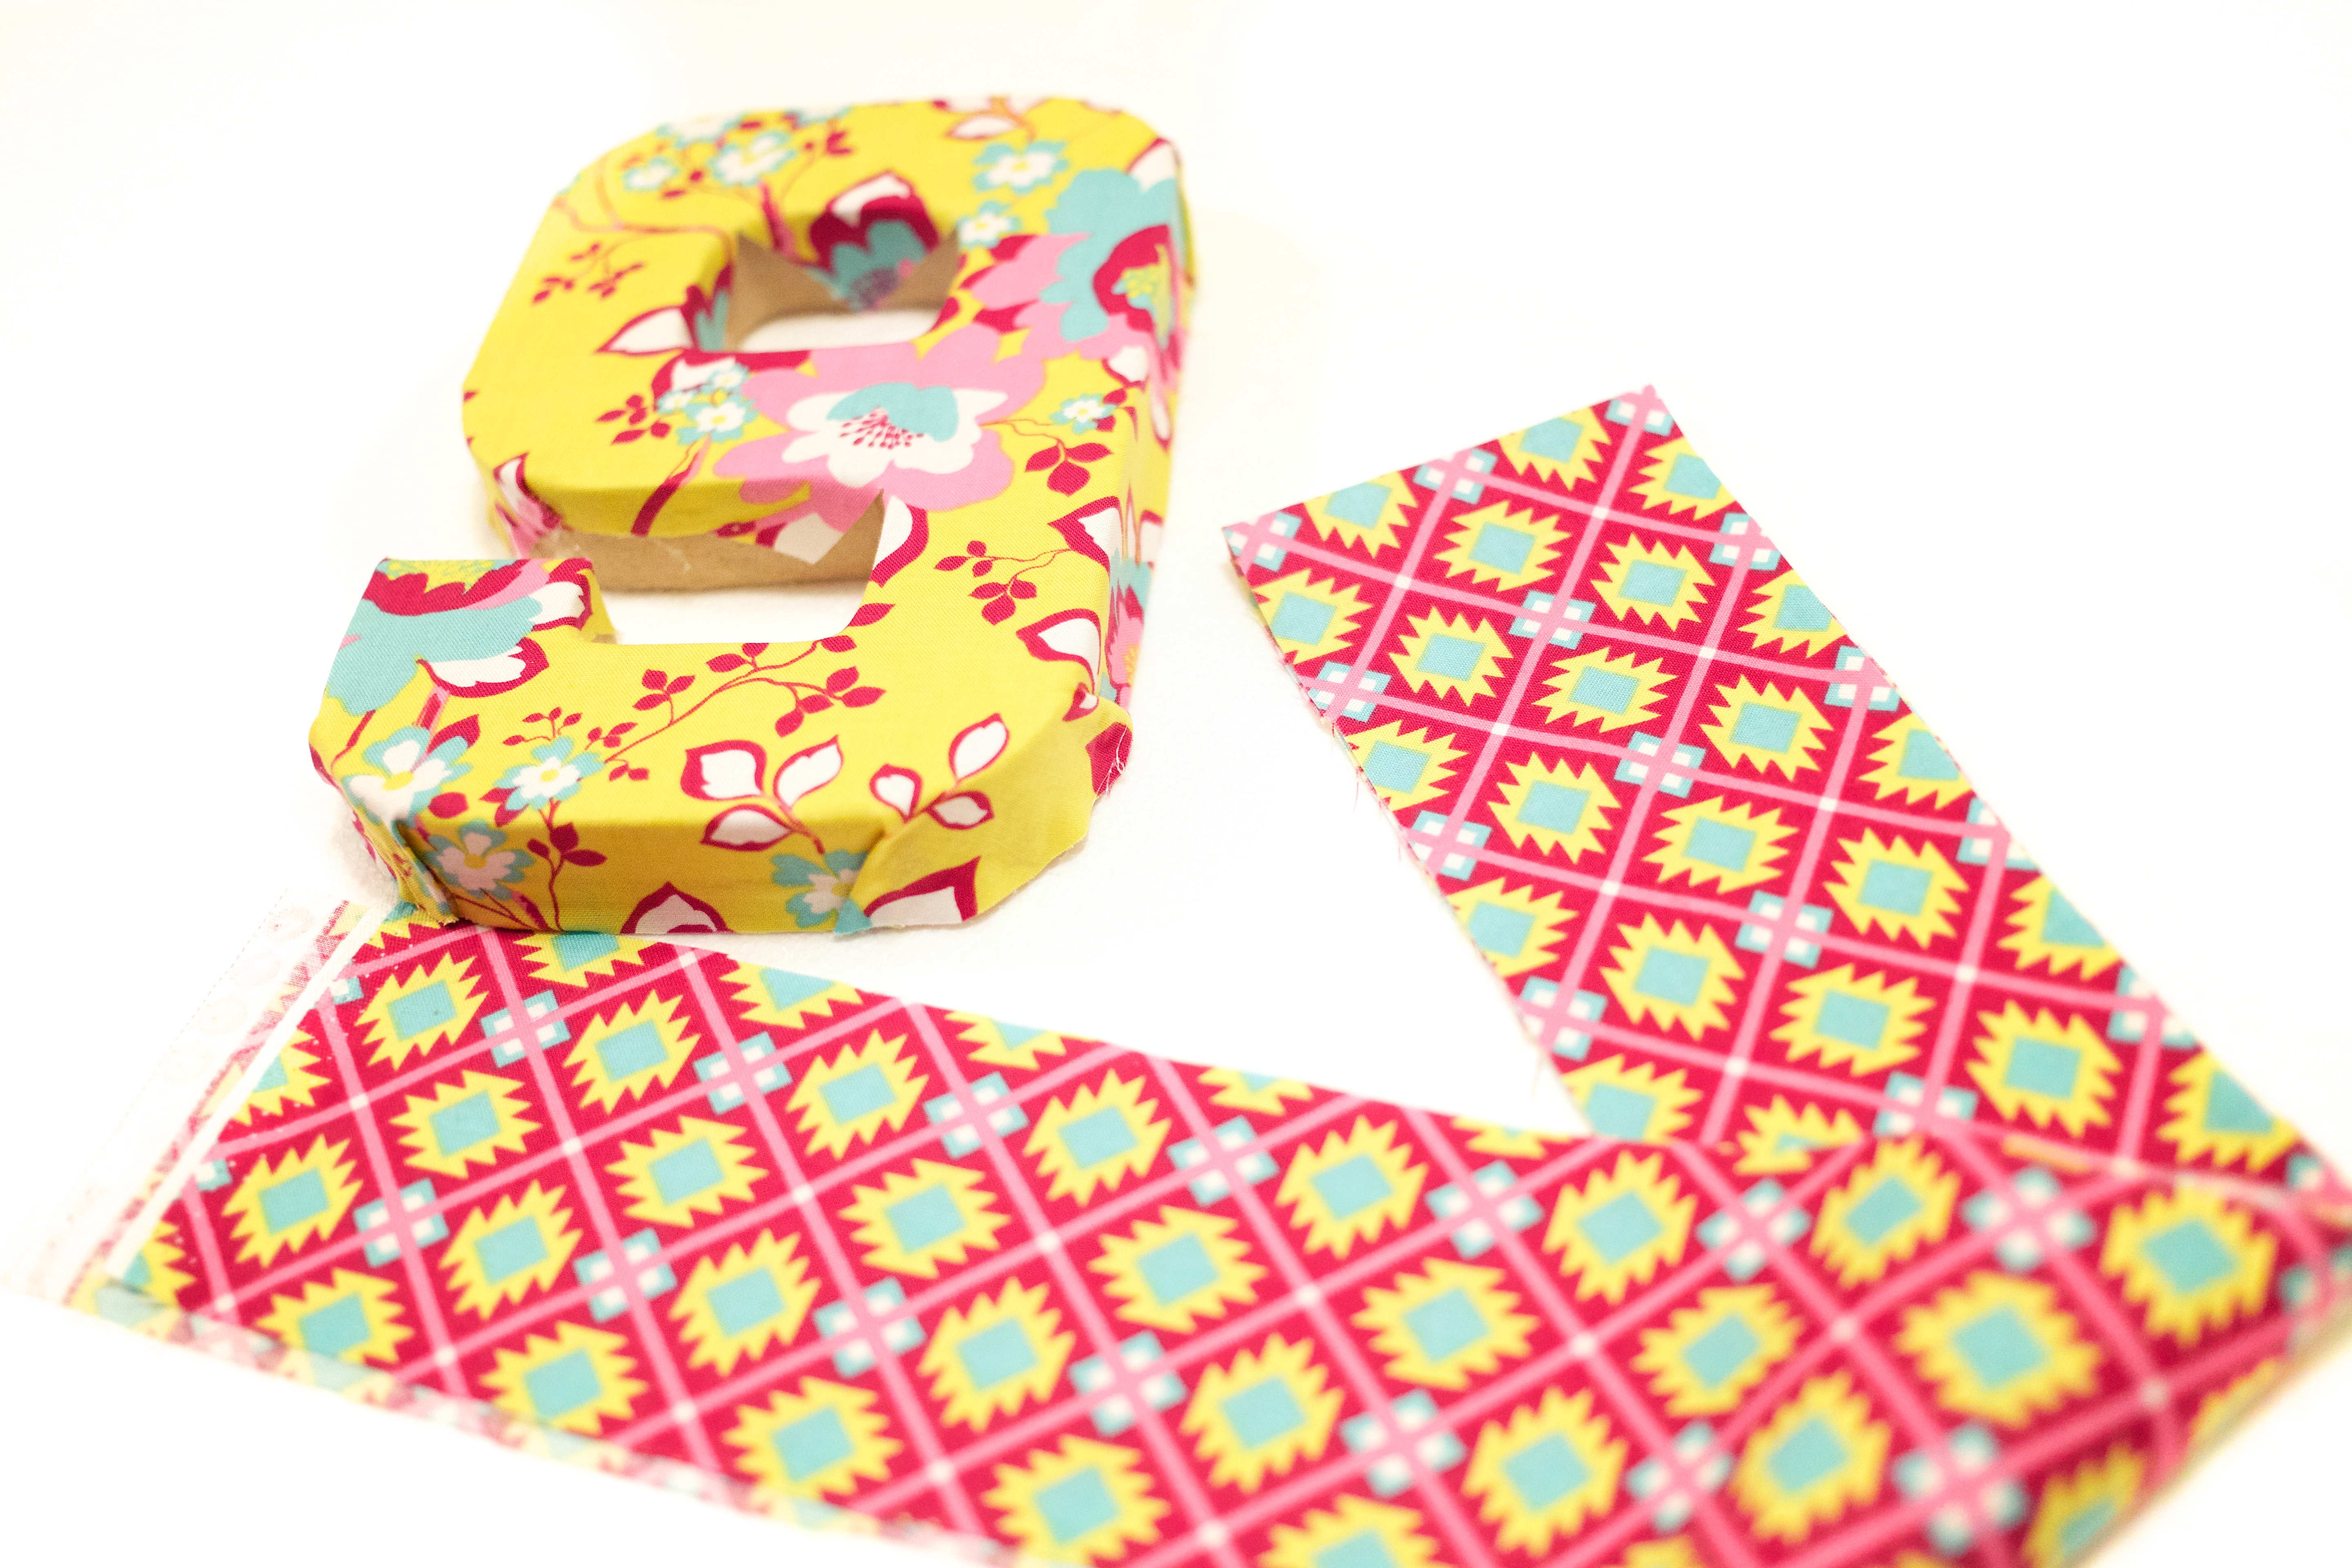
- Fabric “scraps” (For each number you’re doing, you’ll need two patterns. For the top fabric, you’ll need a 12″ cut; for the side fabric, you’ll need about 8″ cut. I got my fabric on super sale at Hobby Lobby, so I spent less than $1 on each set of patterns!)
- Pen or marker
- Scissors
- Double-sided tape
- Hot glue gun and LOTS of glue sticks
HOW-TO: FABRIC NUMBERS
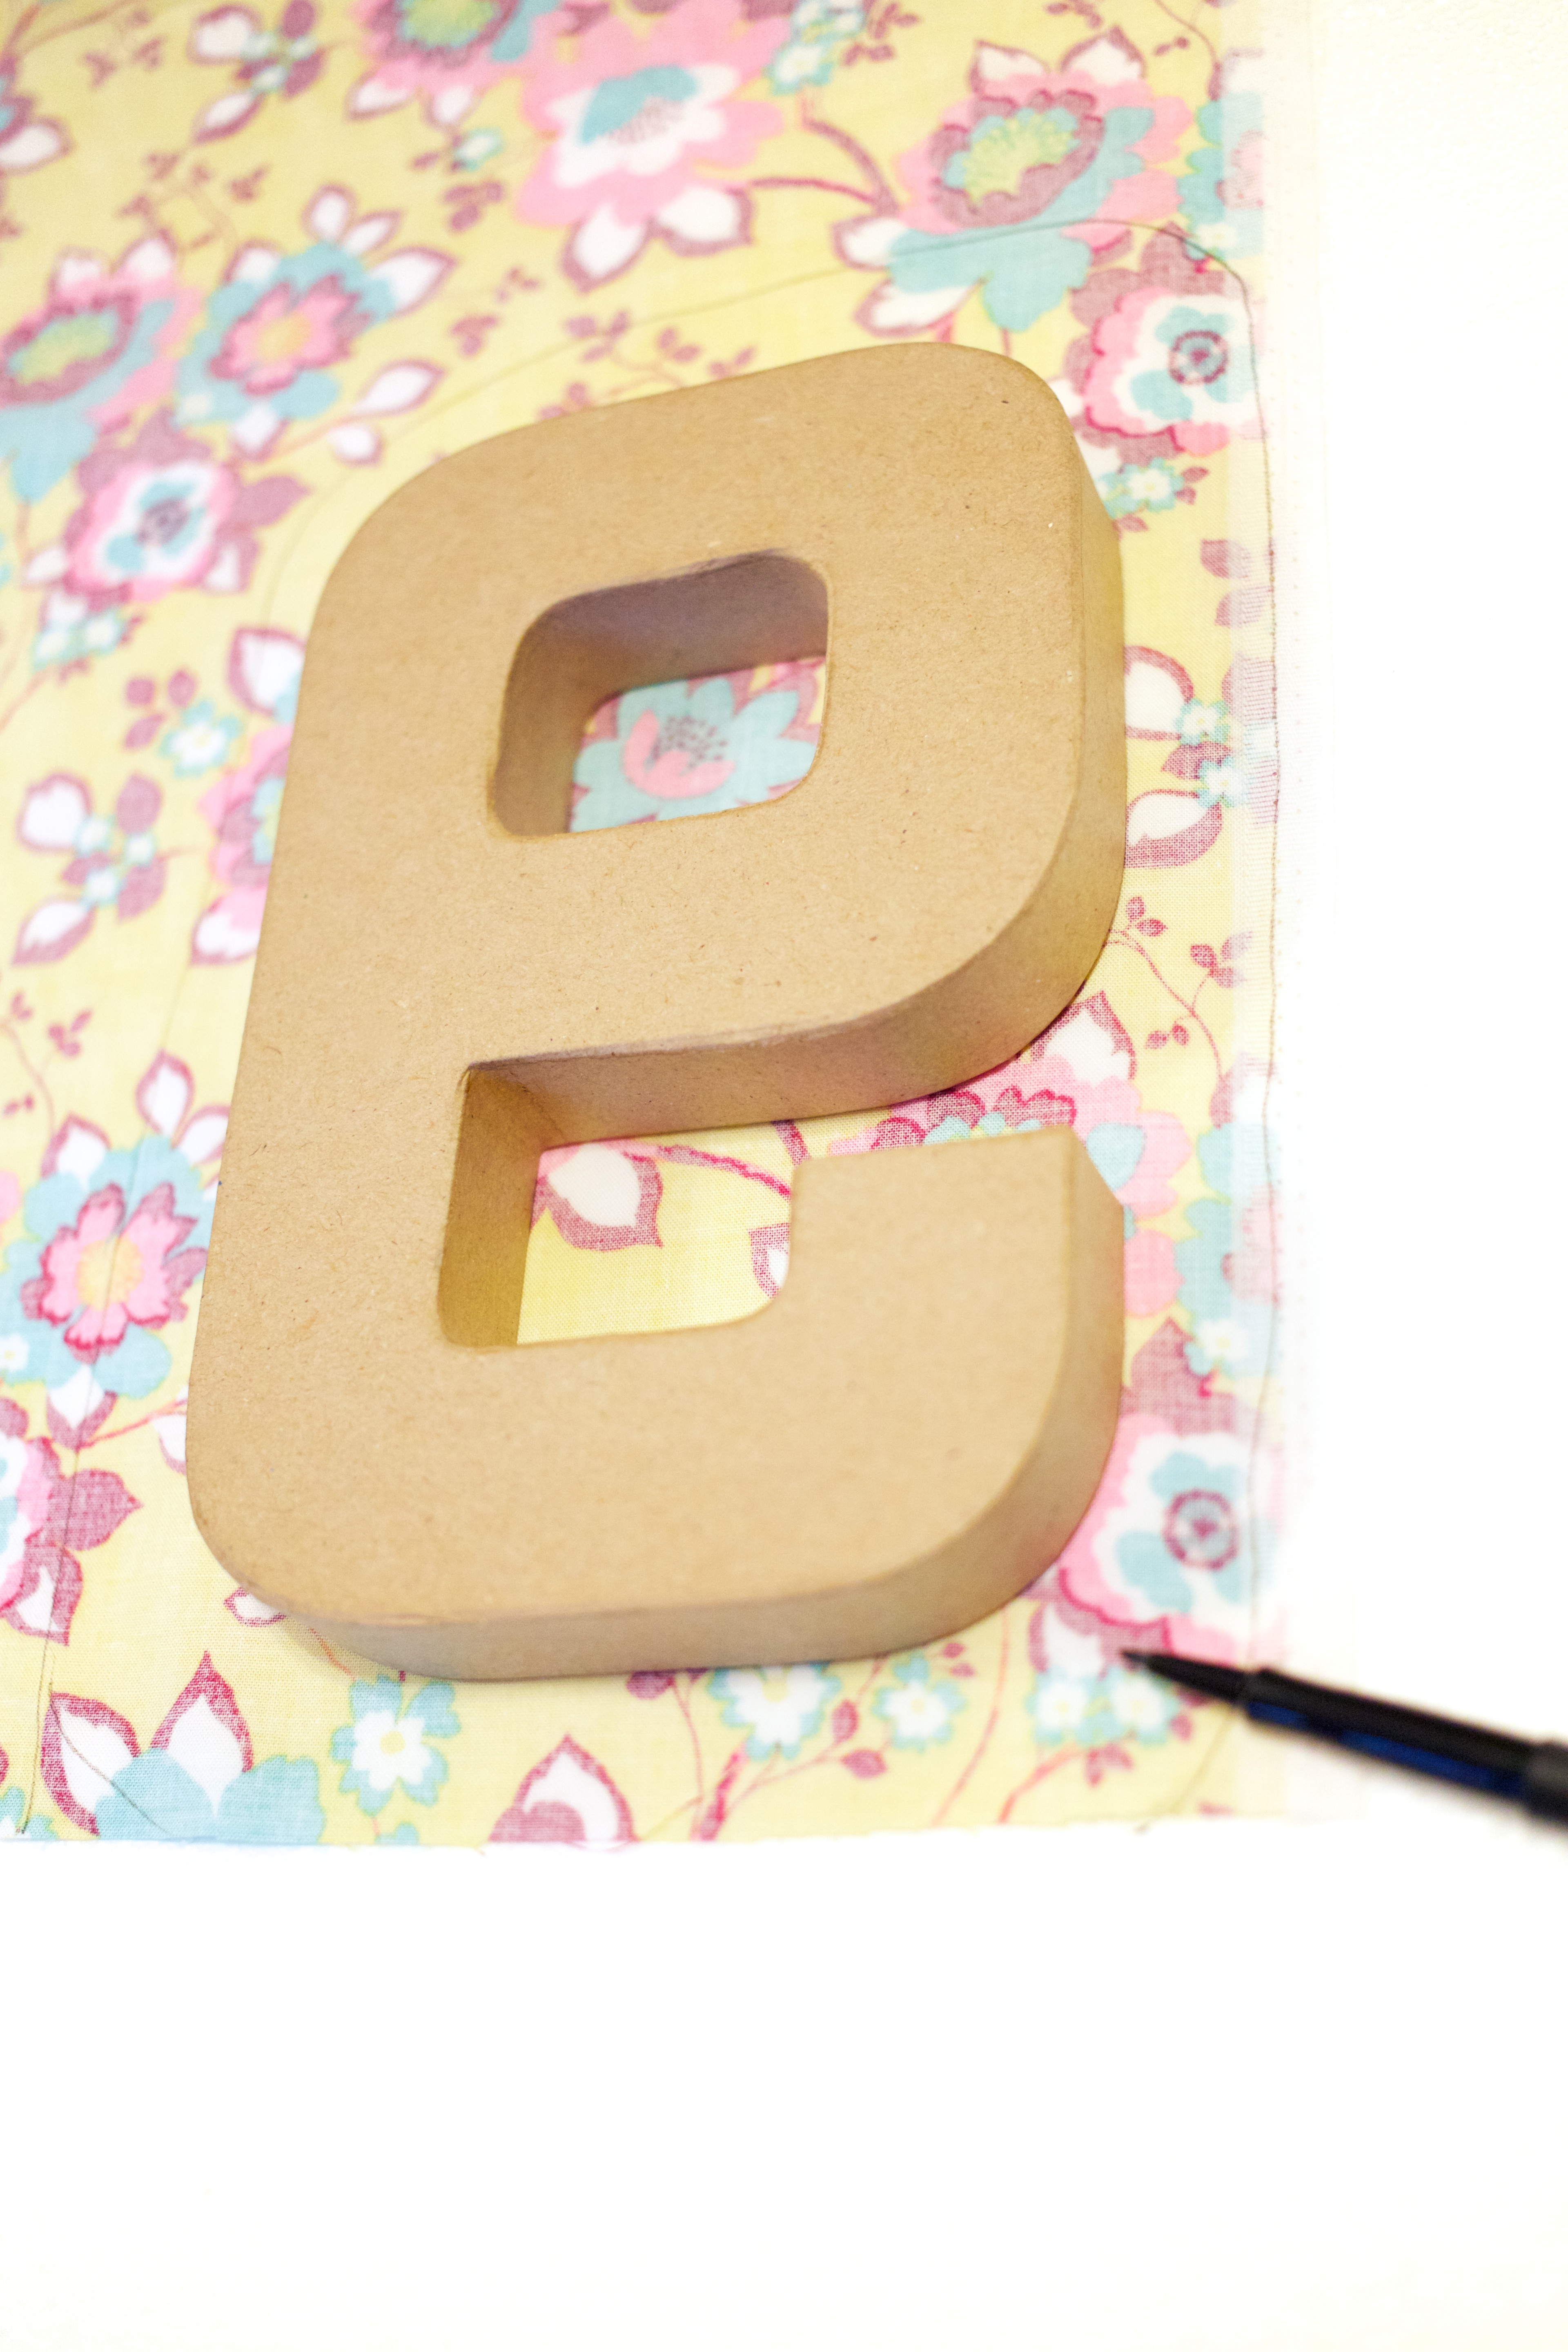
STEP ONE: TRIMMING YOUR FABRIC
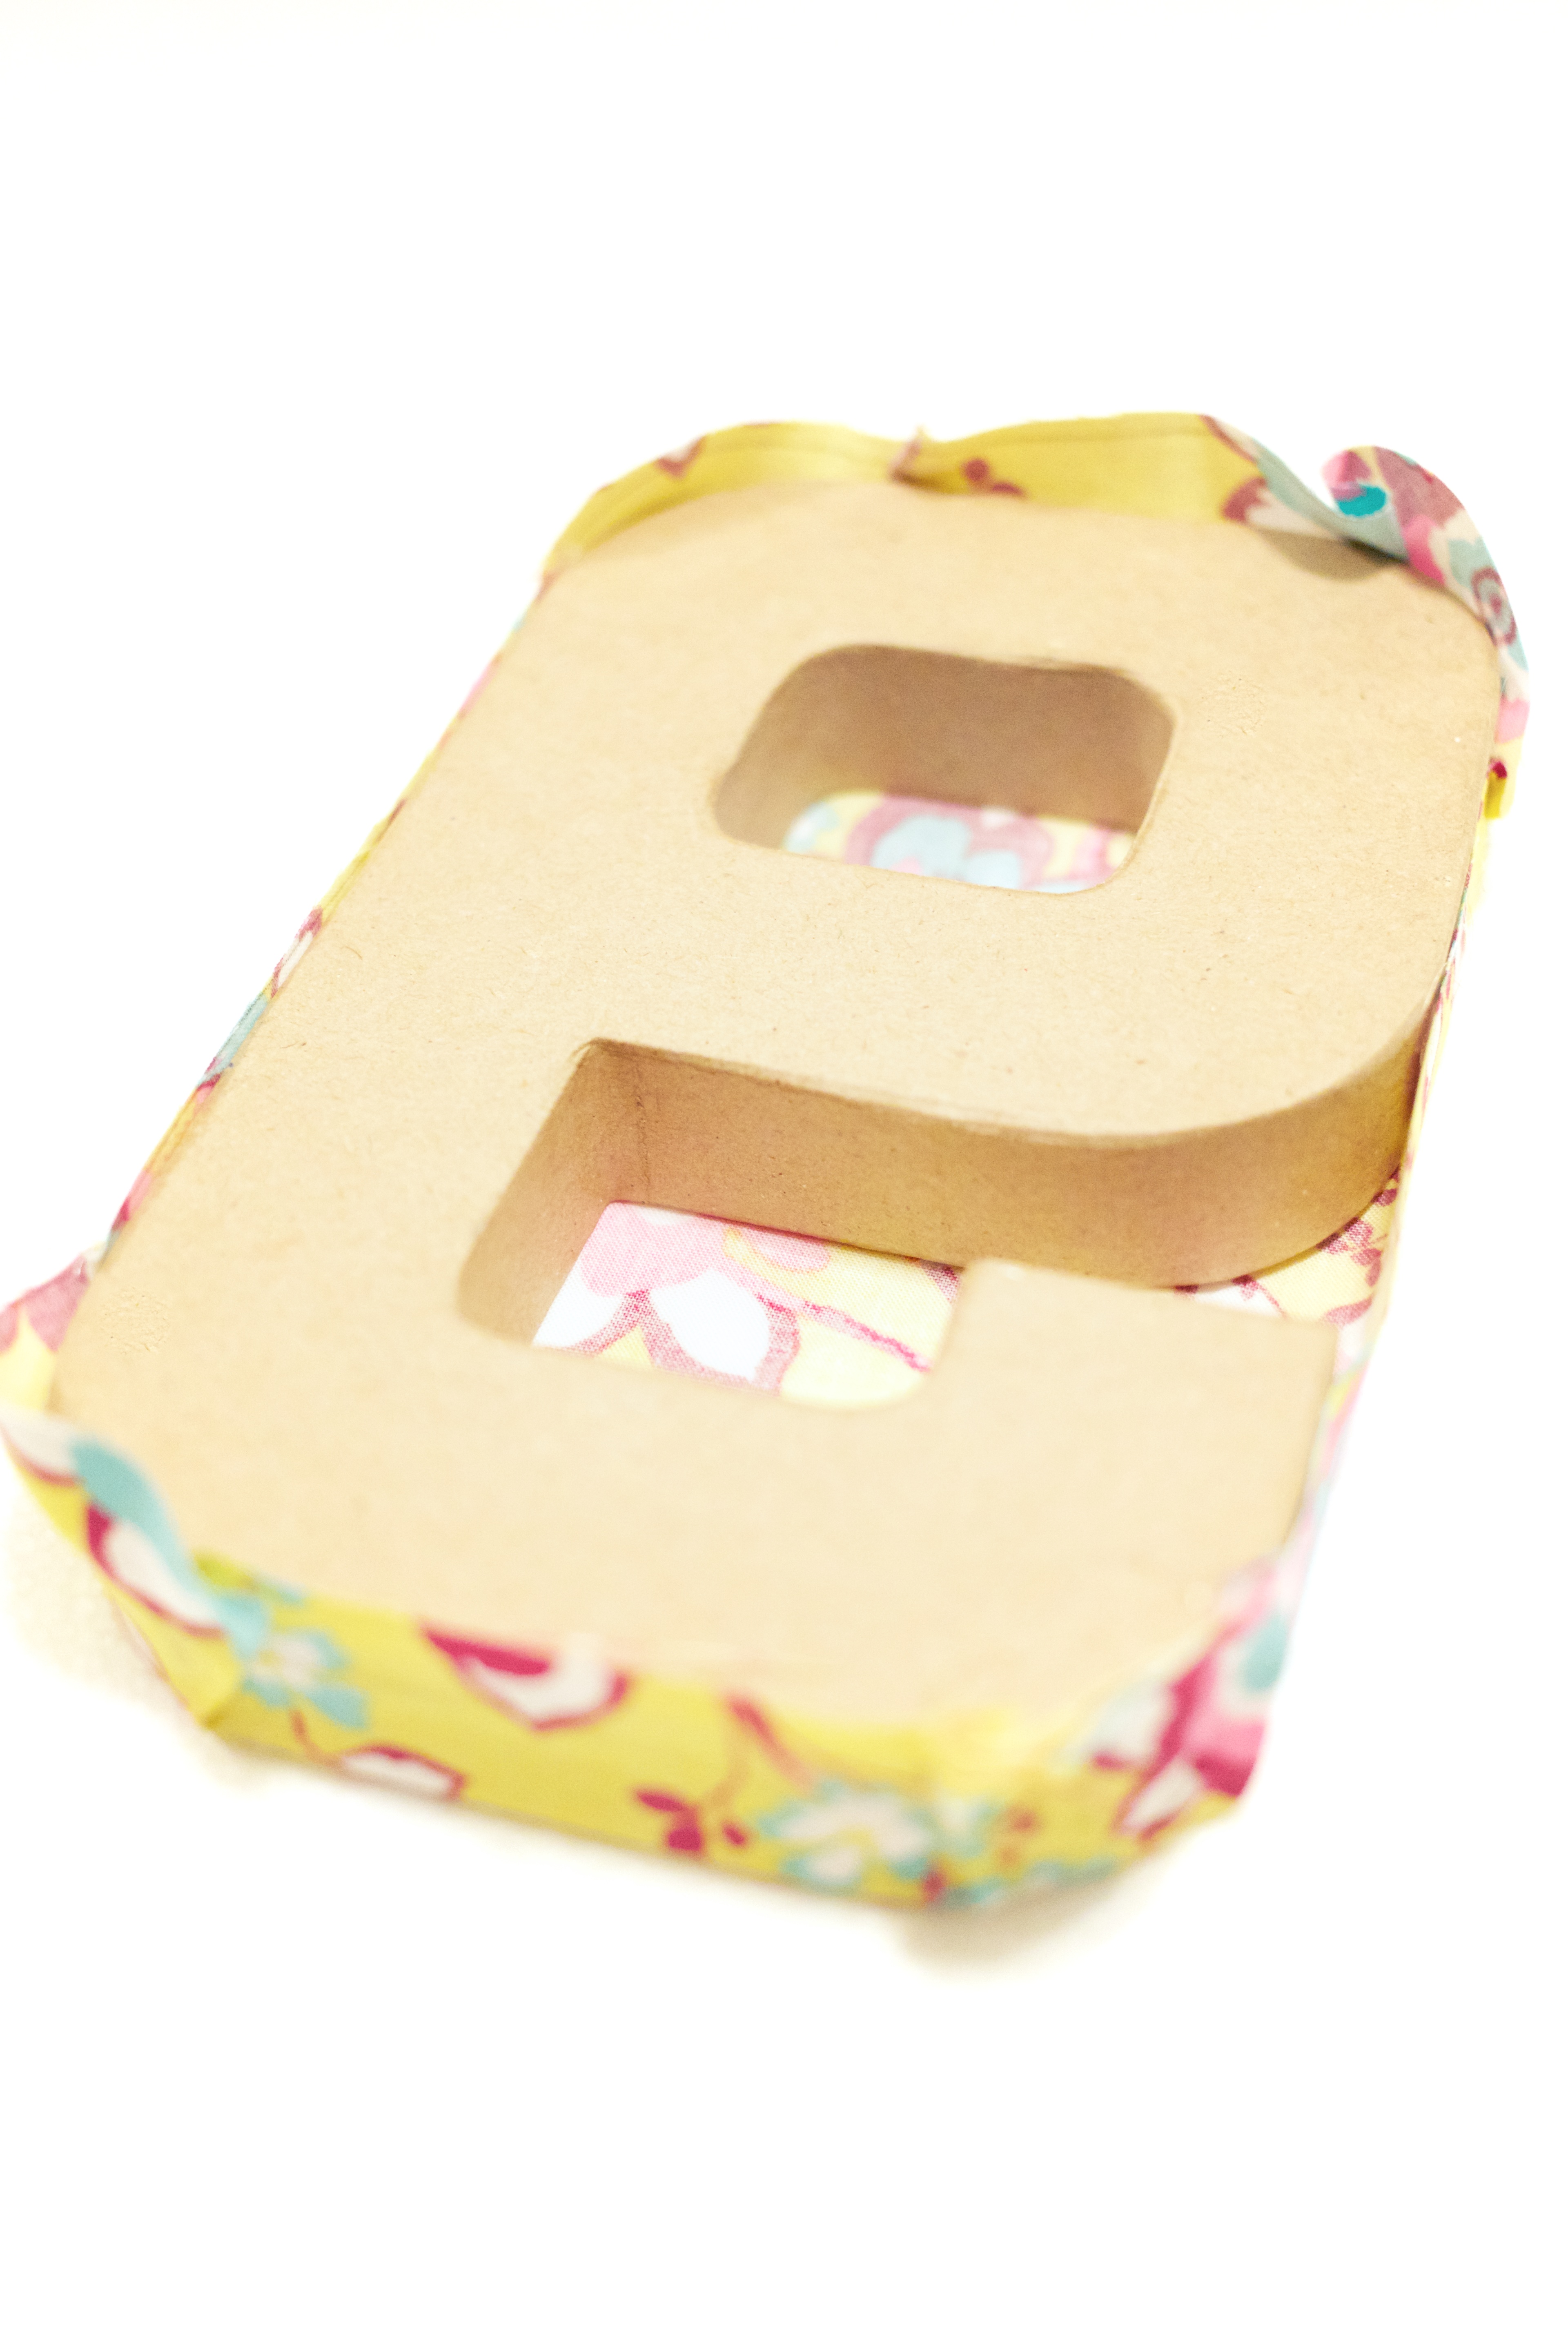
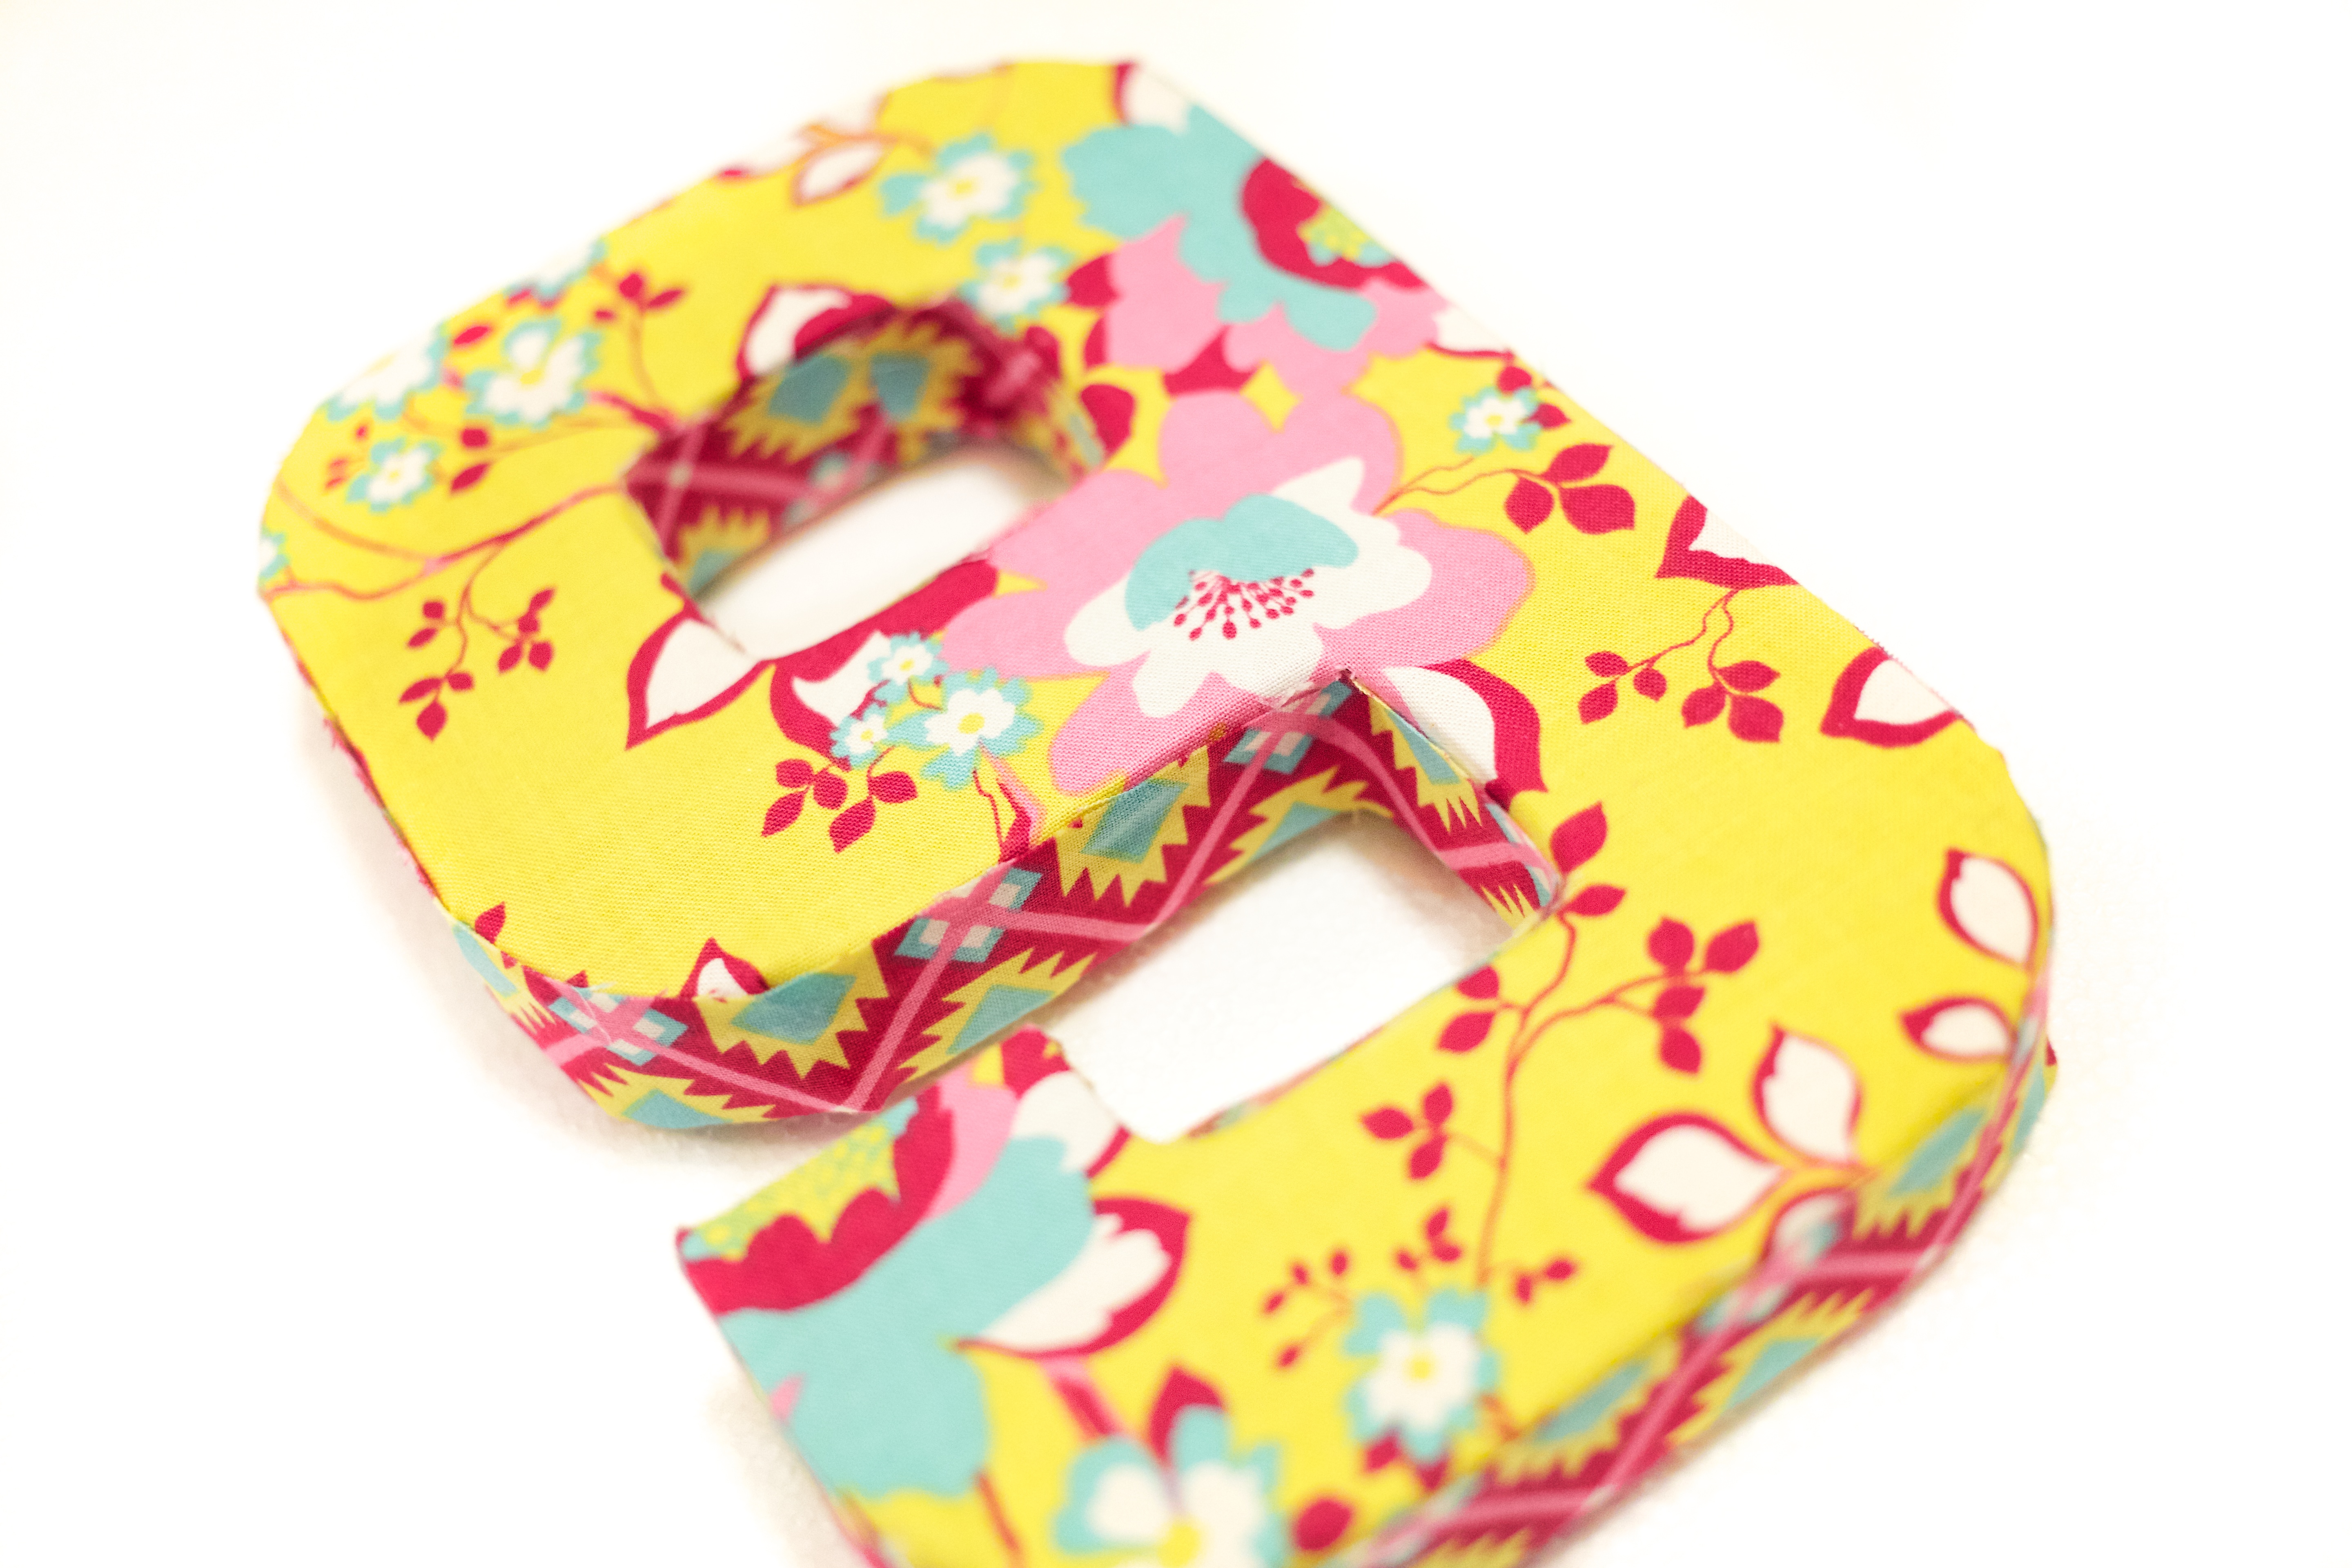
Lay your number face-down on the backside of the fabric, and trace the general shape about an inch or two bigger than the actual number. (Ignore any “holes” inside the number for now.)
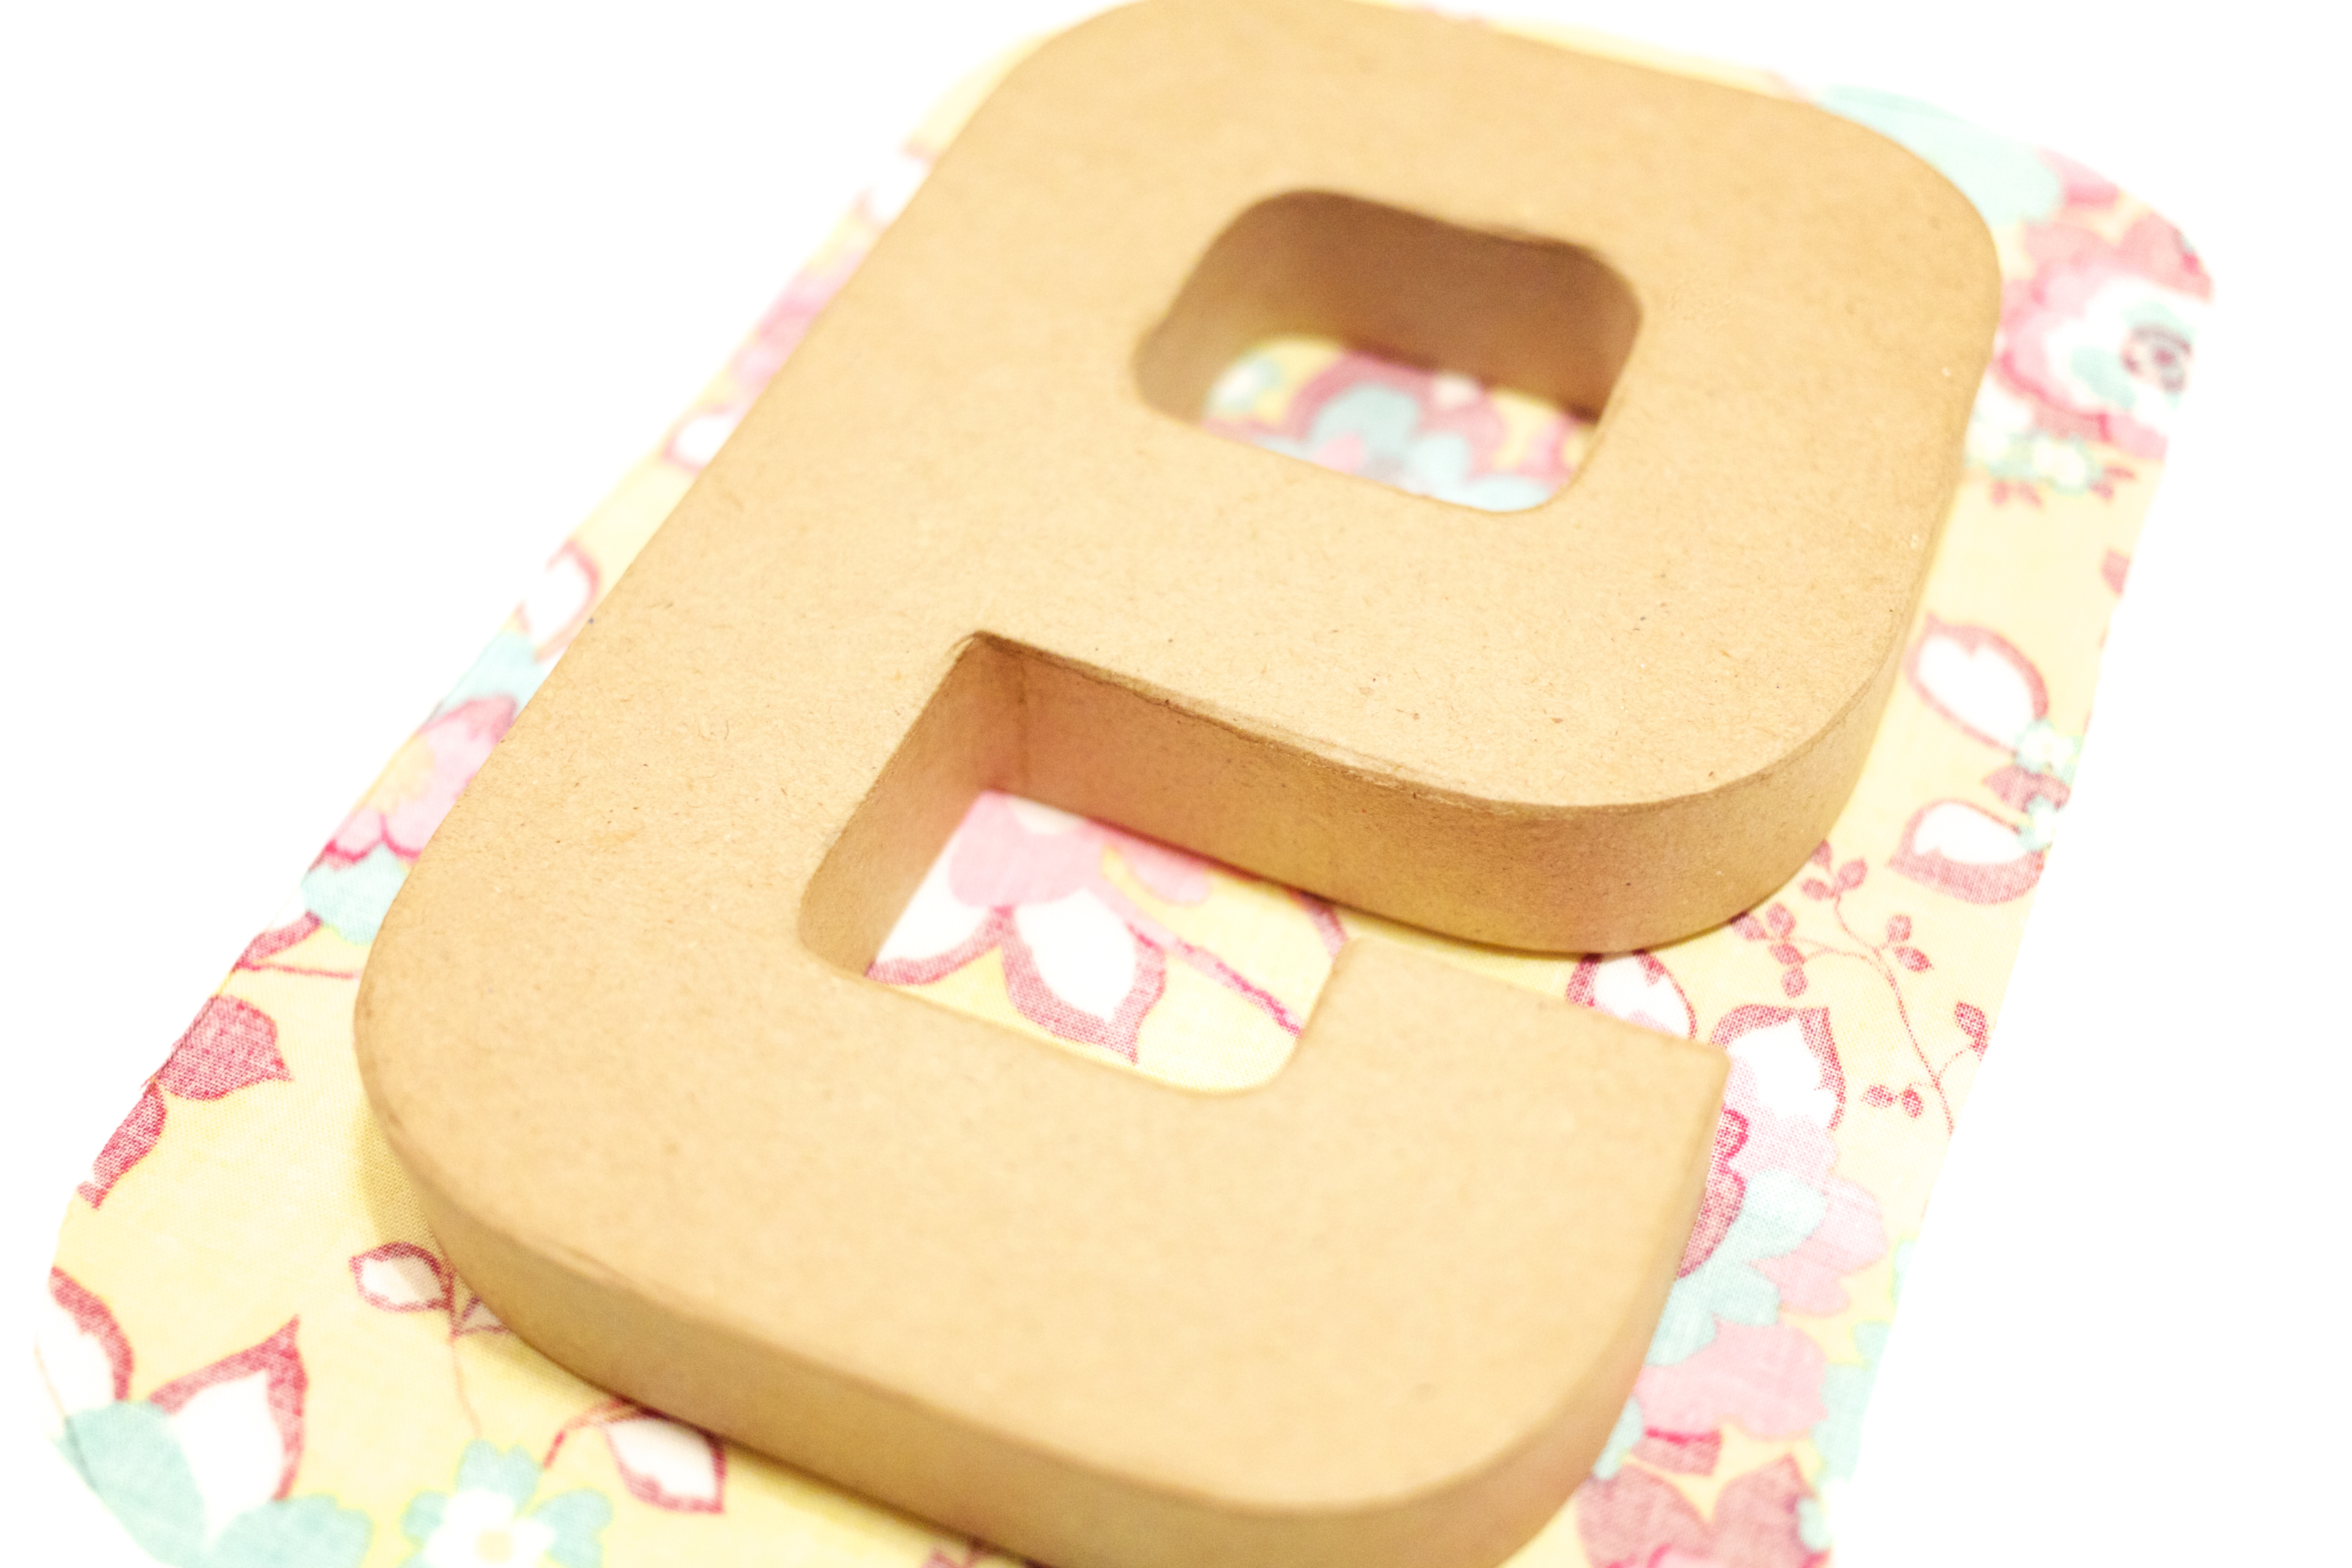
STEP TWO: CUT OUT YOUR TRACED NUMBER
Cut along your traced line, then use double-sided tape to tape your number face-down to the backside of the fabric. (This little extra step will help your number stay in place while you hot glue.)
STEP THREE: GET GLUING!
Use hot glue to wrap your fabric around the edges of the number. Begin with the straight sides, then do the corners. (For rounded edges, you’ll have some wrinkles, but just glue-glue-glue away until they’re smooth!)
STEP FOUR: GLUE THE INSIDES
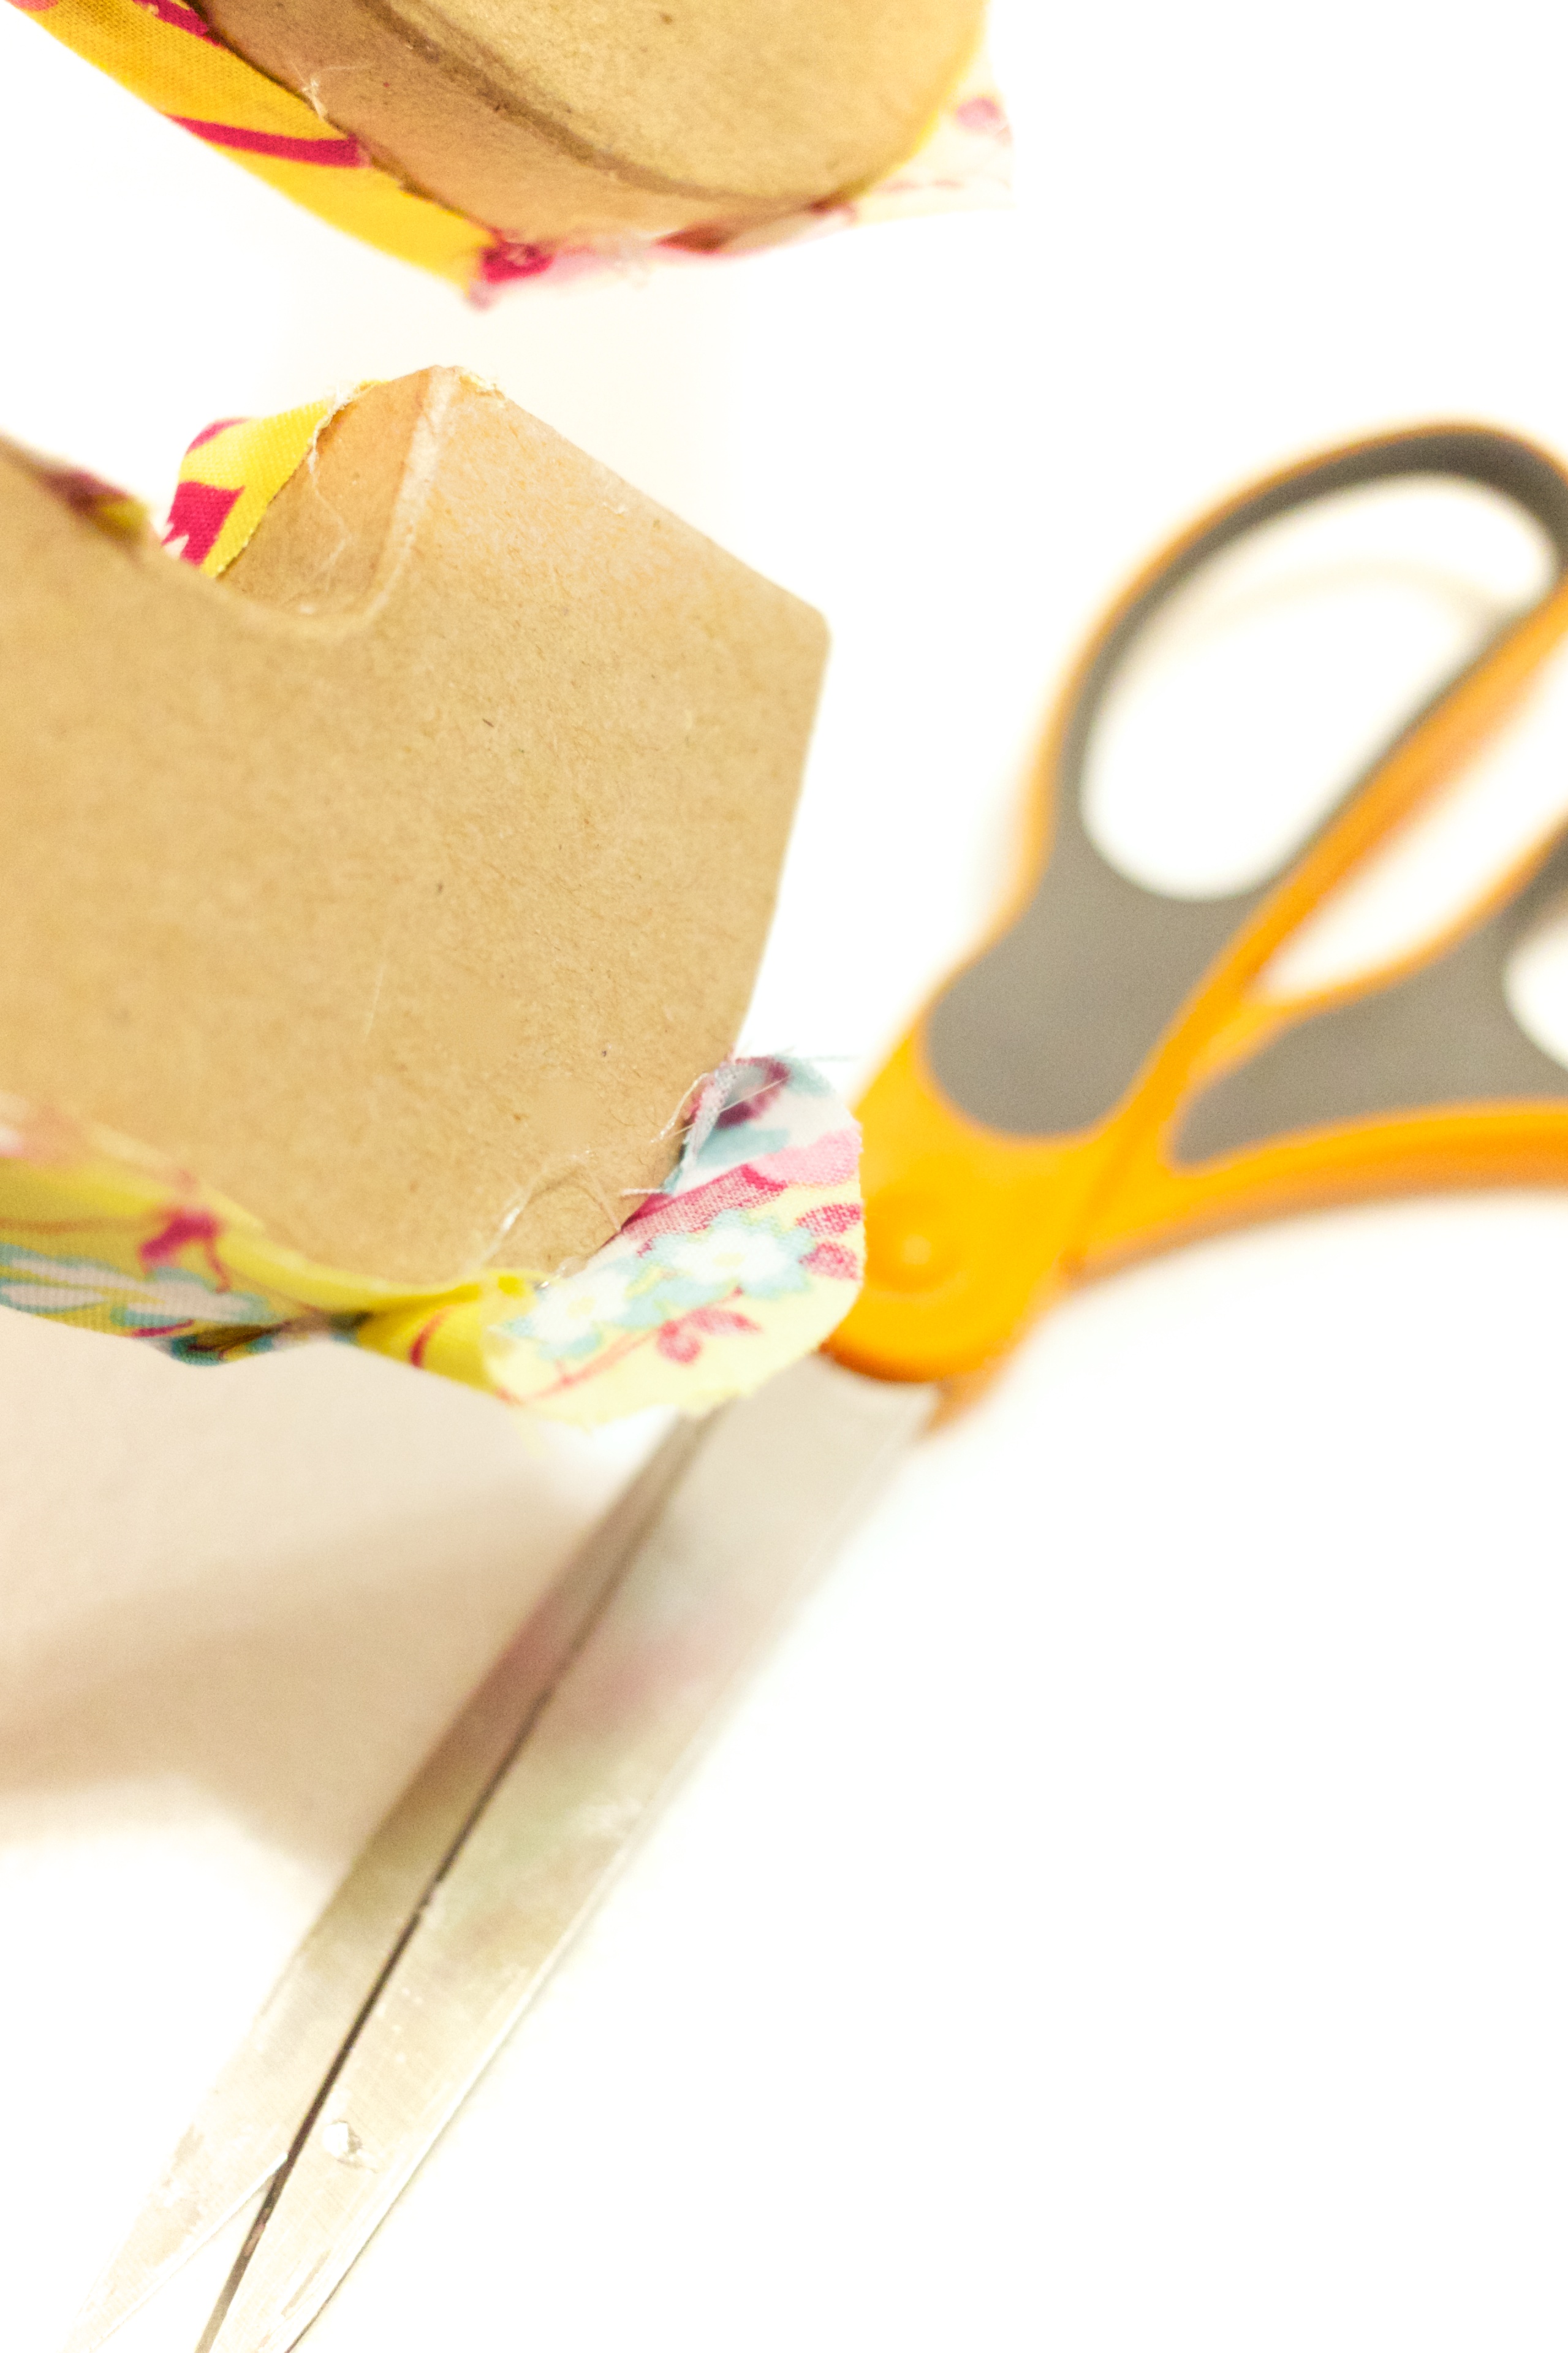
Using your scissors, carefully cut slits, using the corners as anchor points. Then hot glue those little flaps down!

STEP FIVE: TRIM THE EDGES
Trim away any excess fabric (especially at the corners).
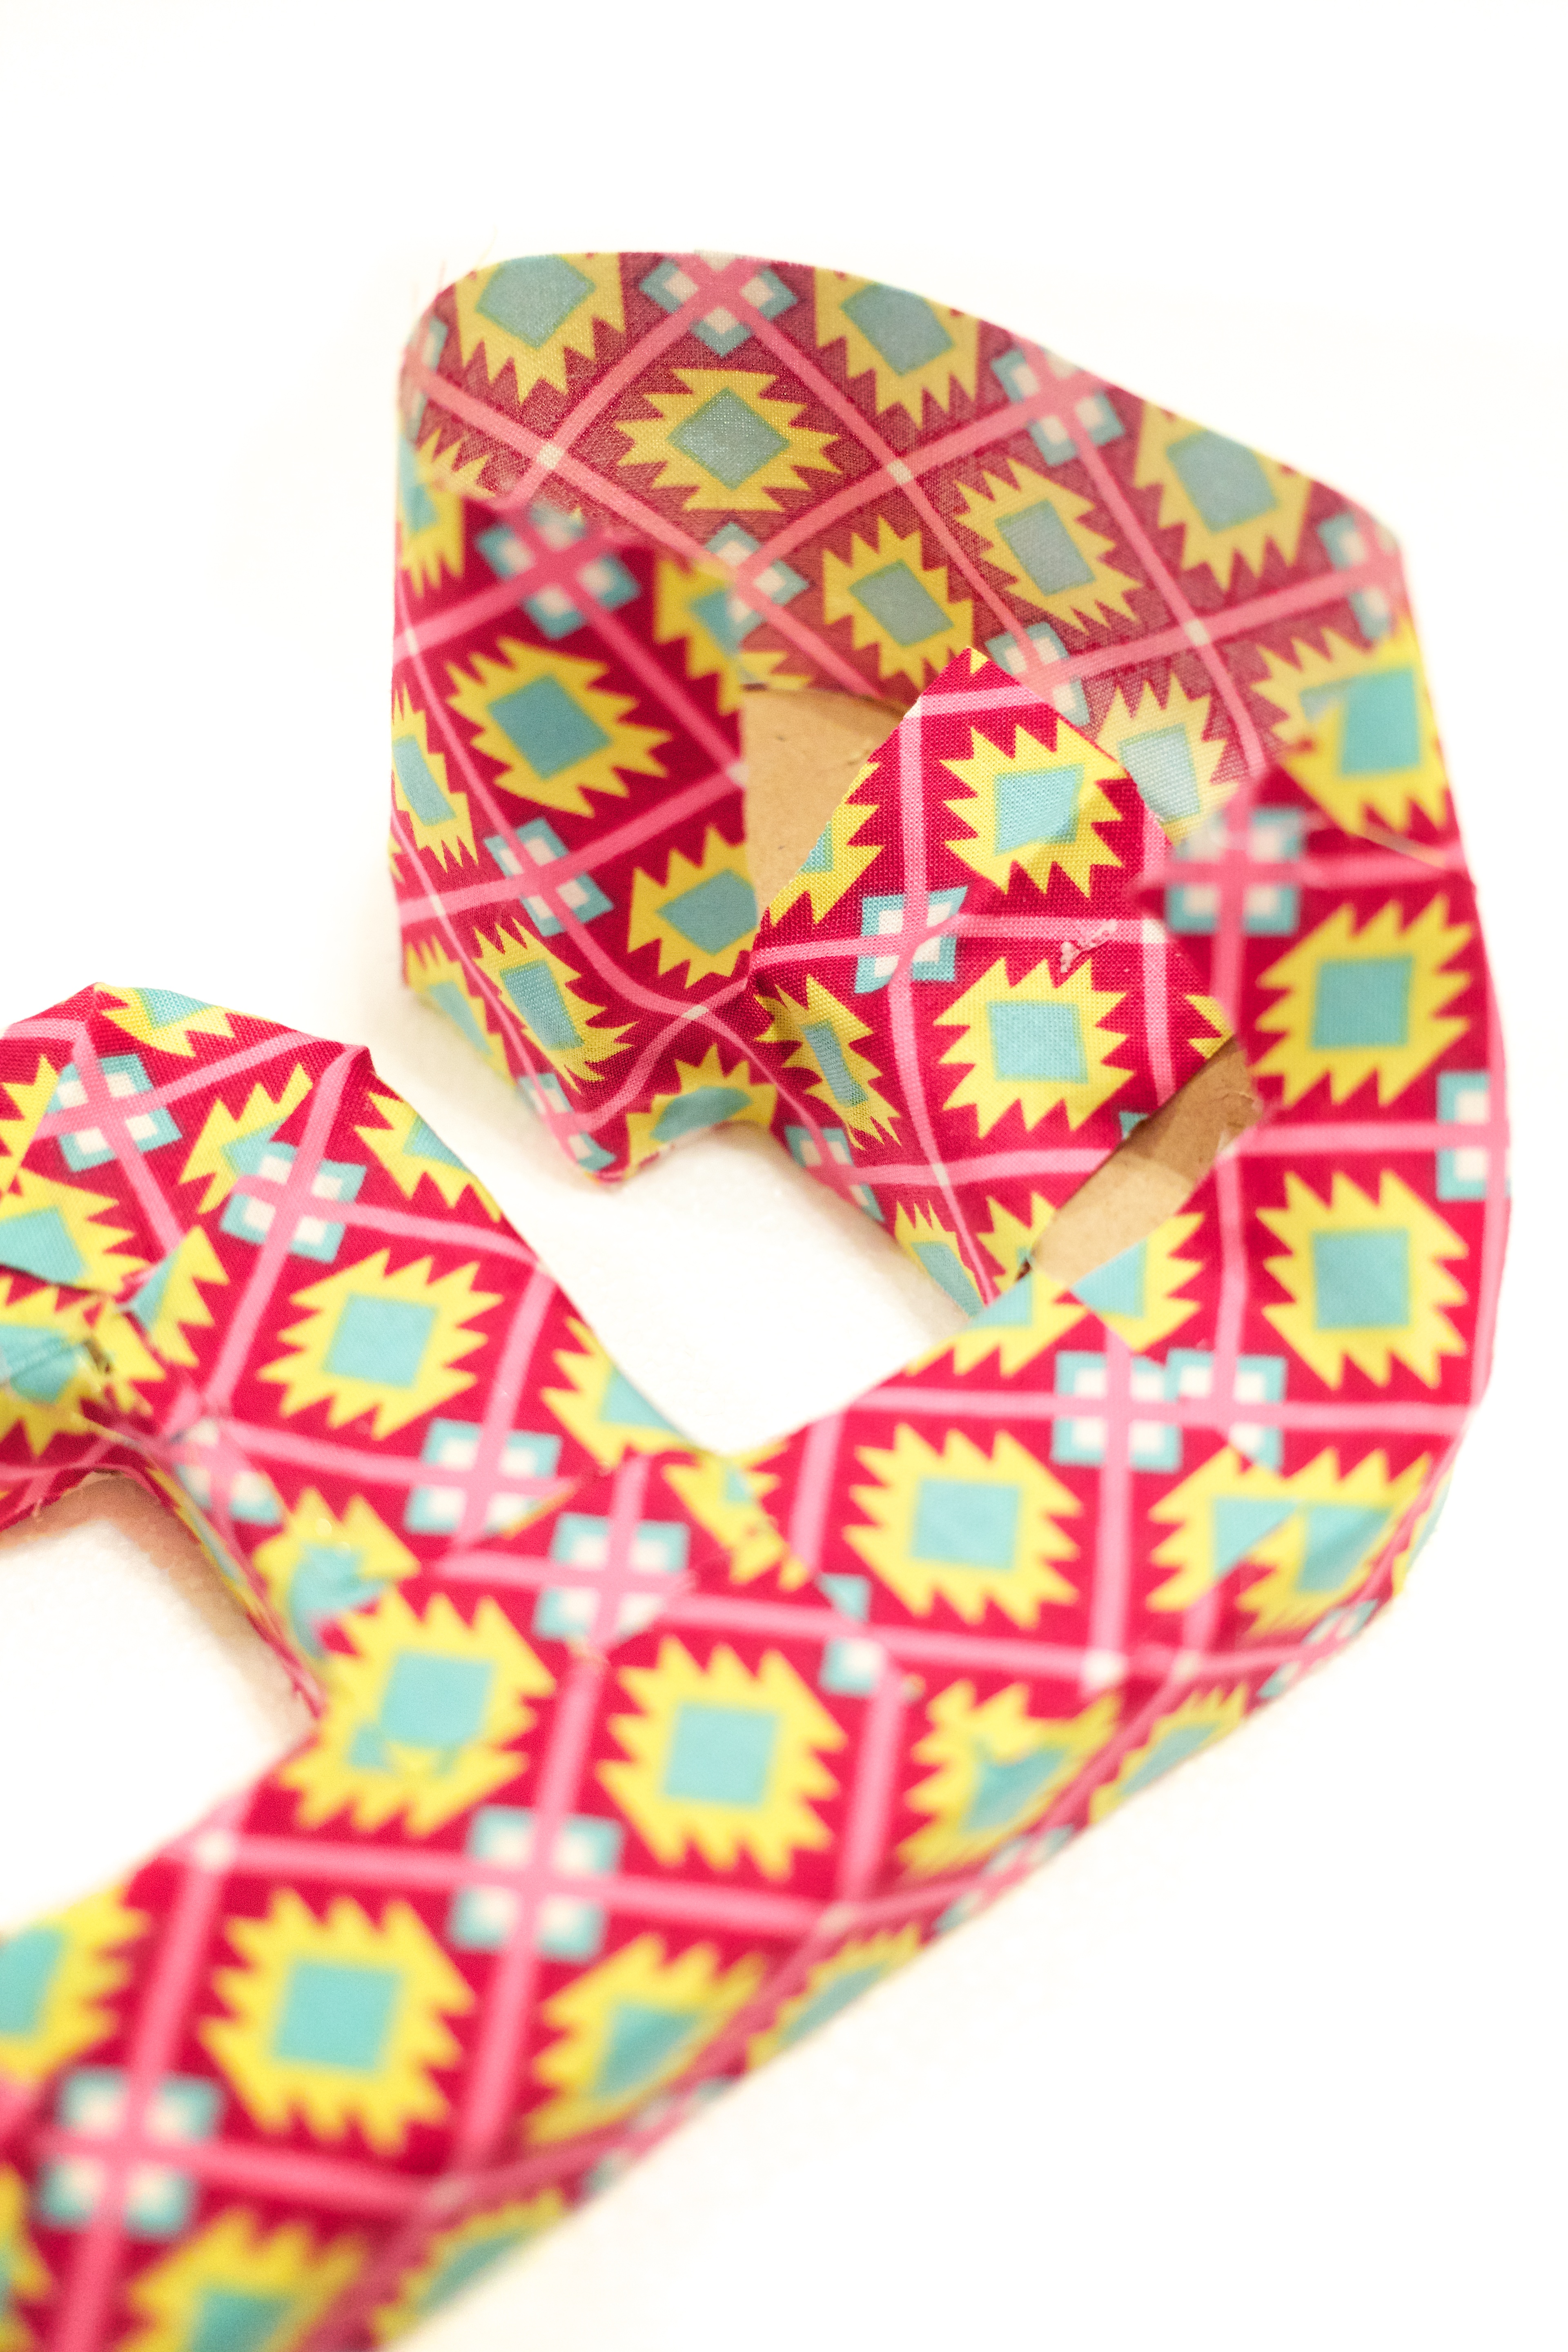
STEP SIX: COVER THE SIDES
Take the strip of fabric you’ve chosen for the side and hot glue it around all of the edges. Once you’re done, flip over the number and glue down the extra fabric to cover the back, snipping little slits as you go to help the fabric wrap nicely. (NOTE: You could just simply trim the extra fabric away, leaving chipboard exposed on the back. HOWEVER, I knew I’d regret not covering the back one day when I reuse these for another purpose, so I figured it was worth the extra time. I did NOT make sure the backs were perfect-looking, just covered.) If you trim too much and end up with little bits of chipboard peeking through, just glue extra scraps to cover them.
STEP SEVEN: VOILA! ALL DONE!
Now wasn’t that easy?!? Okay, okay, if you have to do a dozen of them like I did, it takes some time to work your way through this craft. Just put on a Downton Abbey marathon and the time will fly!
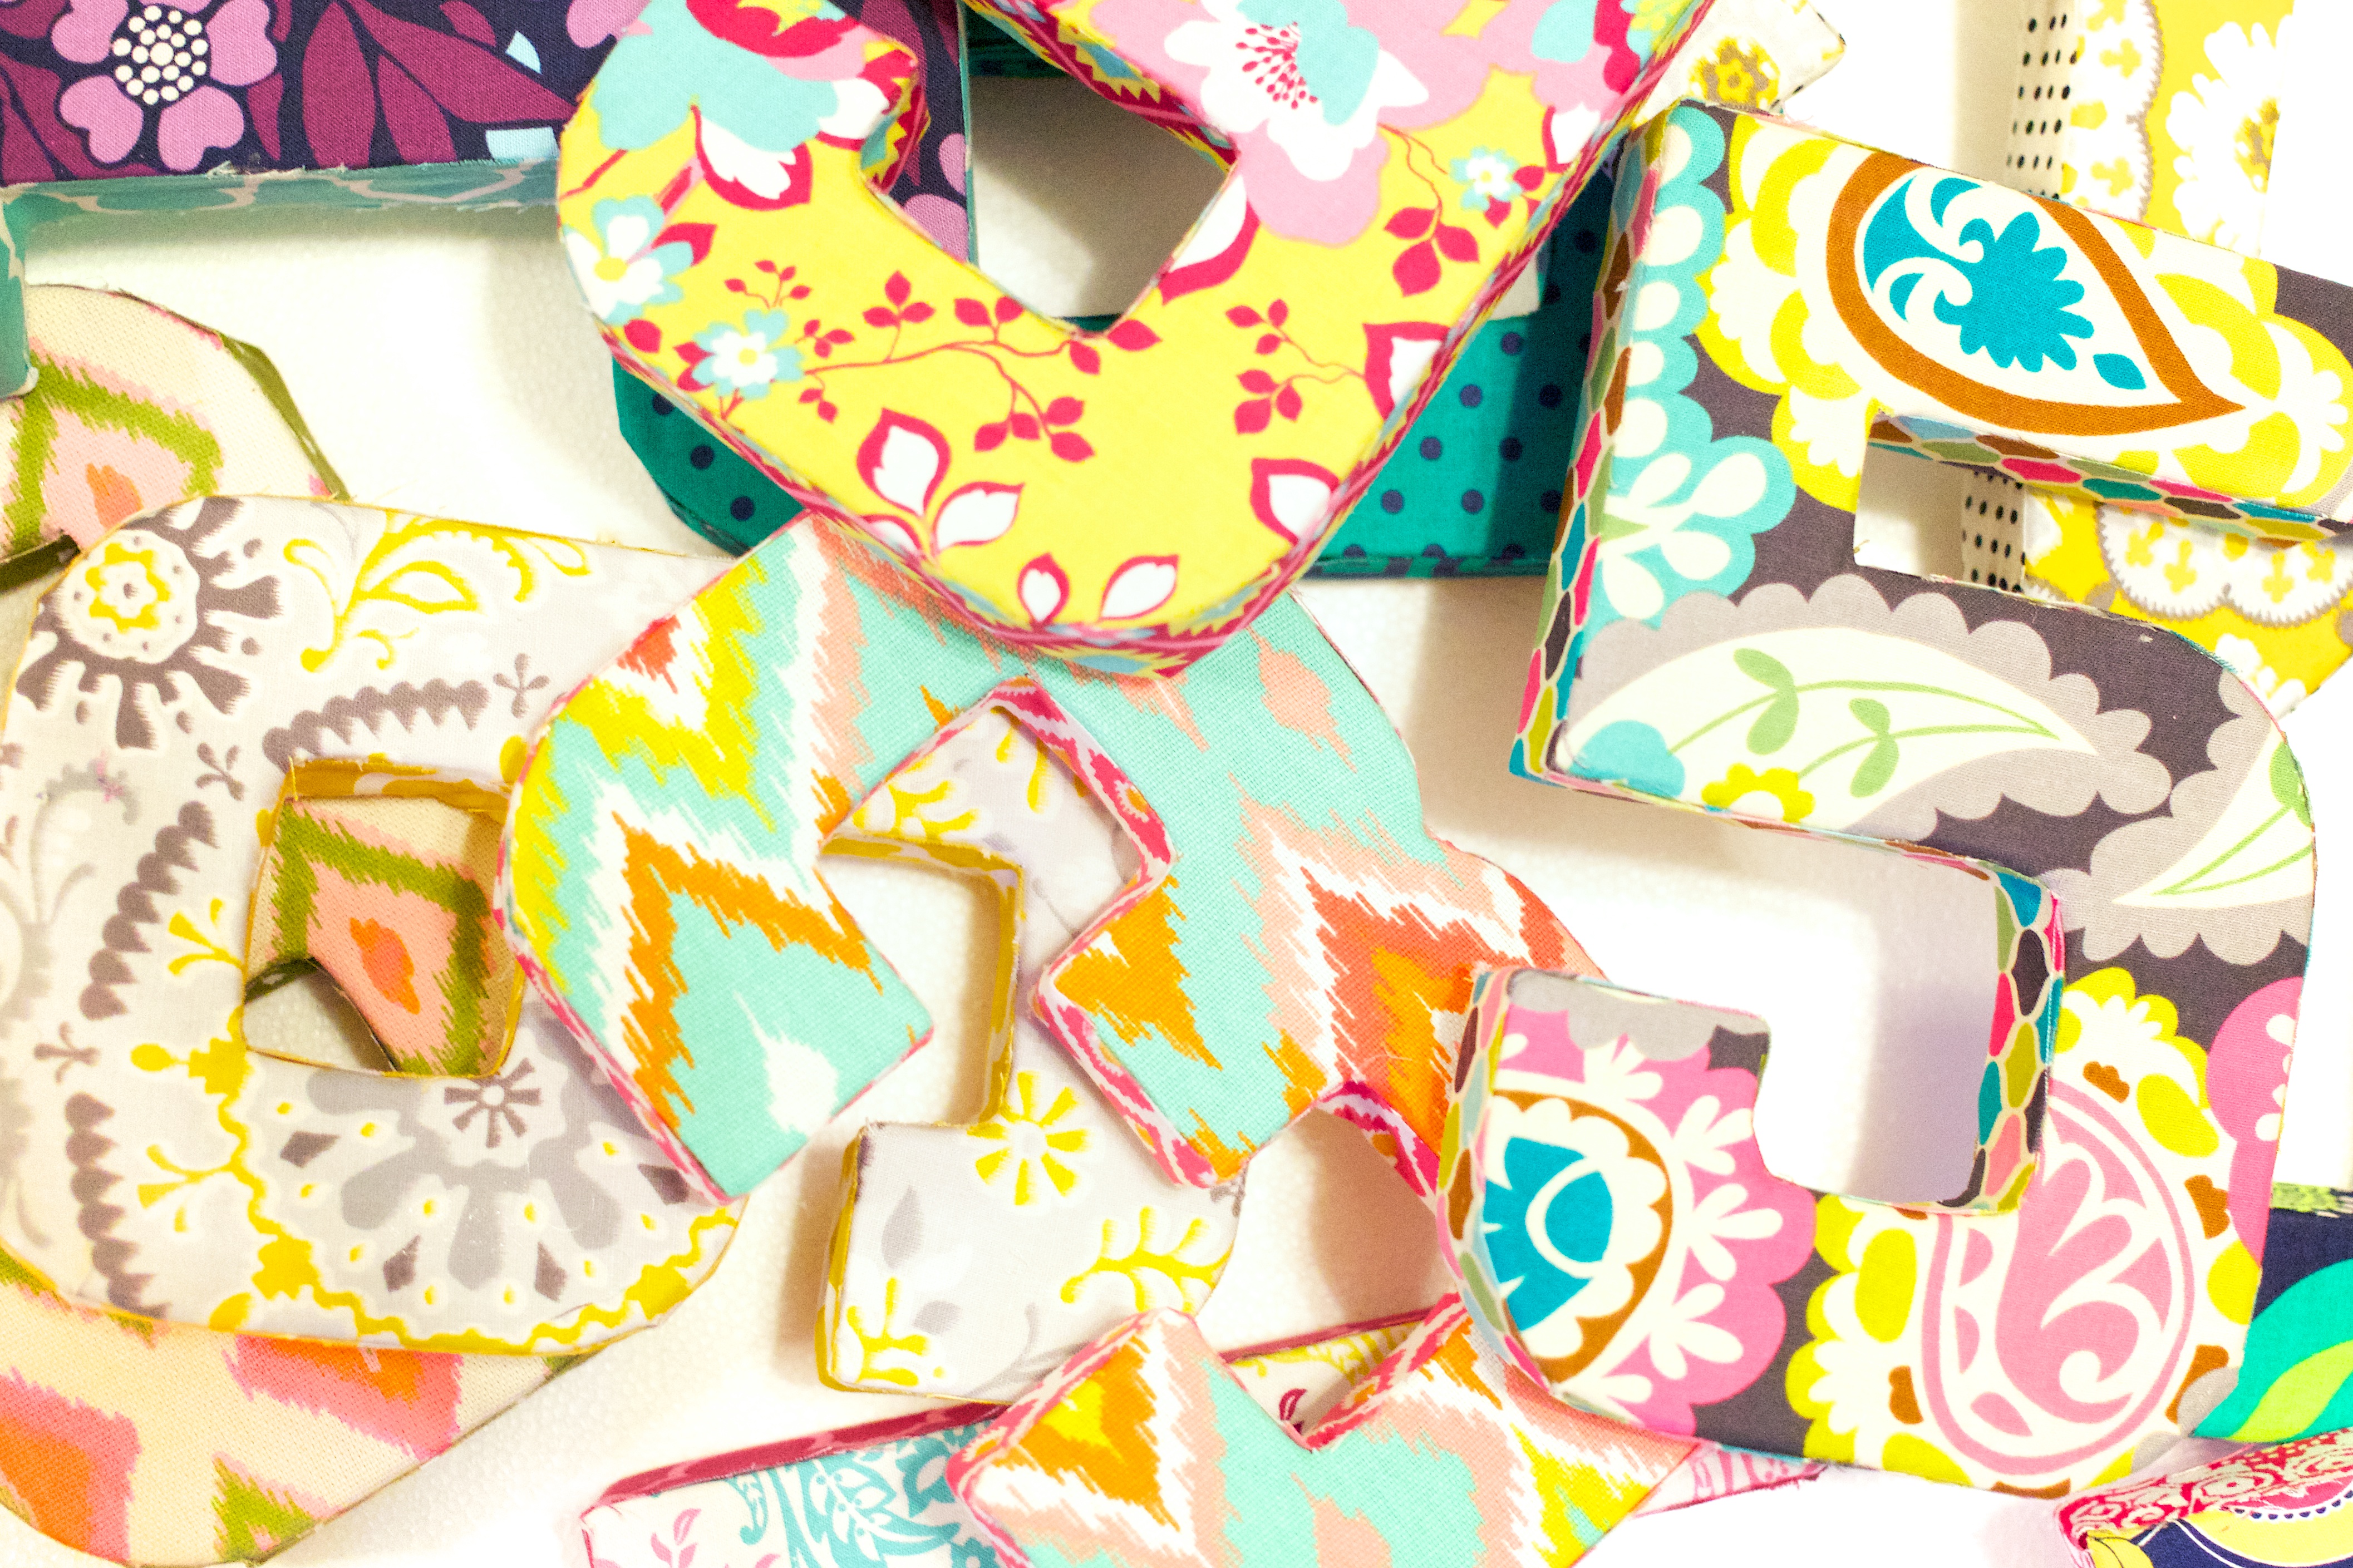
I love the mix ‘n match feel that I got with using all different fabrics, but you could theme them around one or two specific colors.

Happy crafting!
“Fast forward five hours” HHhAaha It is sooo nice (if rare) when you can get lost in a project like that! ;) They look great!
Author
You call it “lost,” I call it “OCD.” ;) Yours sounds much nicer, haha!