Soooo…yeah. I just finished writing about these flower crowns I made for my girls this week, and when I went back to find my last post about making flower crowns, it turns out I posted that blog on October 6, 2015 — EXACTLY one year ago. Is that bizarre or what???
Okay, moving past the heeby-jeebies…
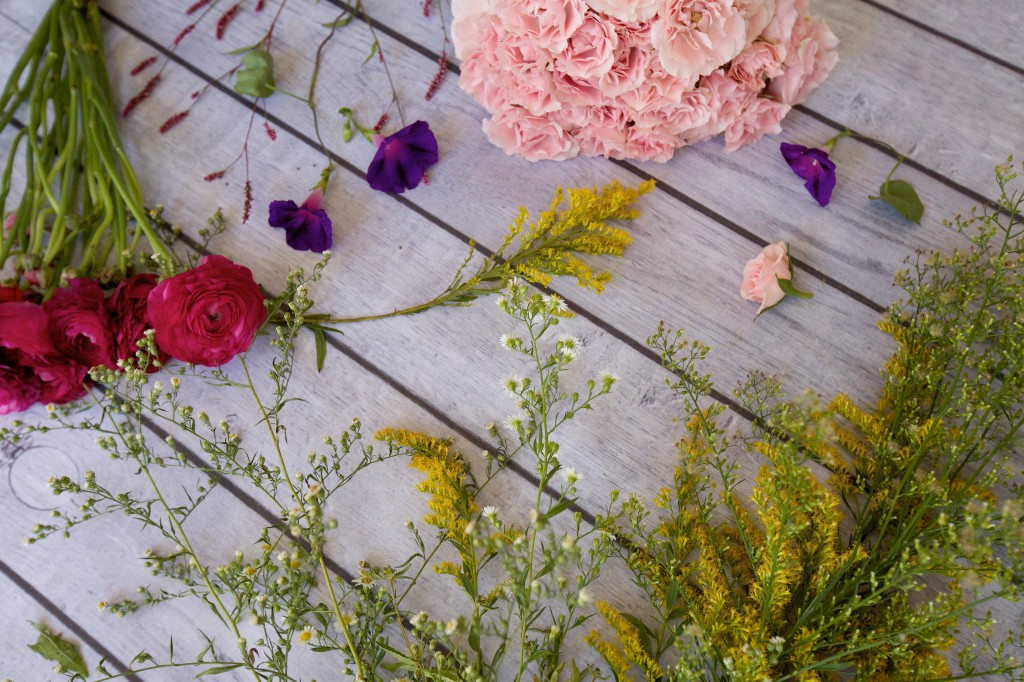
Who doesn’t love a flower crown? They’re a fabulous way to use up extra flowers from an event or arrangement, or in my case, because your florist gives you a few free bunches and you have no other big plans for them!
I posted how to make flower necklaces a few days ago, and promised to share what I did with the rest of my beautiful ranunculus and roses. So, as promised (drum roll please!)…I present to you Suuuuuuuper-Easy Flower Crowns!
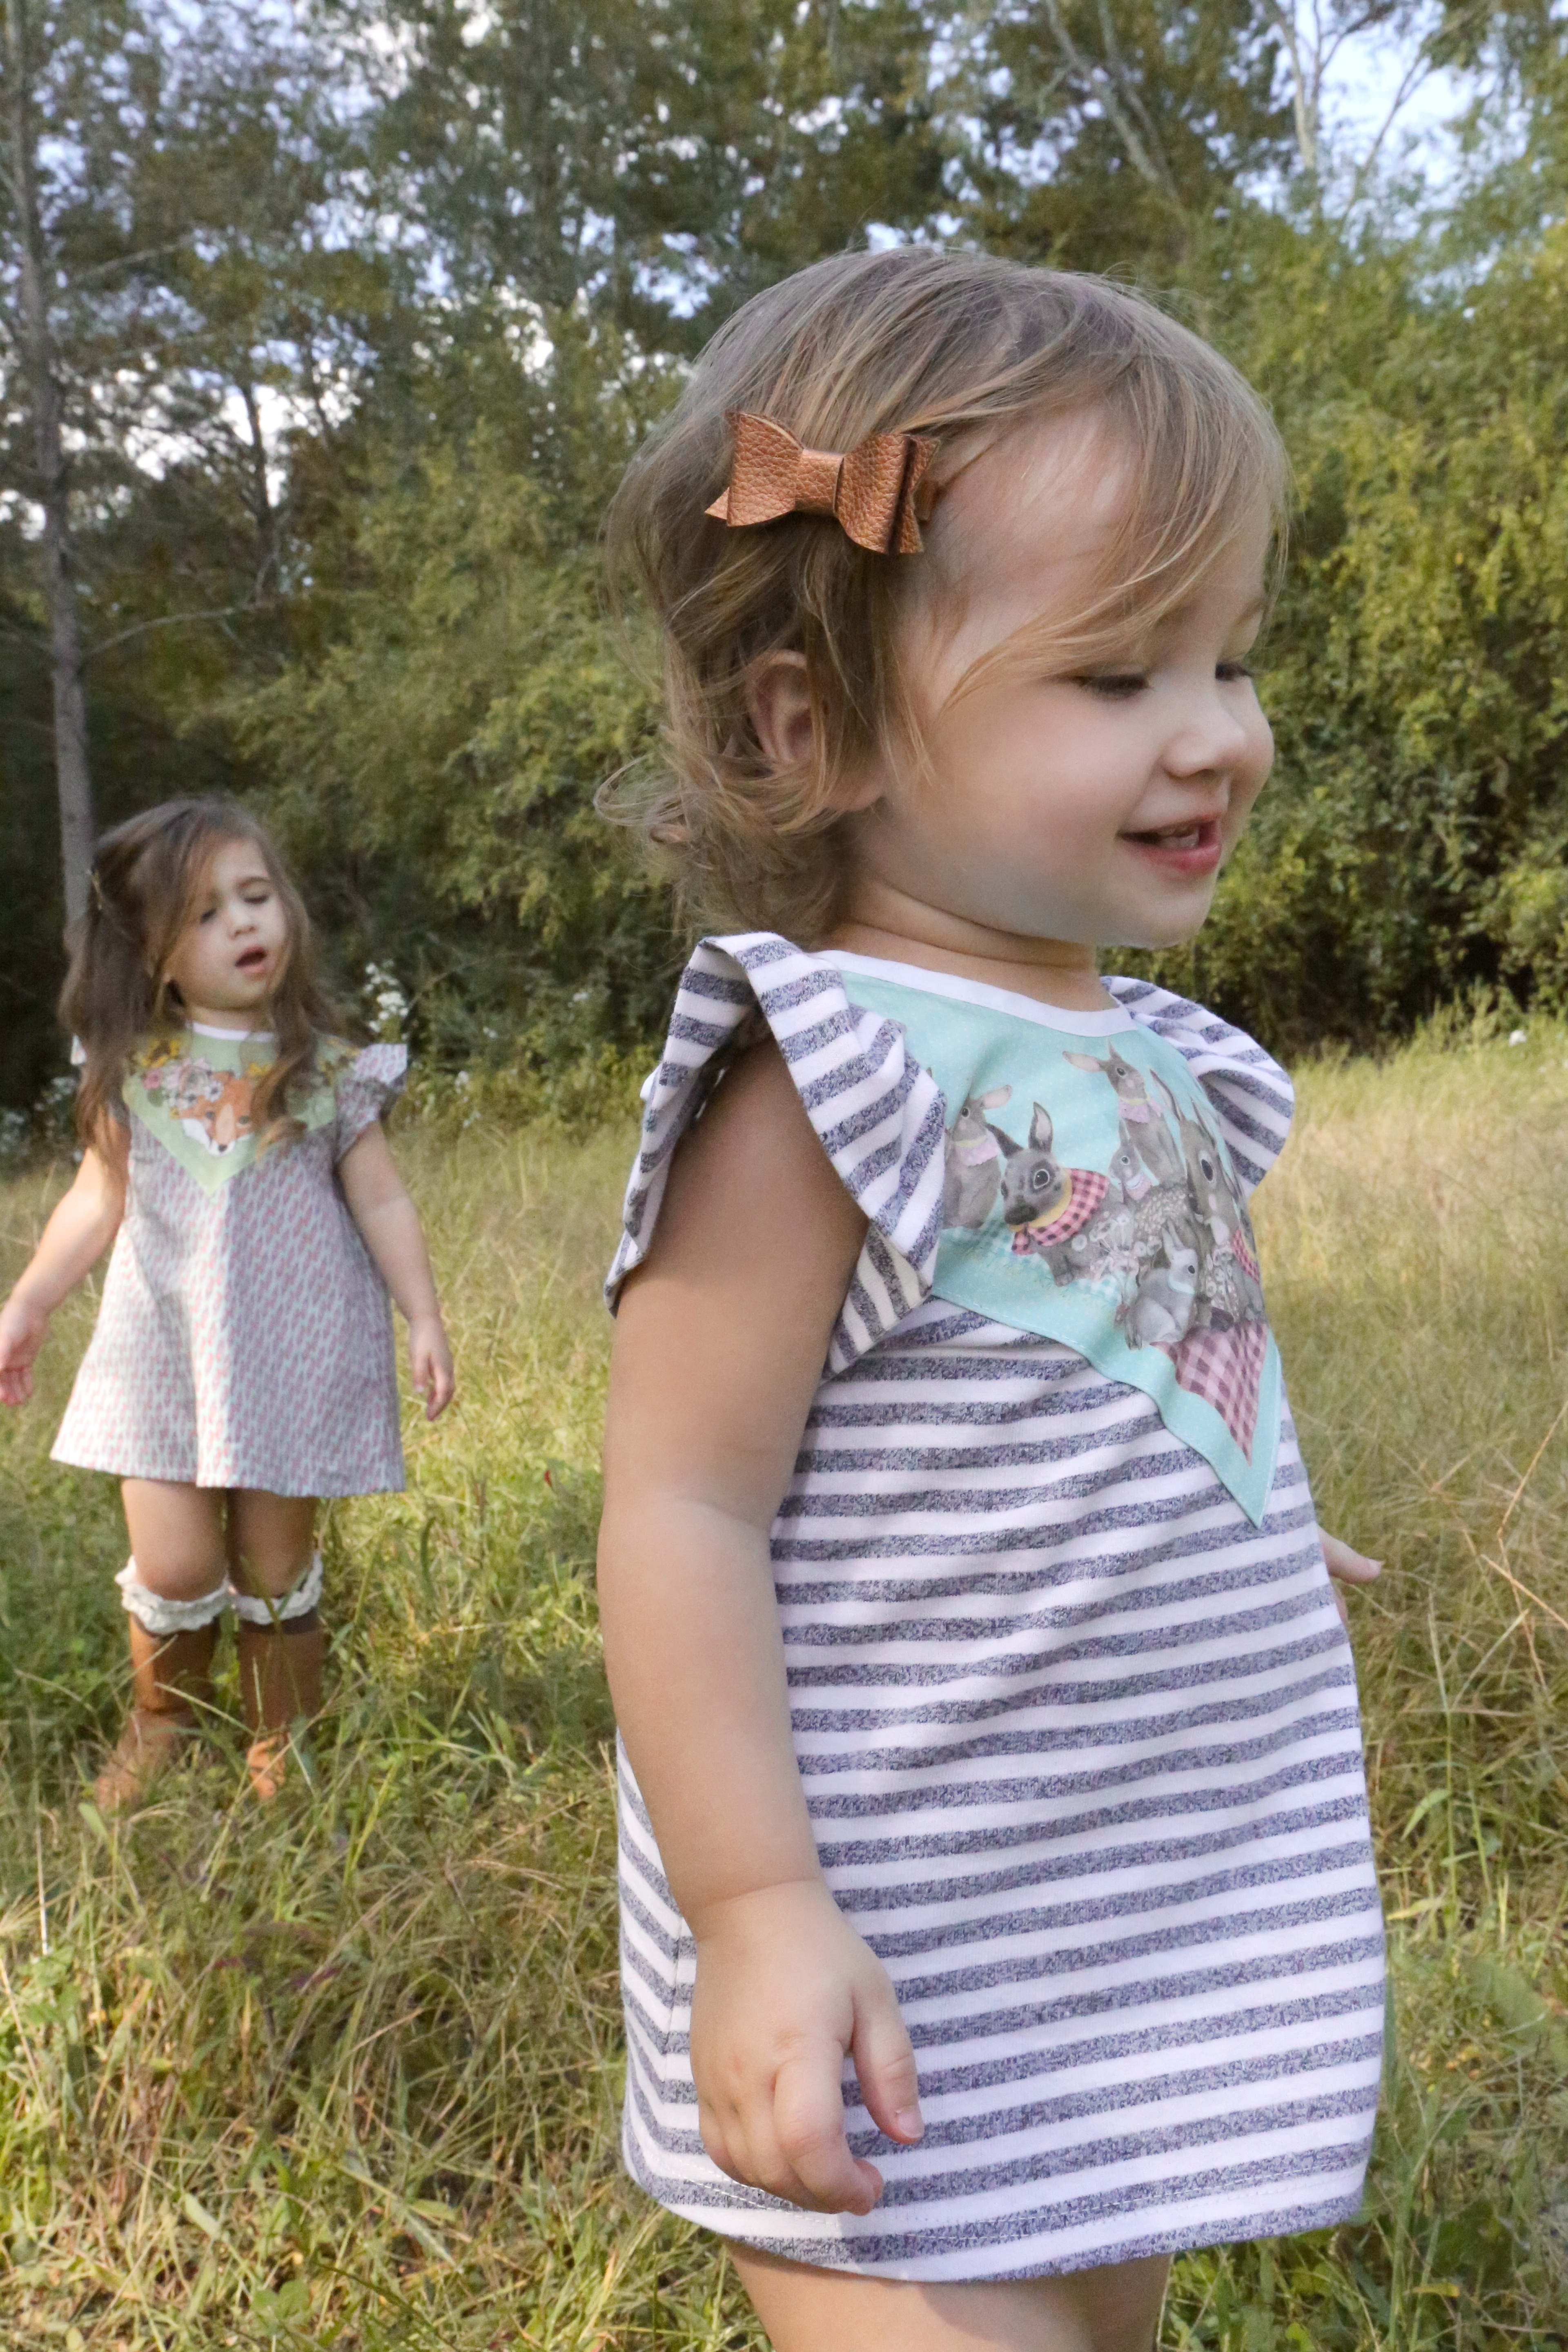
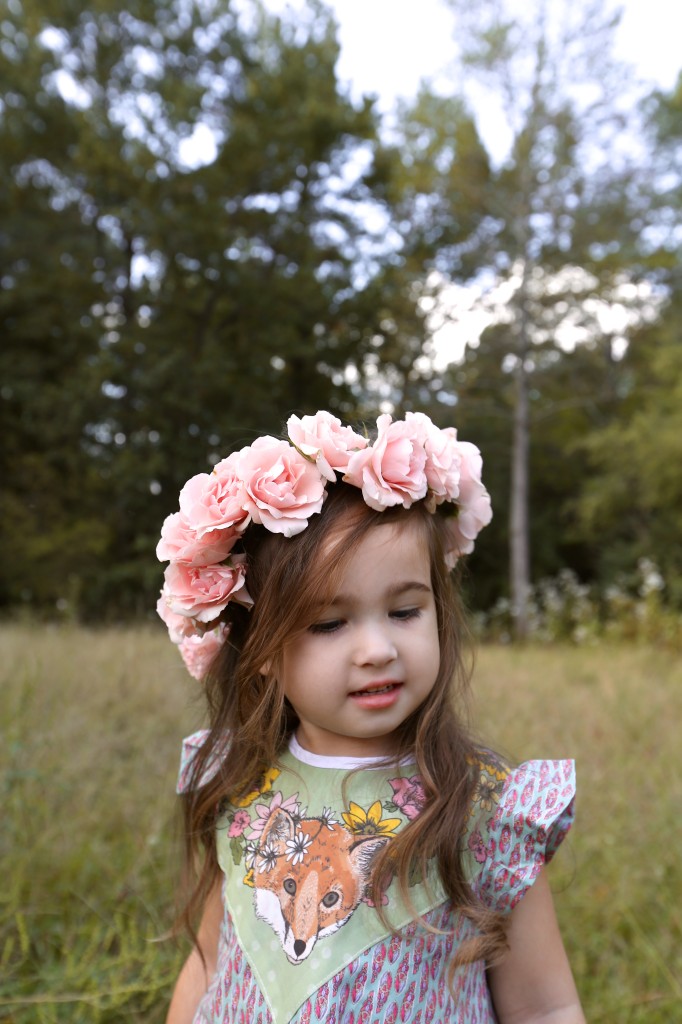
I mean, flower crowns are generally pretty easy to make (they just take practice), and so these extra-simple ones I made for Emma Vance and Cricket only took me about 20 minutes total, i.e. a totally doable nap time DIY!
HOW TO: DIY SUPER-EASY FLOWER CROWNS
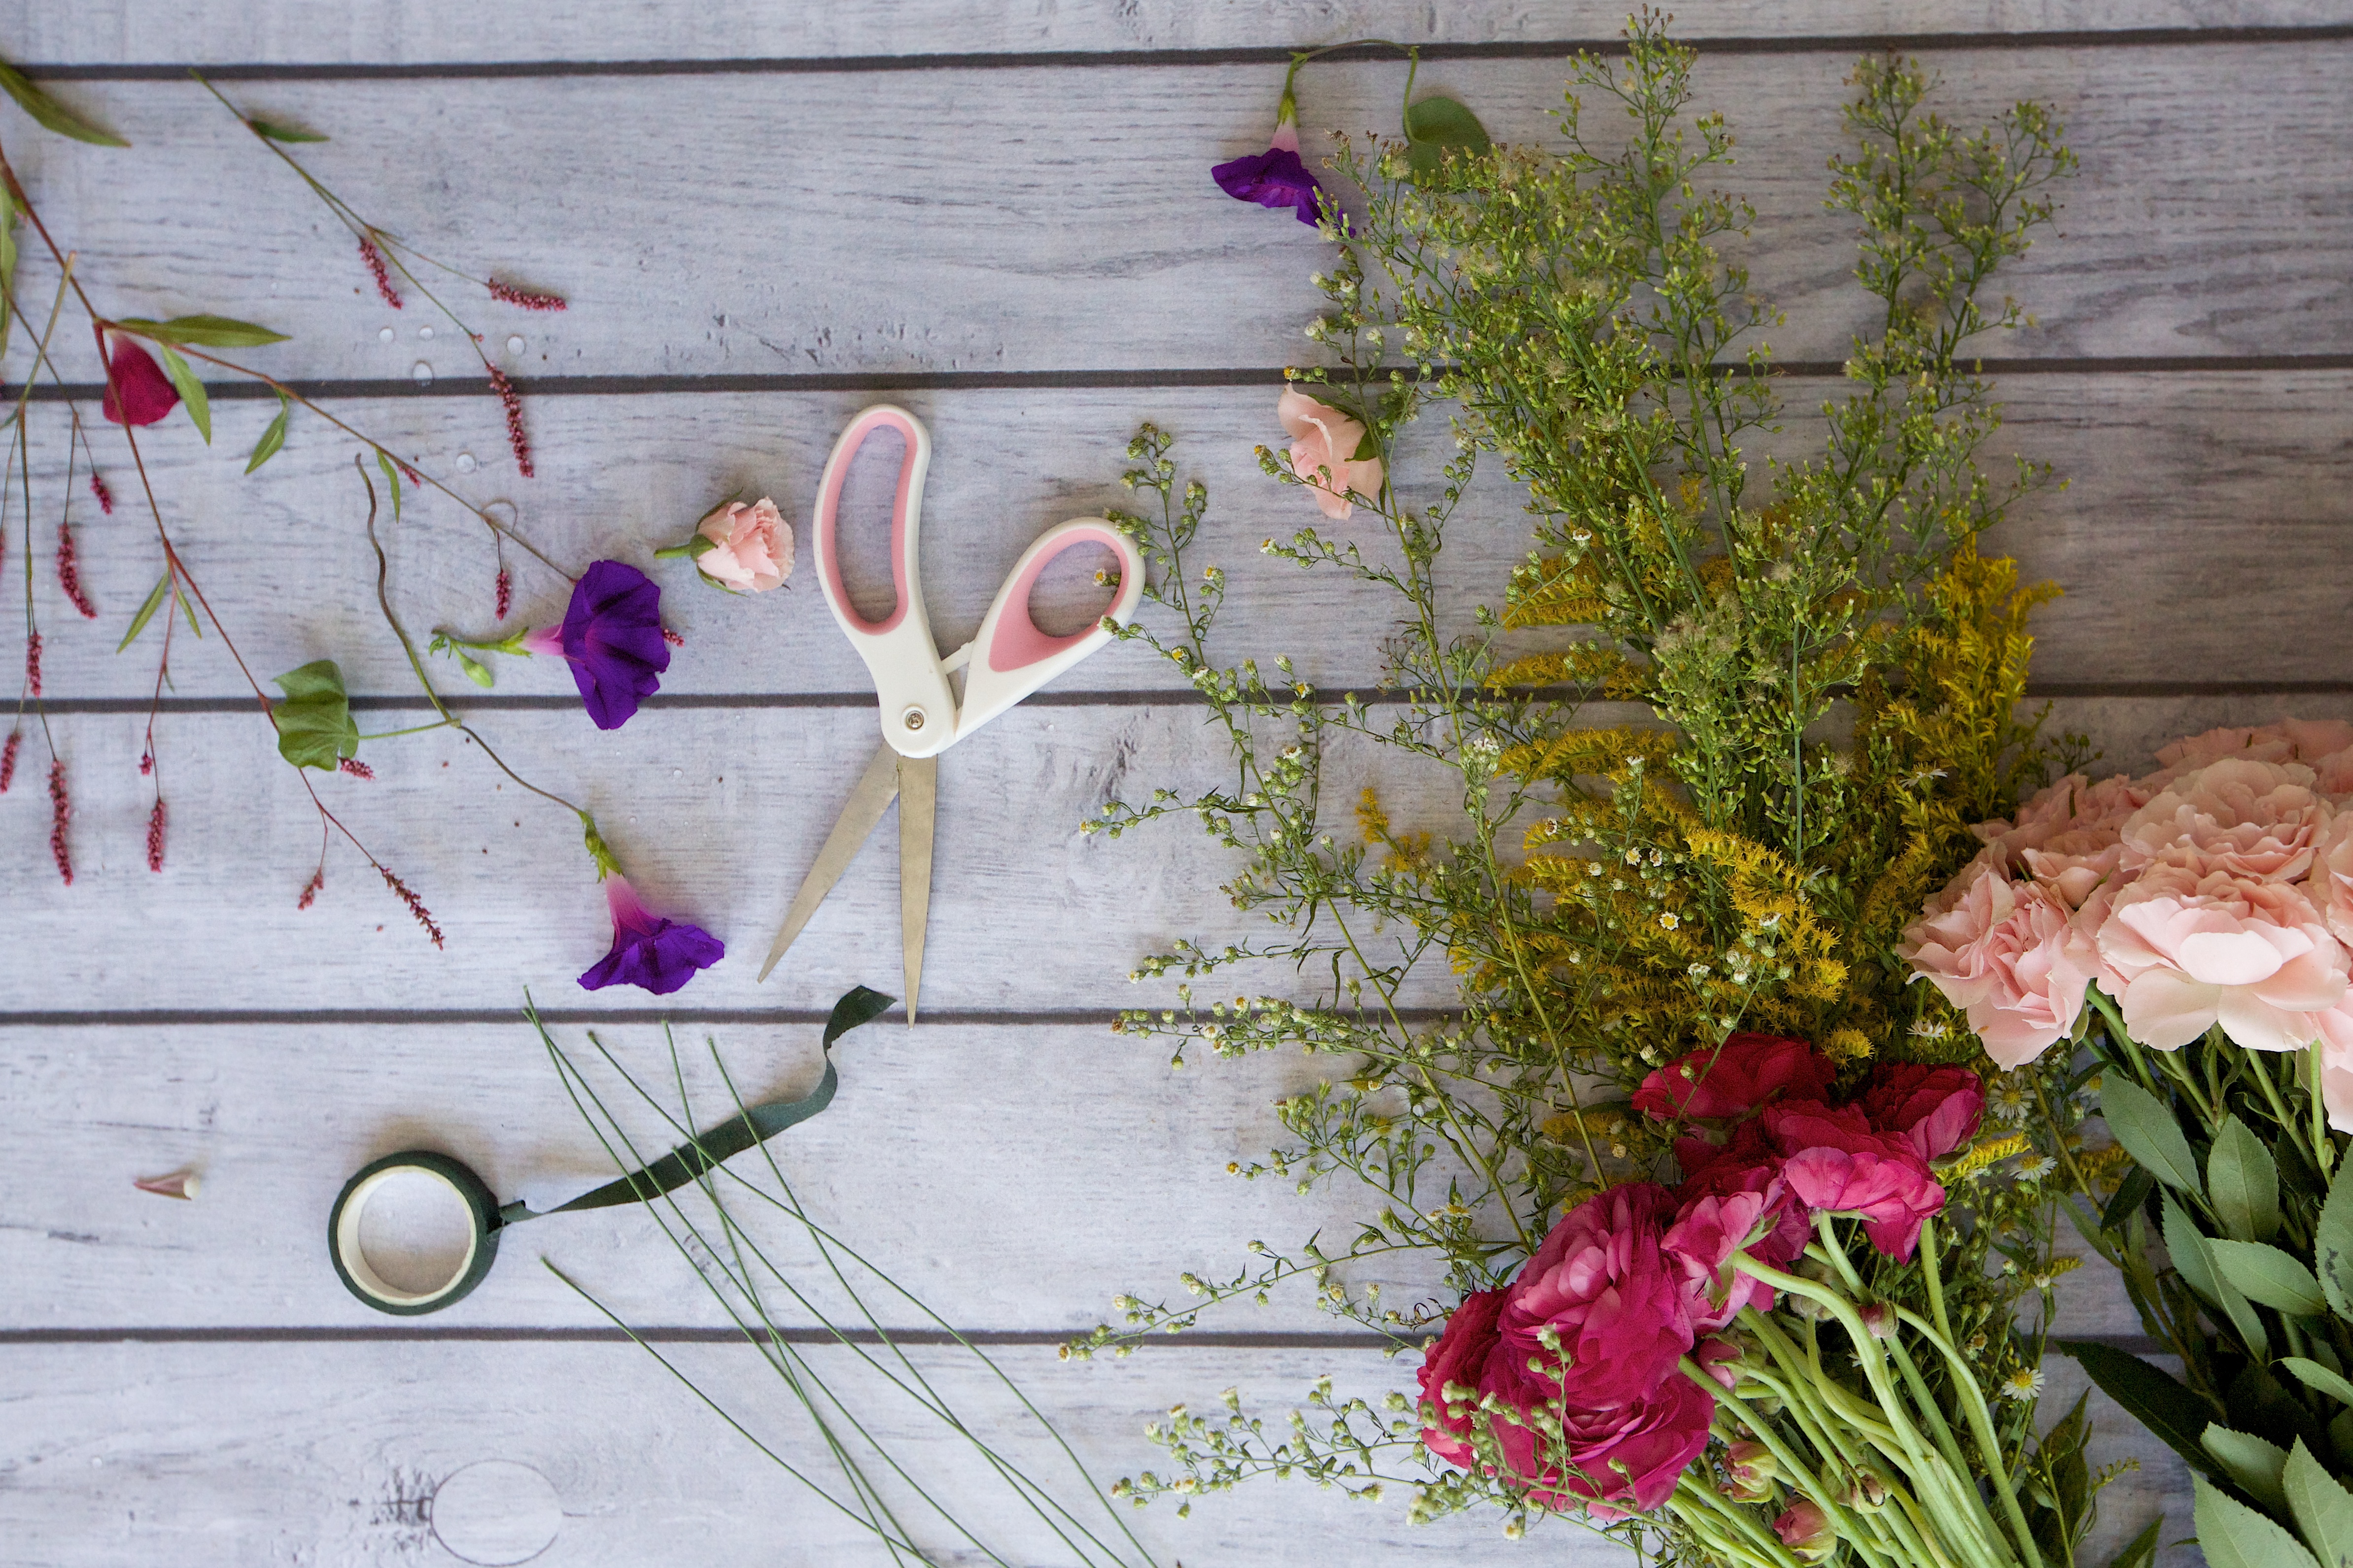
SUPPLIES:
-Flowers (either all the same or a variety depending on the look you’re going for)
-Floral wire
-Floral tape
-Scissors

DIRECTIONS:
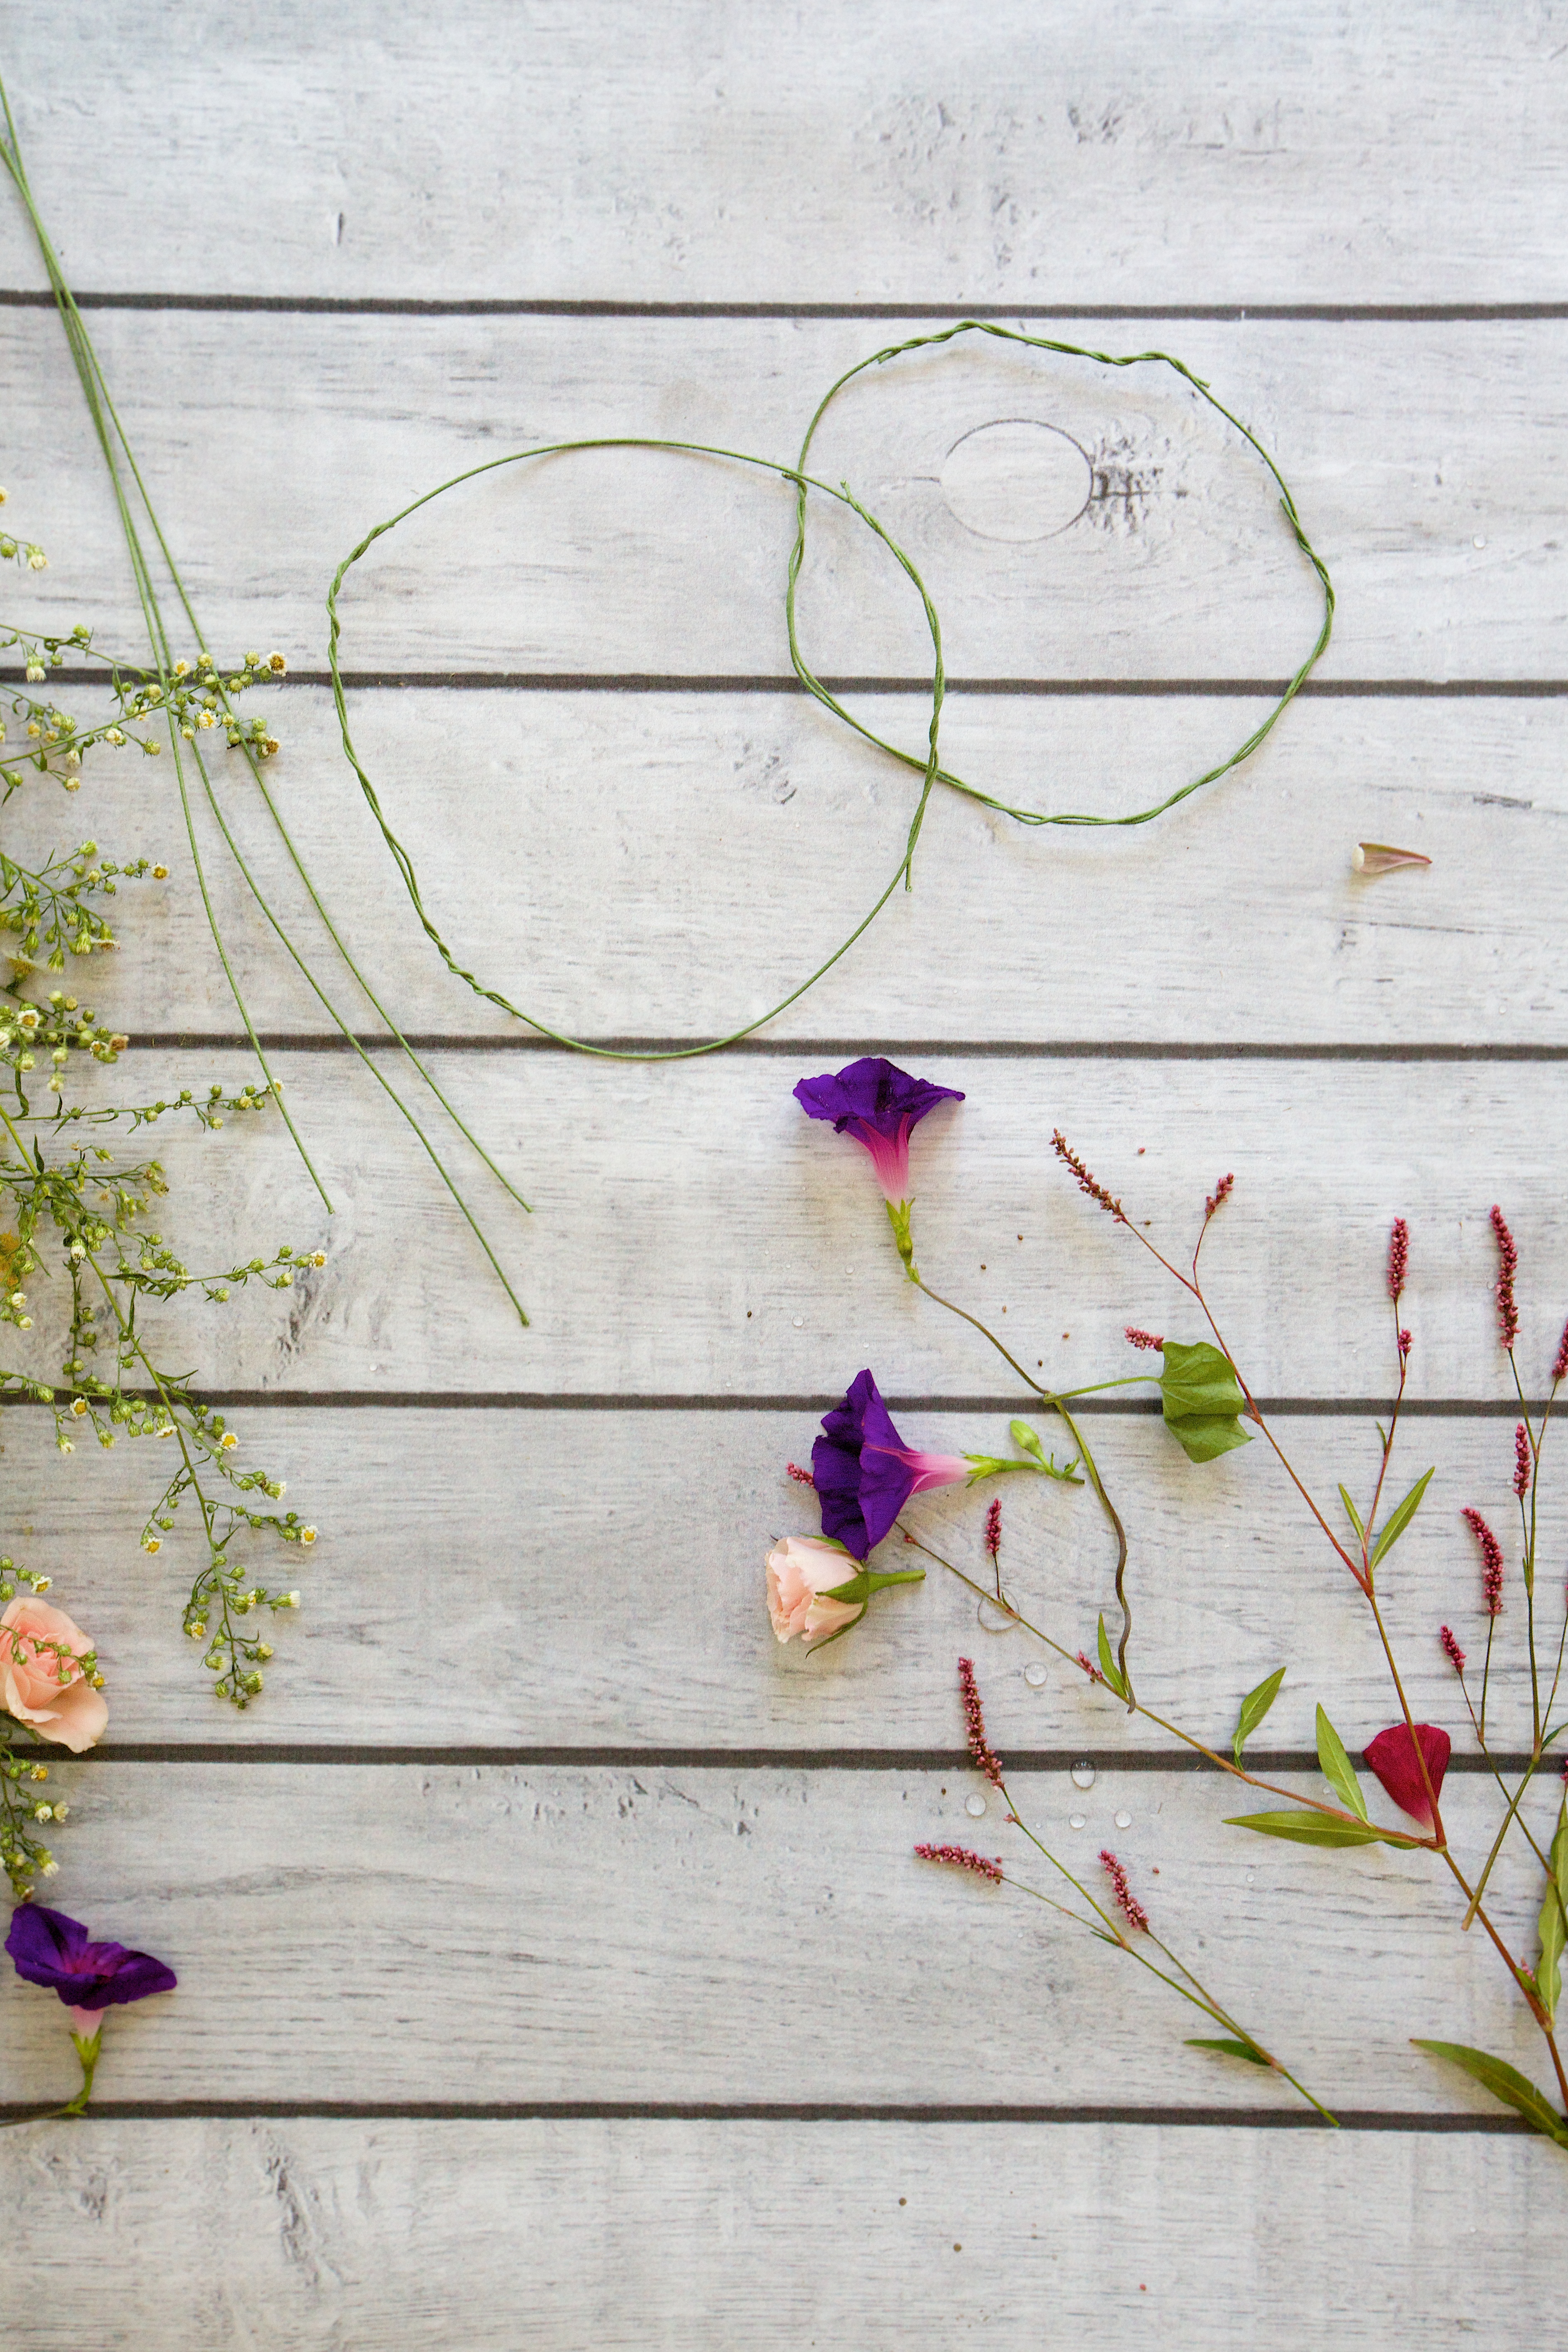
Both styles of flower crowns start off the same way — making a wire hoop. Measure your head (or your little’s head), and add an inch or two. The floral wire I used is a 20 gauge, paper-cover wire that comes in 12″ lengths, so I literally wound two together, wrapped my girls’ heads with the wire and secured the open ends together. If you’re dealing with a larger head (like an adults, or my toddler’s adult-sized head), you’ll want to then wind a couple of extra wire lengths around the whole hoop so that you have little pockets to weave your flowers in and out of.
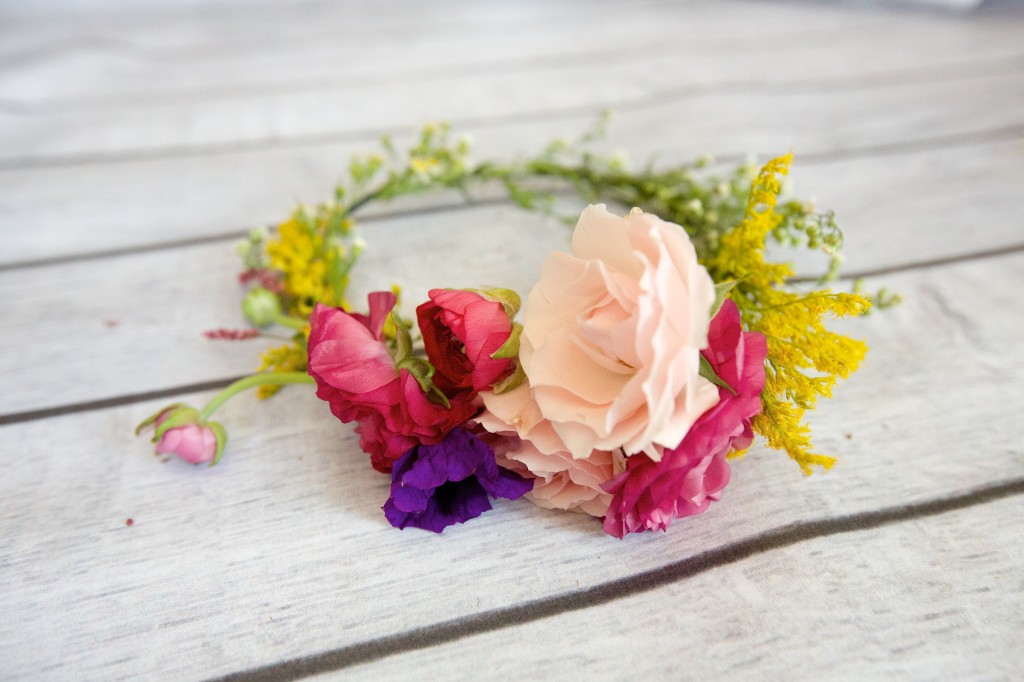
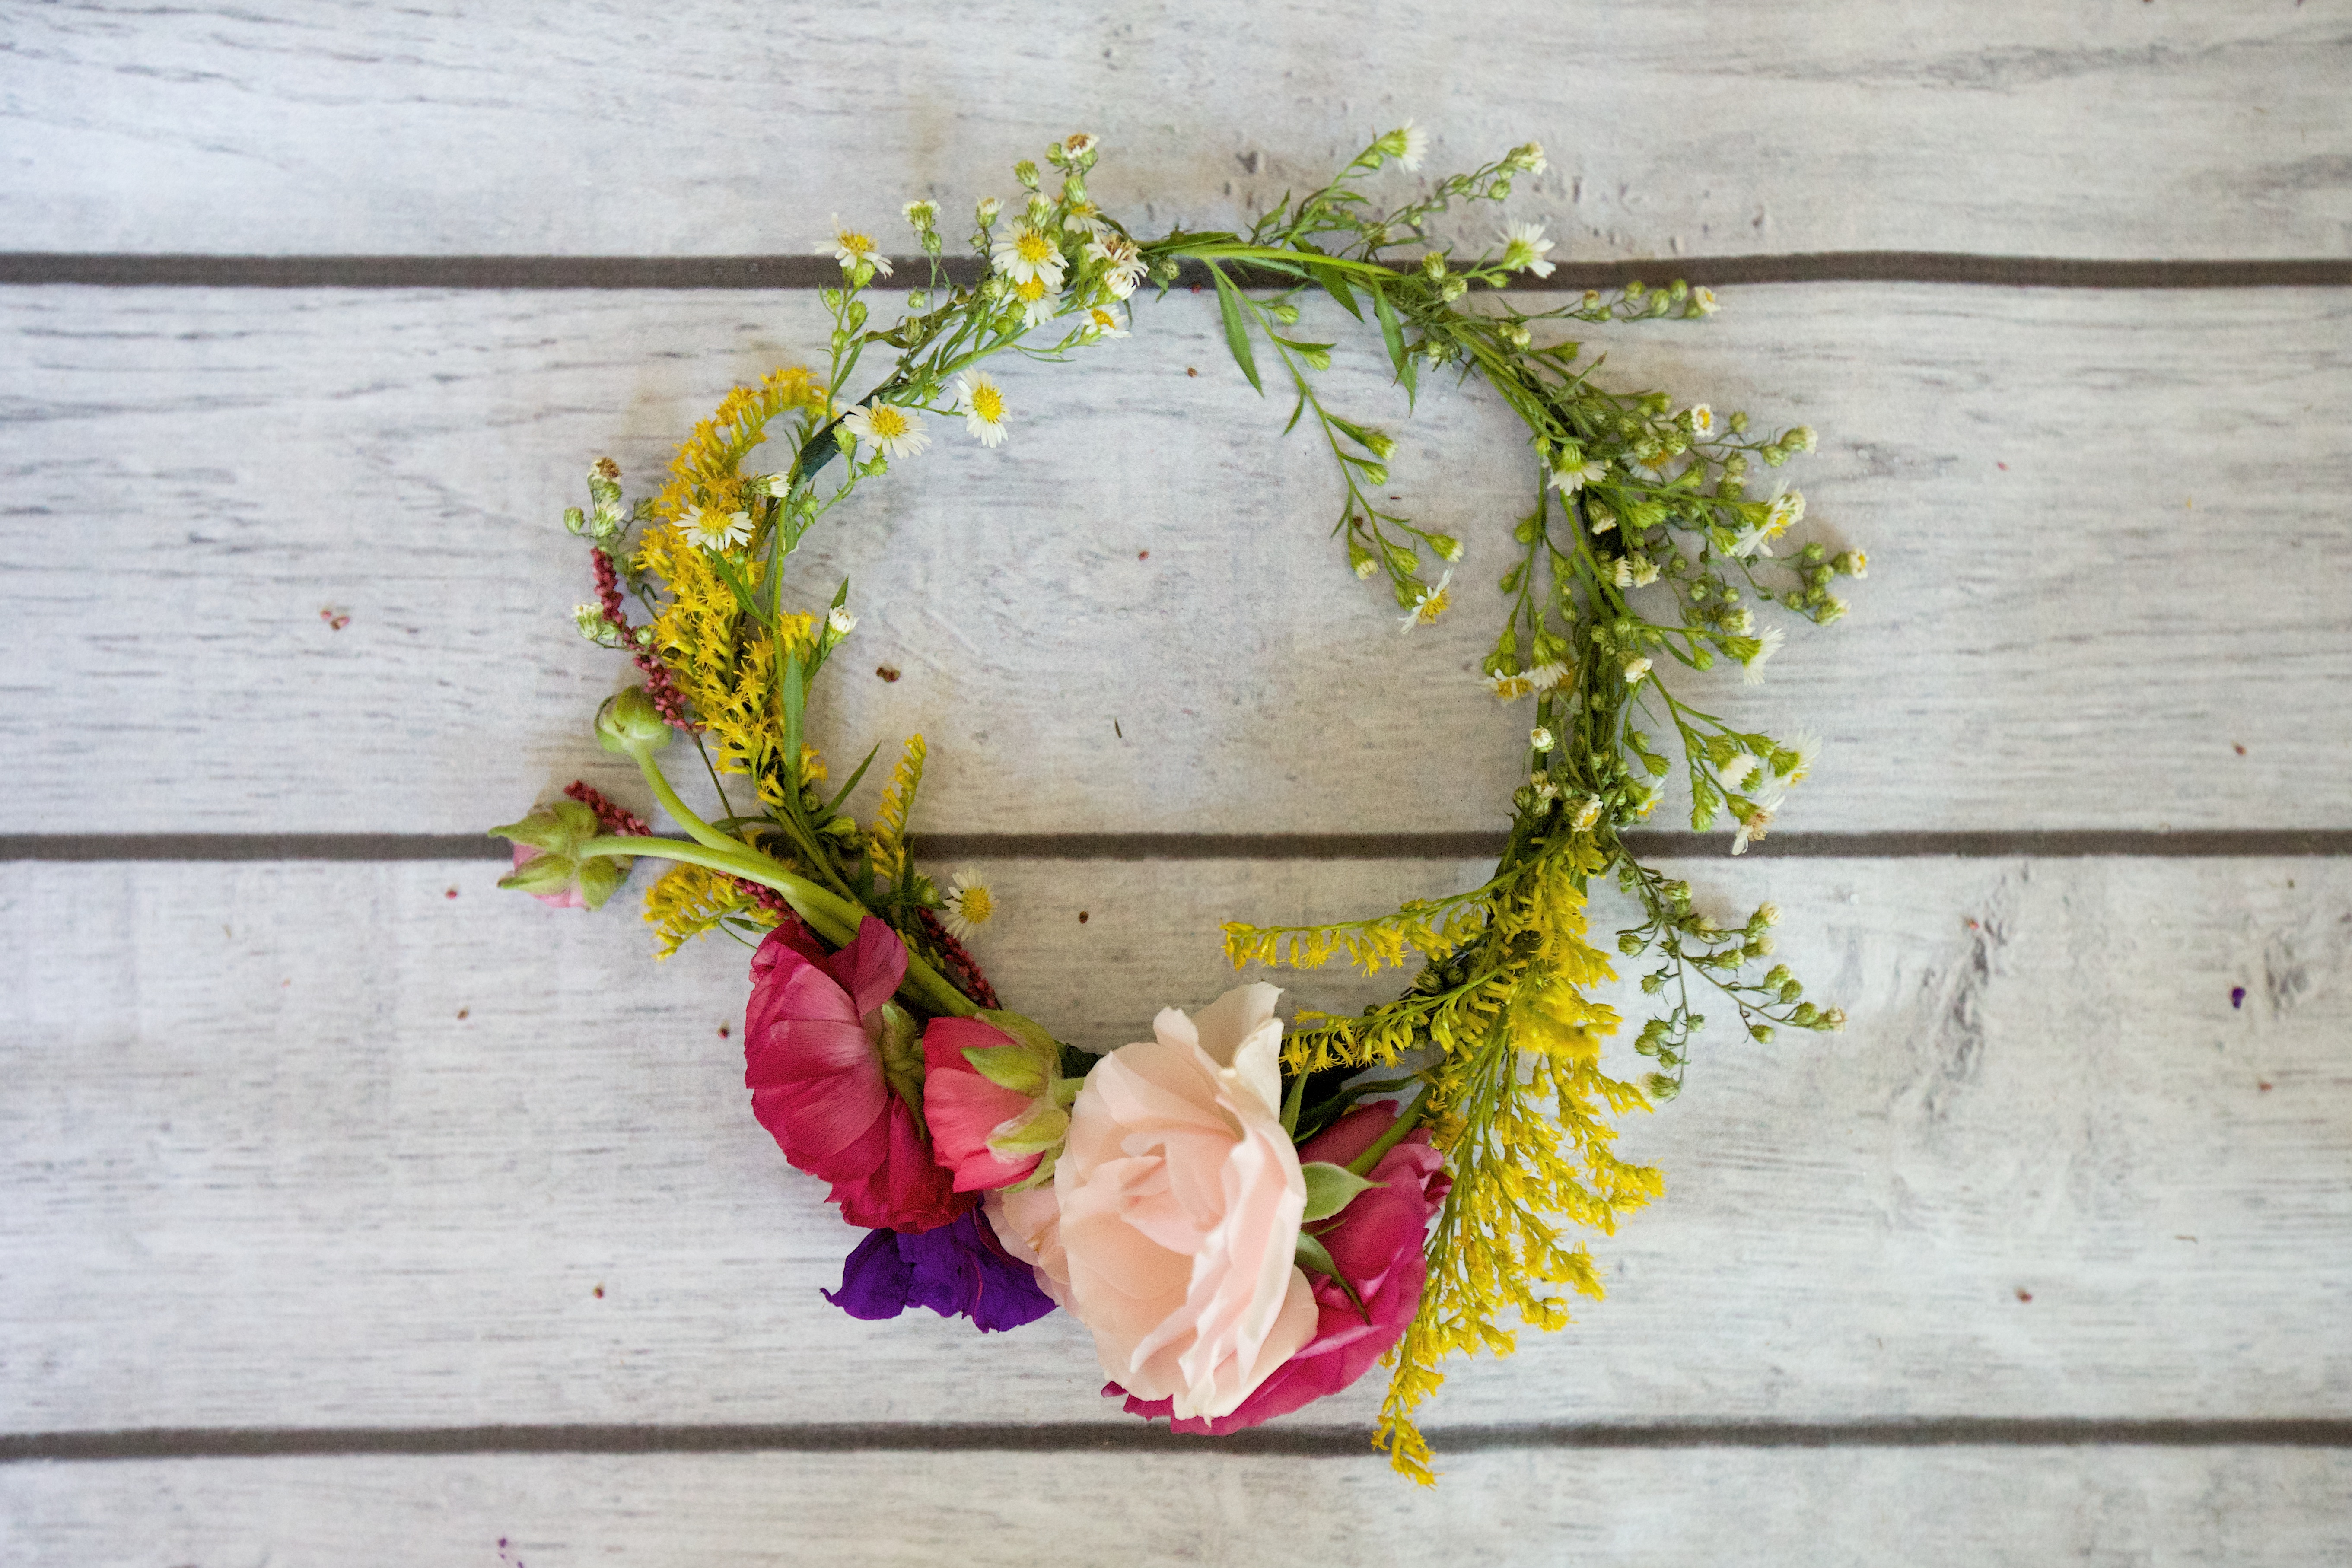
MIX ‘N MATCH STYLE
For a more natural, boho look, use a variety of flowers. Cut off the flower heads, leaving a few inches of stem (you can trim later), and tuck-n-weave them in the pockets between the wires. Then attach the flower at the base of the bud with floral tape; for long branches of flowers, attach at the base of the branch and then tuck the other end into the wire hoop to make sure it stays in. I prefer to start by doing a base layer all the way around the wire hoop with a cheap, light wildflower. I feel like it fills the crown in better later on, and it hides the wire.
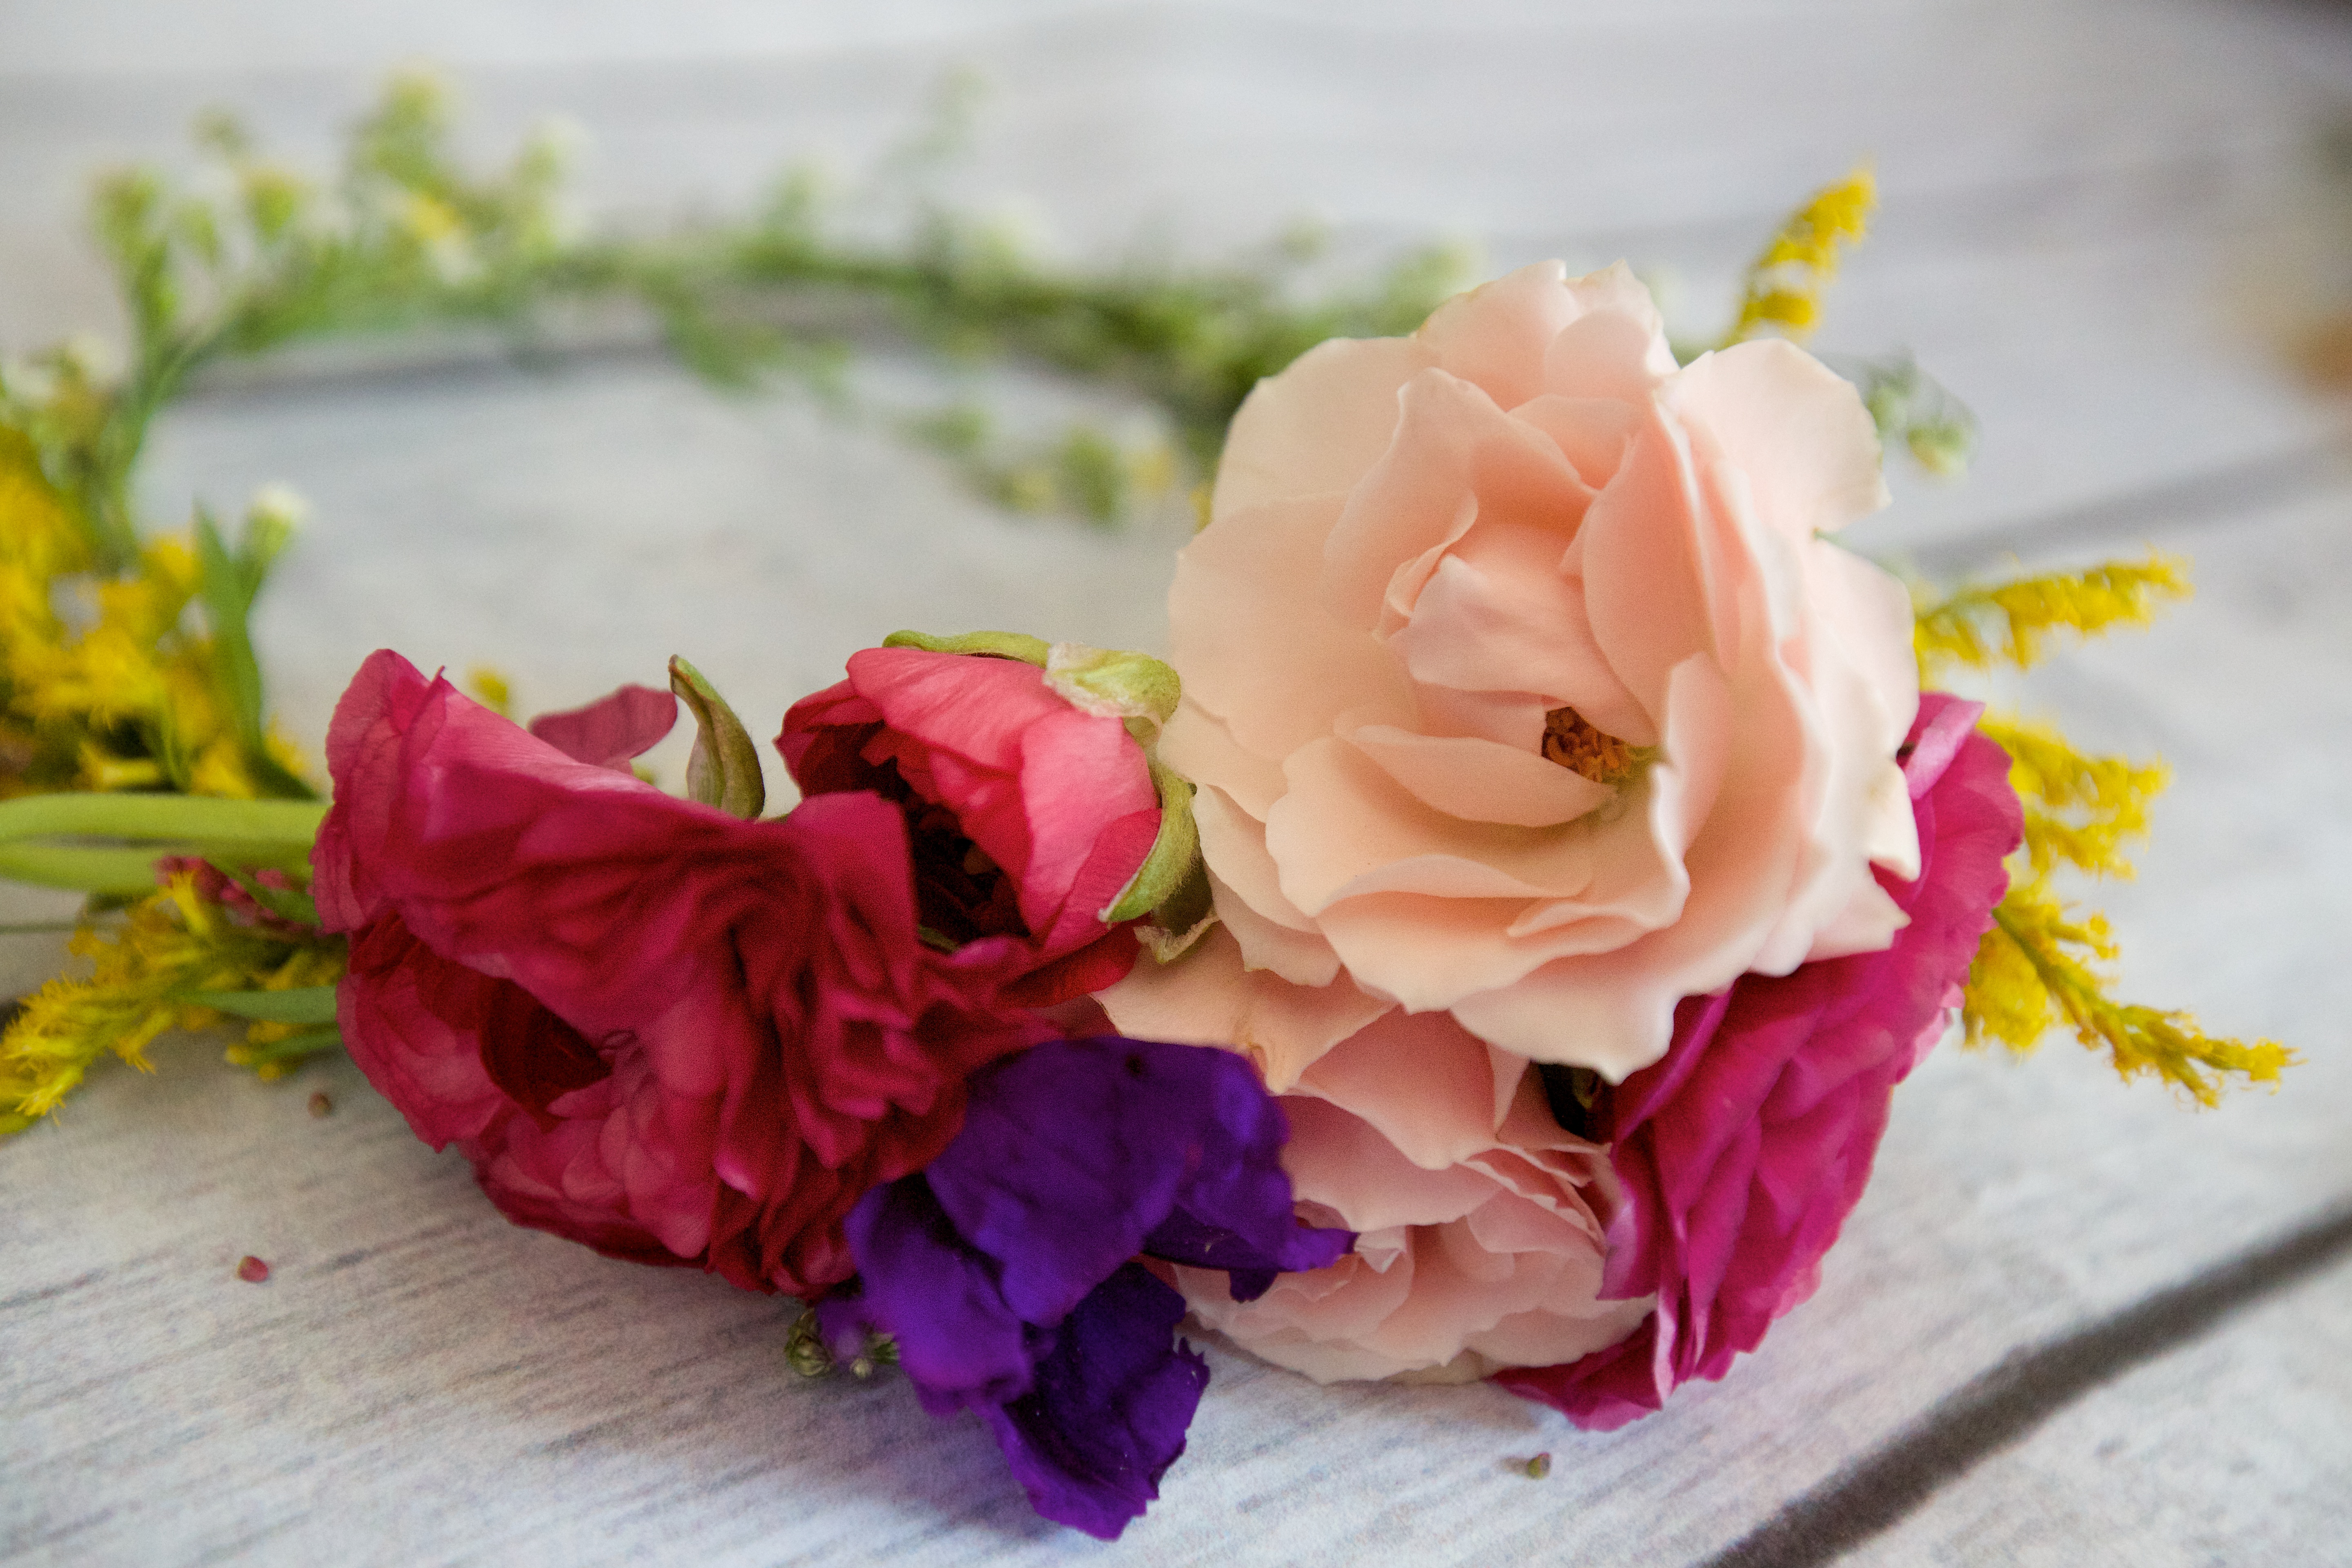
Once you have a good base, choose a couple of fancier flowers to make a grouping with. Follow the same cut-tuck-weave-tape method as before, but instead of going around the hoop, stack the flowers in a small arrangement. Once you’re happy with how it looks, add a few more wildflowers around the hoop. Trim any unnecessary stems from the inside if needed. Voila!

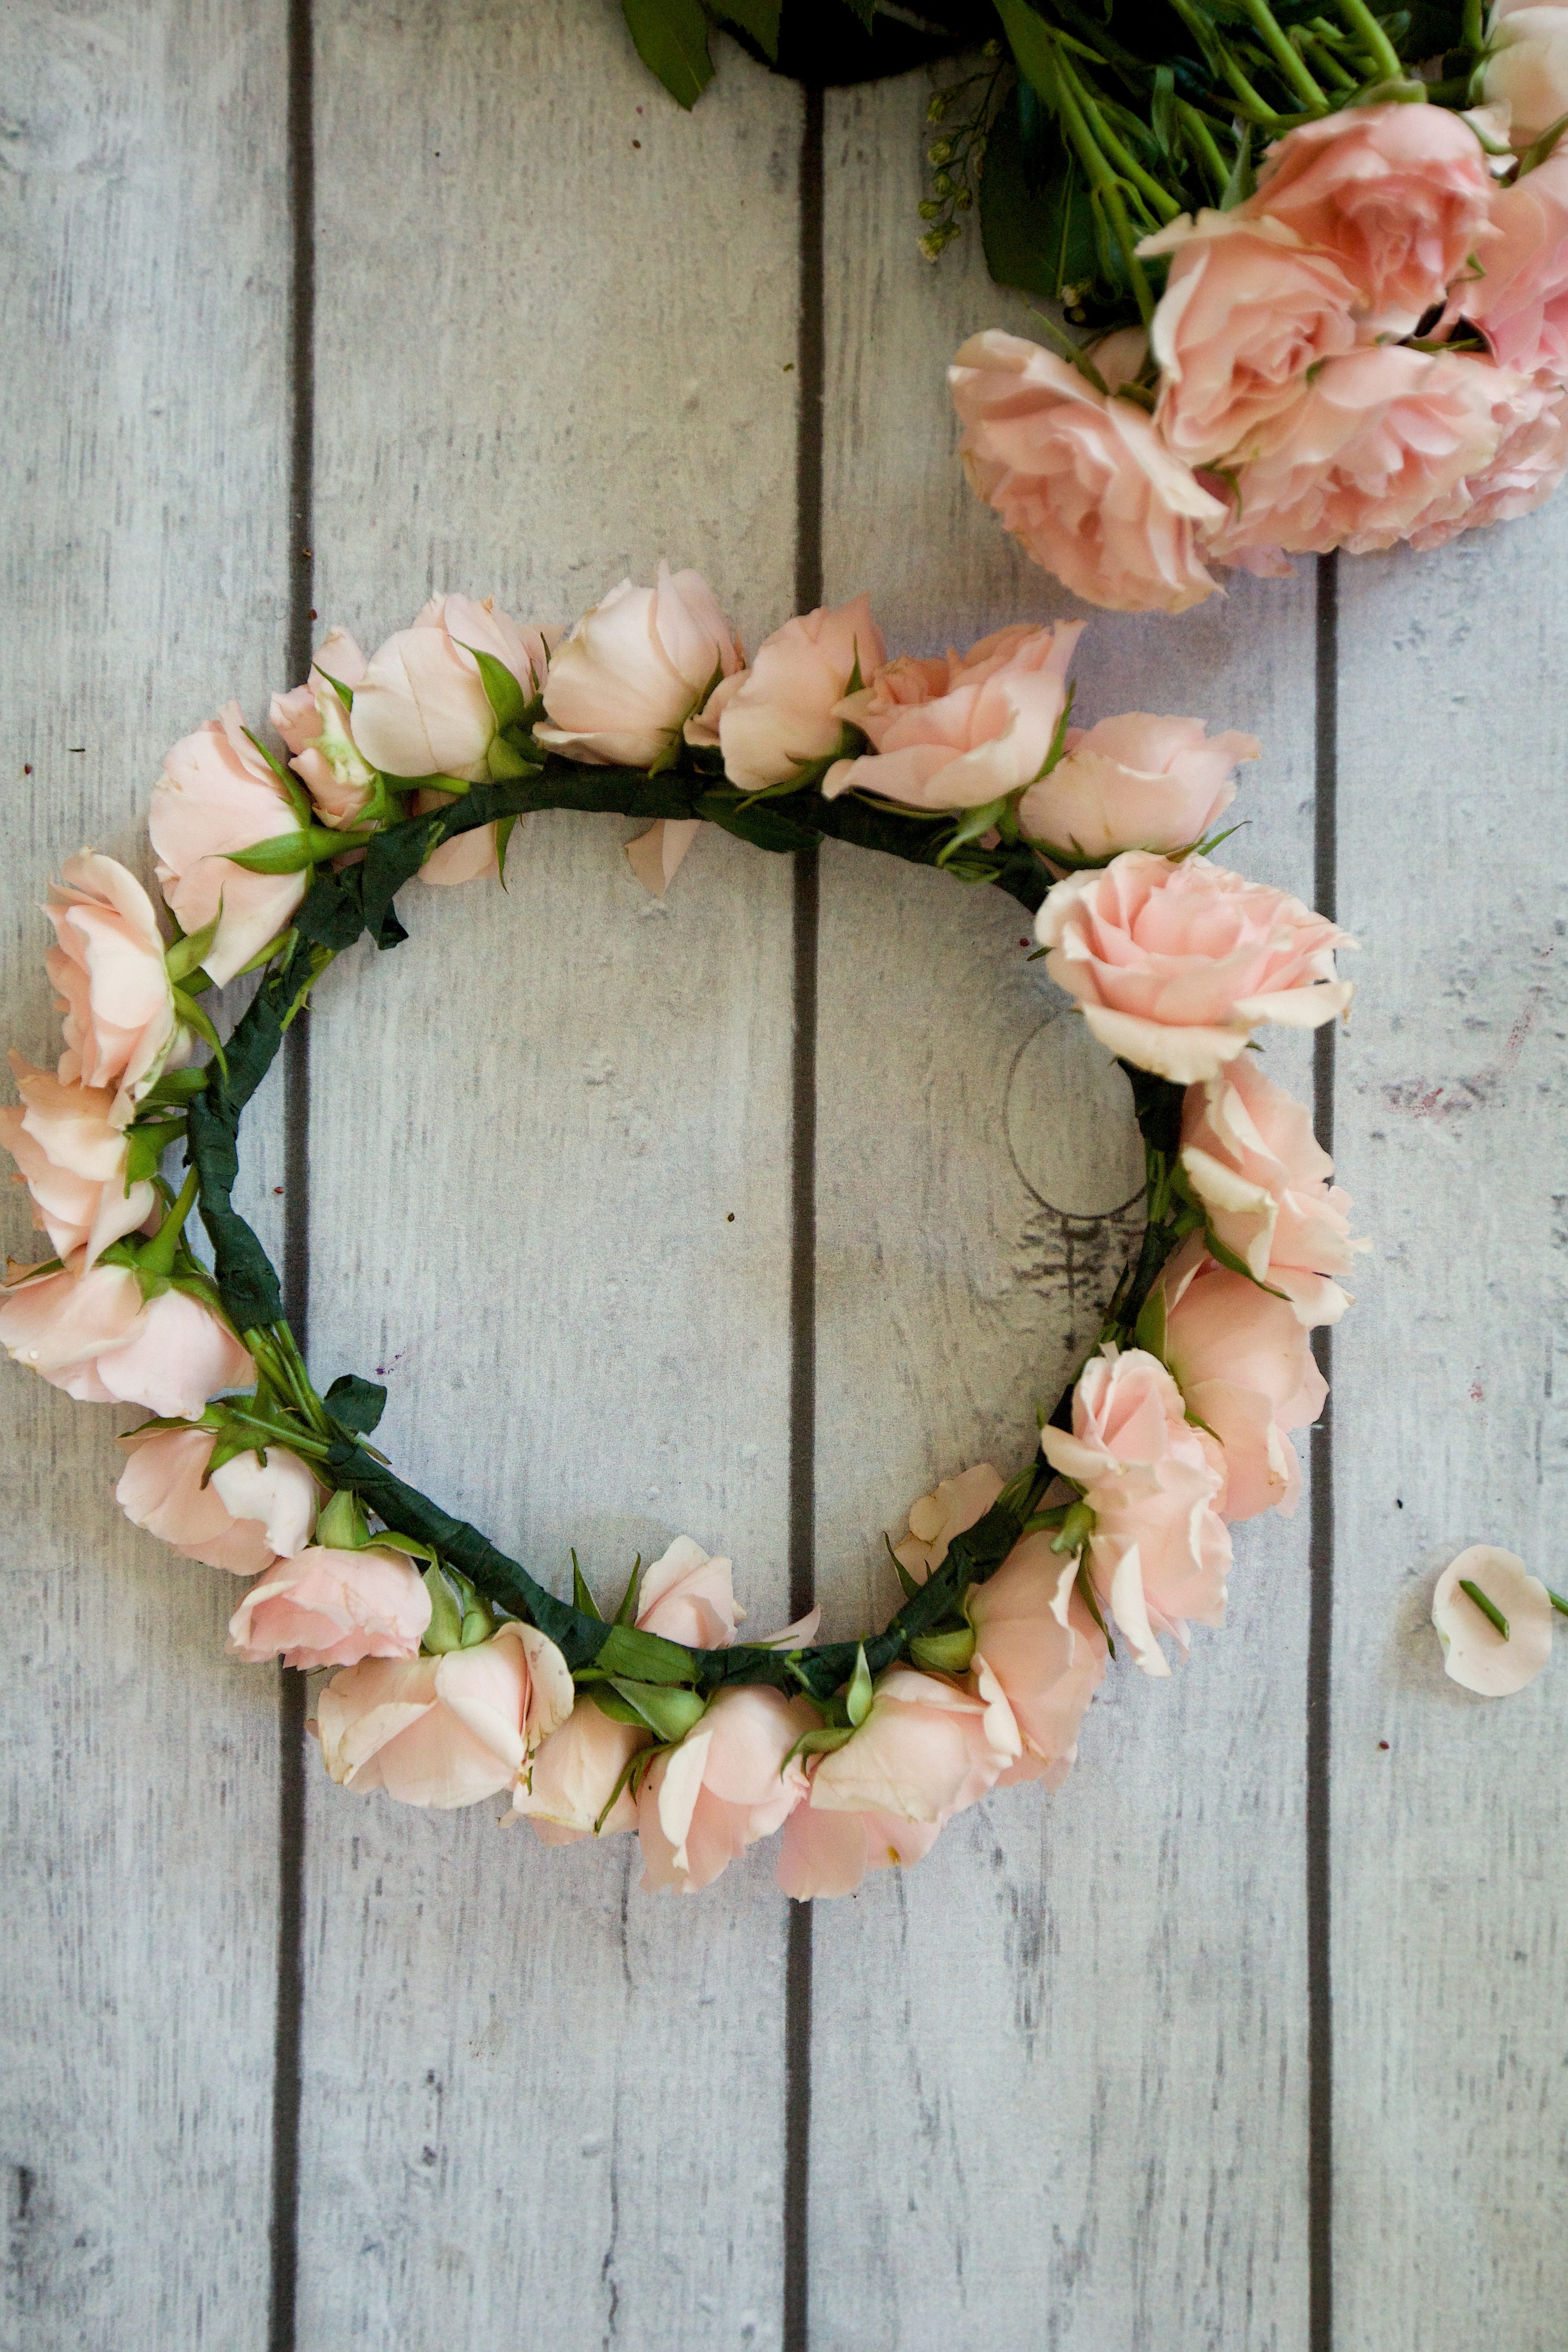
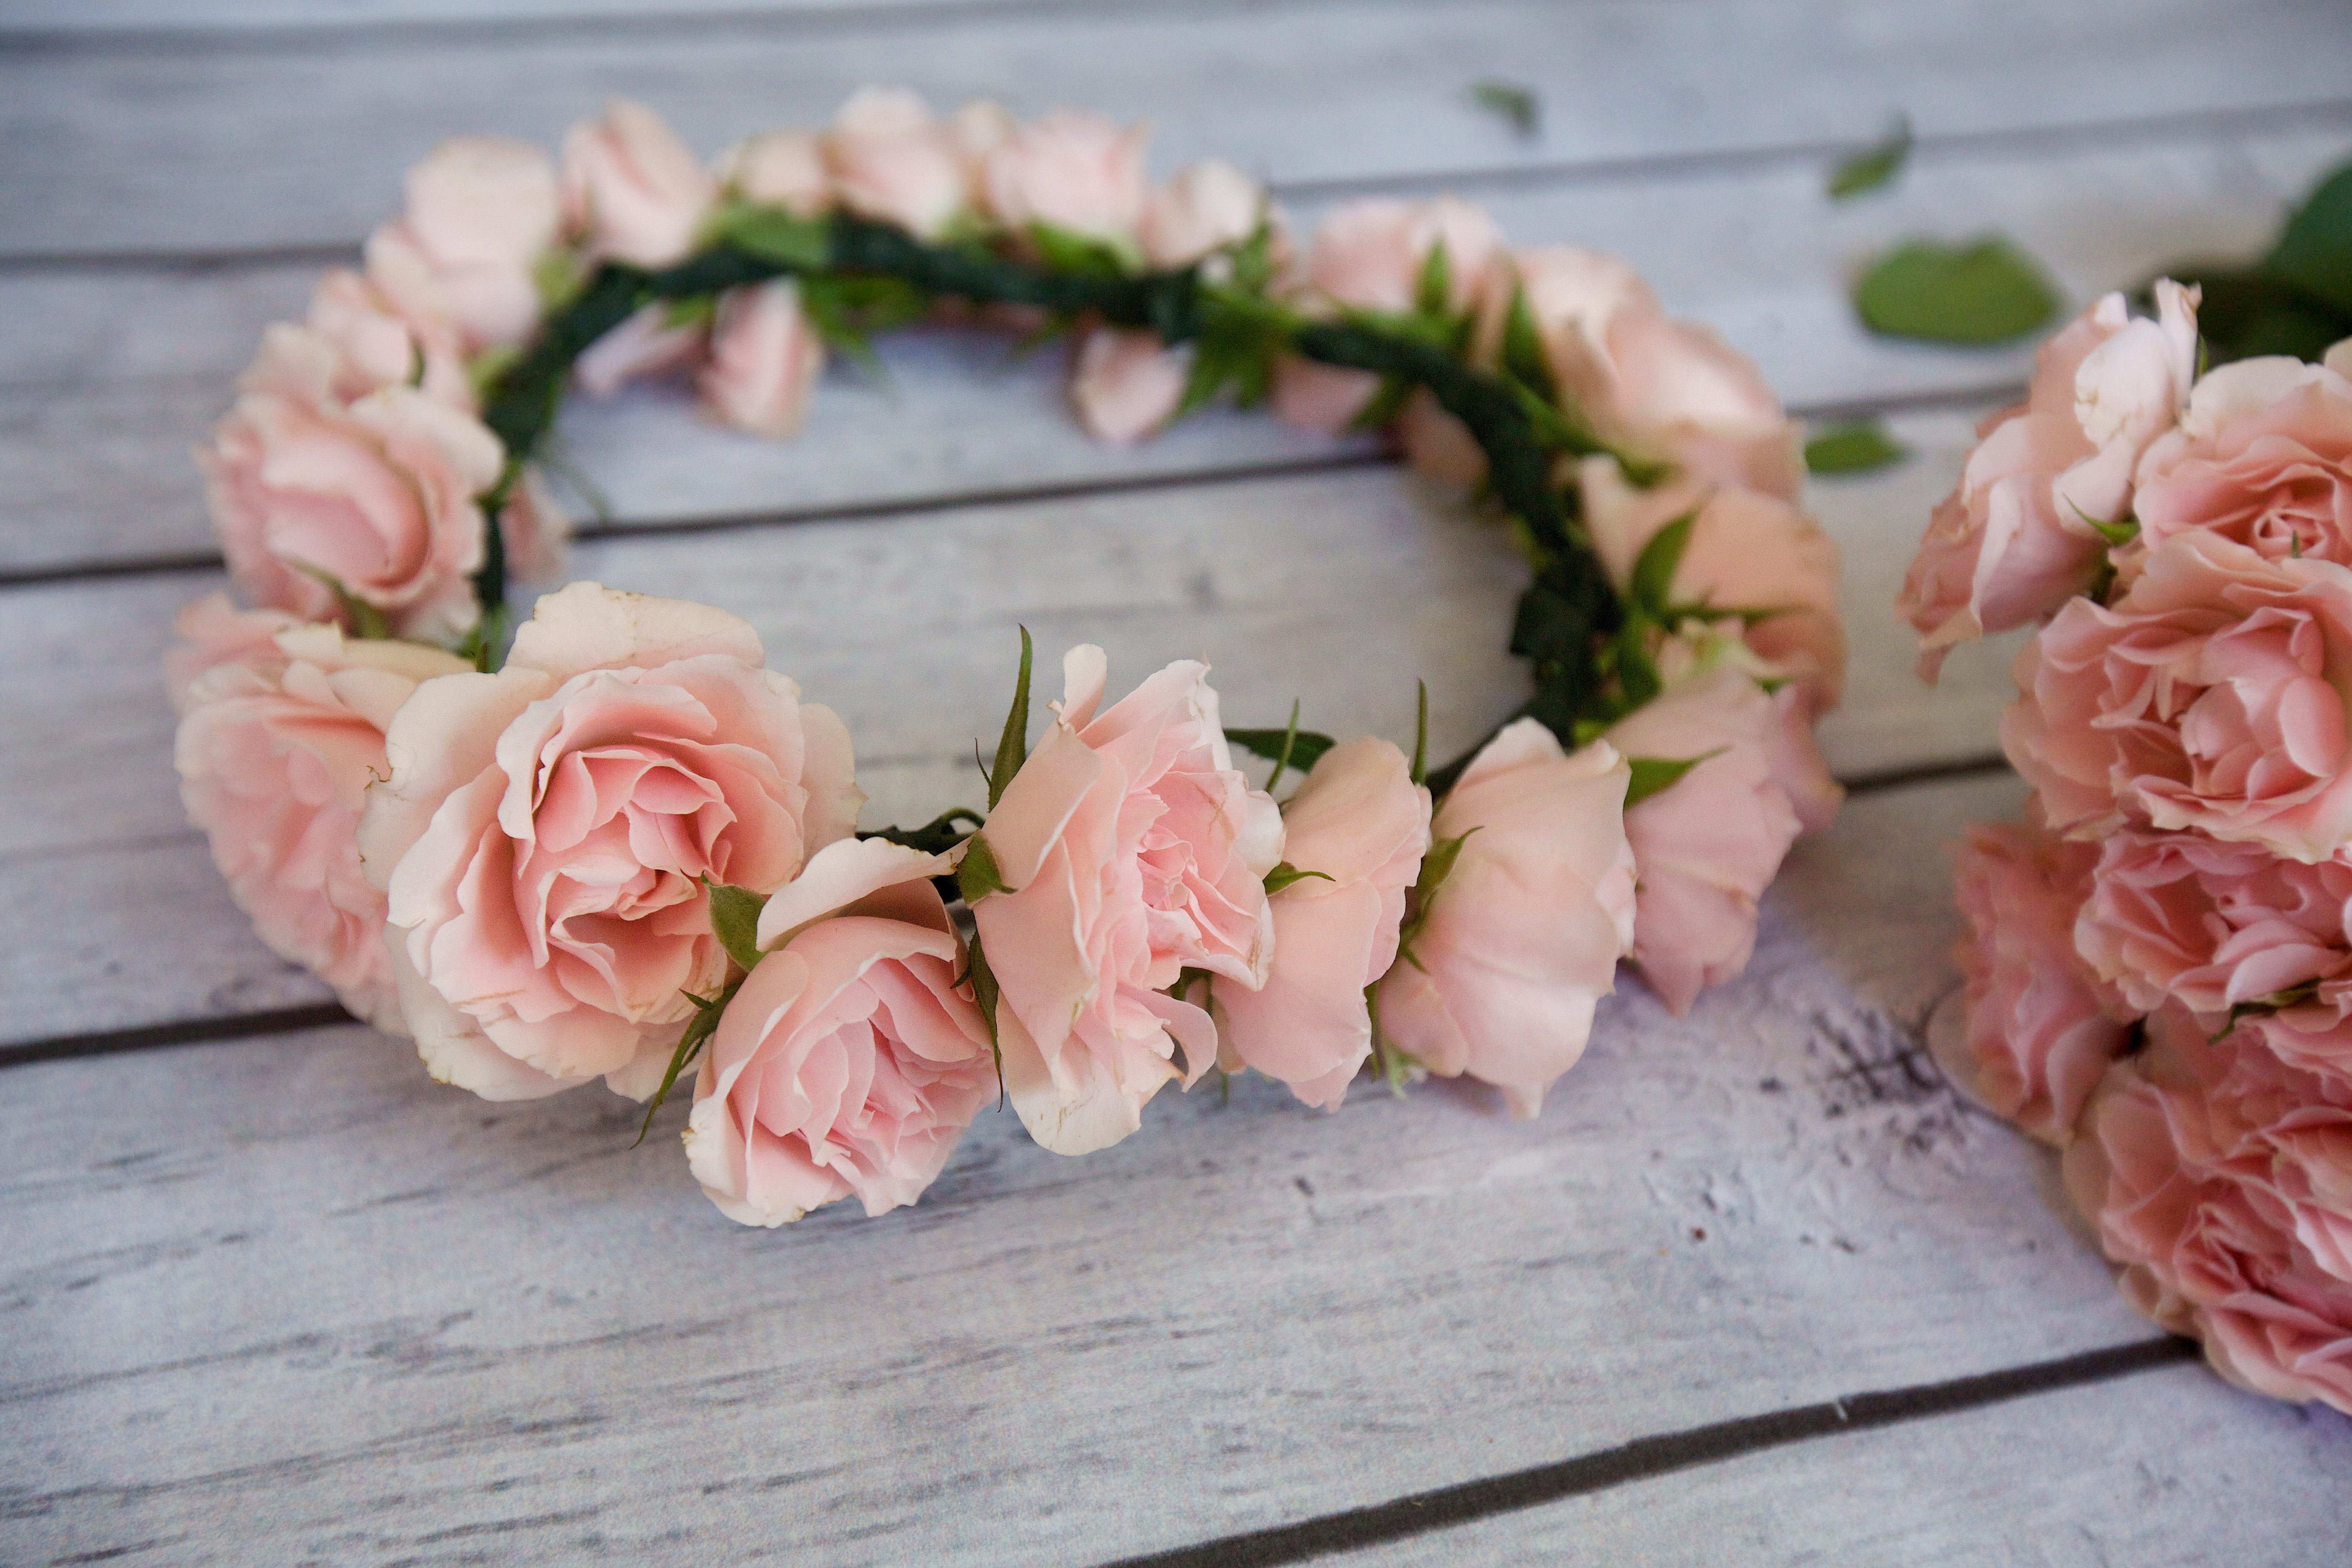
UNIFORM (FOR THE OCD AT HEART) STYLE
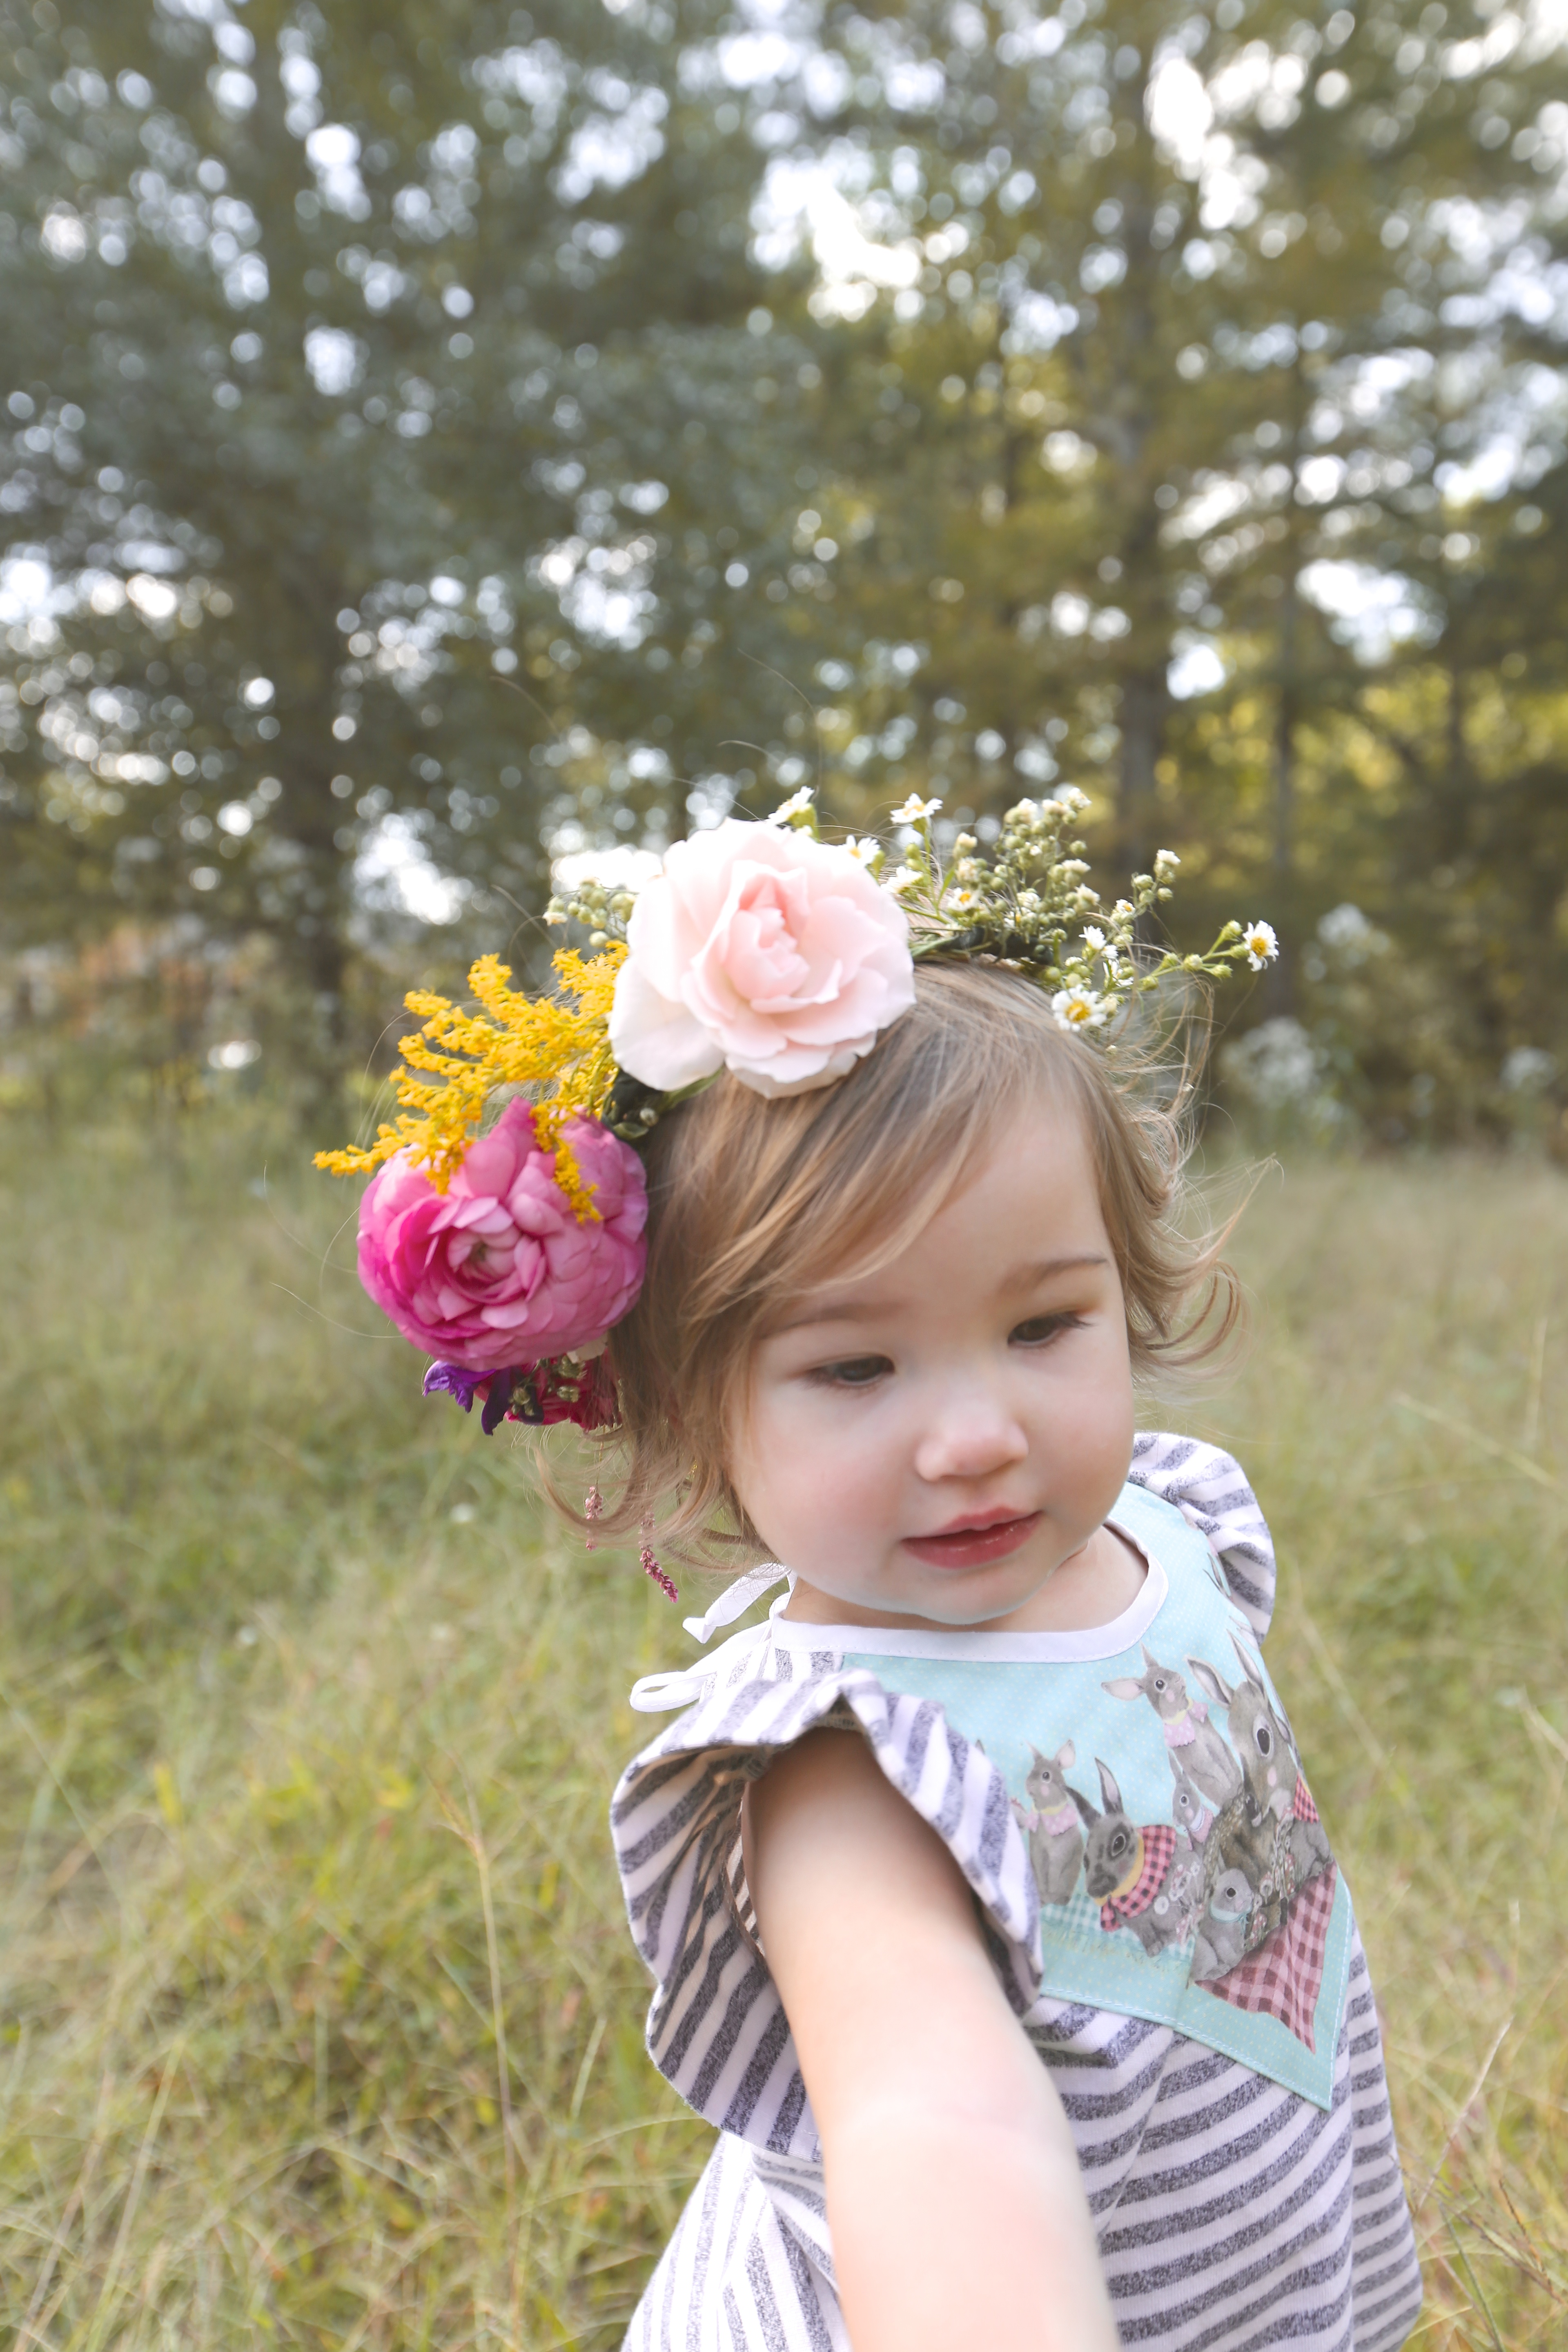
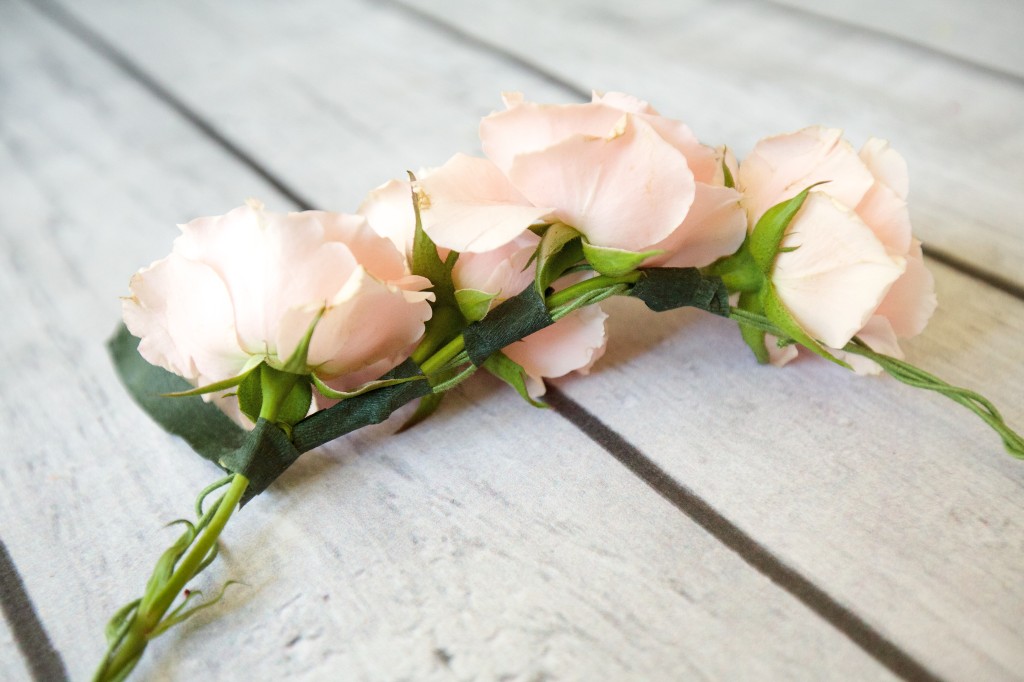
For a uniform, traditional look, you’ll need a lot of one type of flower. I used well-bloomed spray roses for my toddler’s flower crown.
Like before, cut off your flower heads, leaving a few inches of stem that can be trimmed later. For your first flower, tuck and weave the stem through the wire pockets and then tape at the base of the flower head. Next, place another flower right behind your first, facing the same direction, and repeat the tuck-weave-tape method. Do this all the way around until you reach your first bud again. The last flower you attach will be the most difficult, but just tuck it in as best as possible and use a little extra tape to secure it. Trim and unnecessary stems from the inside if needed. You’re done!
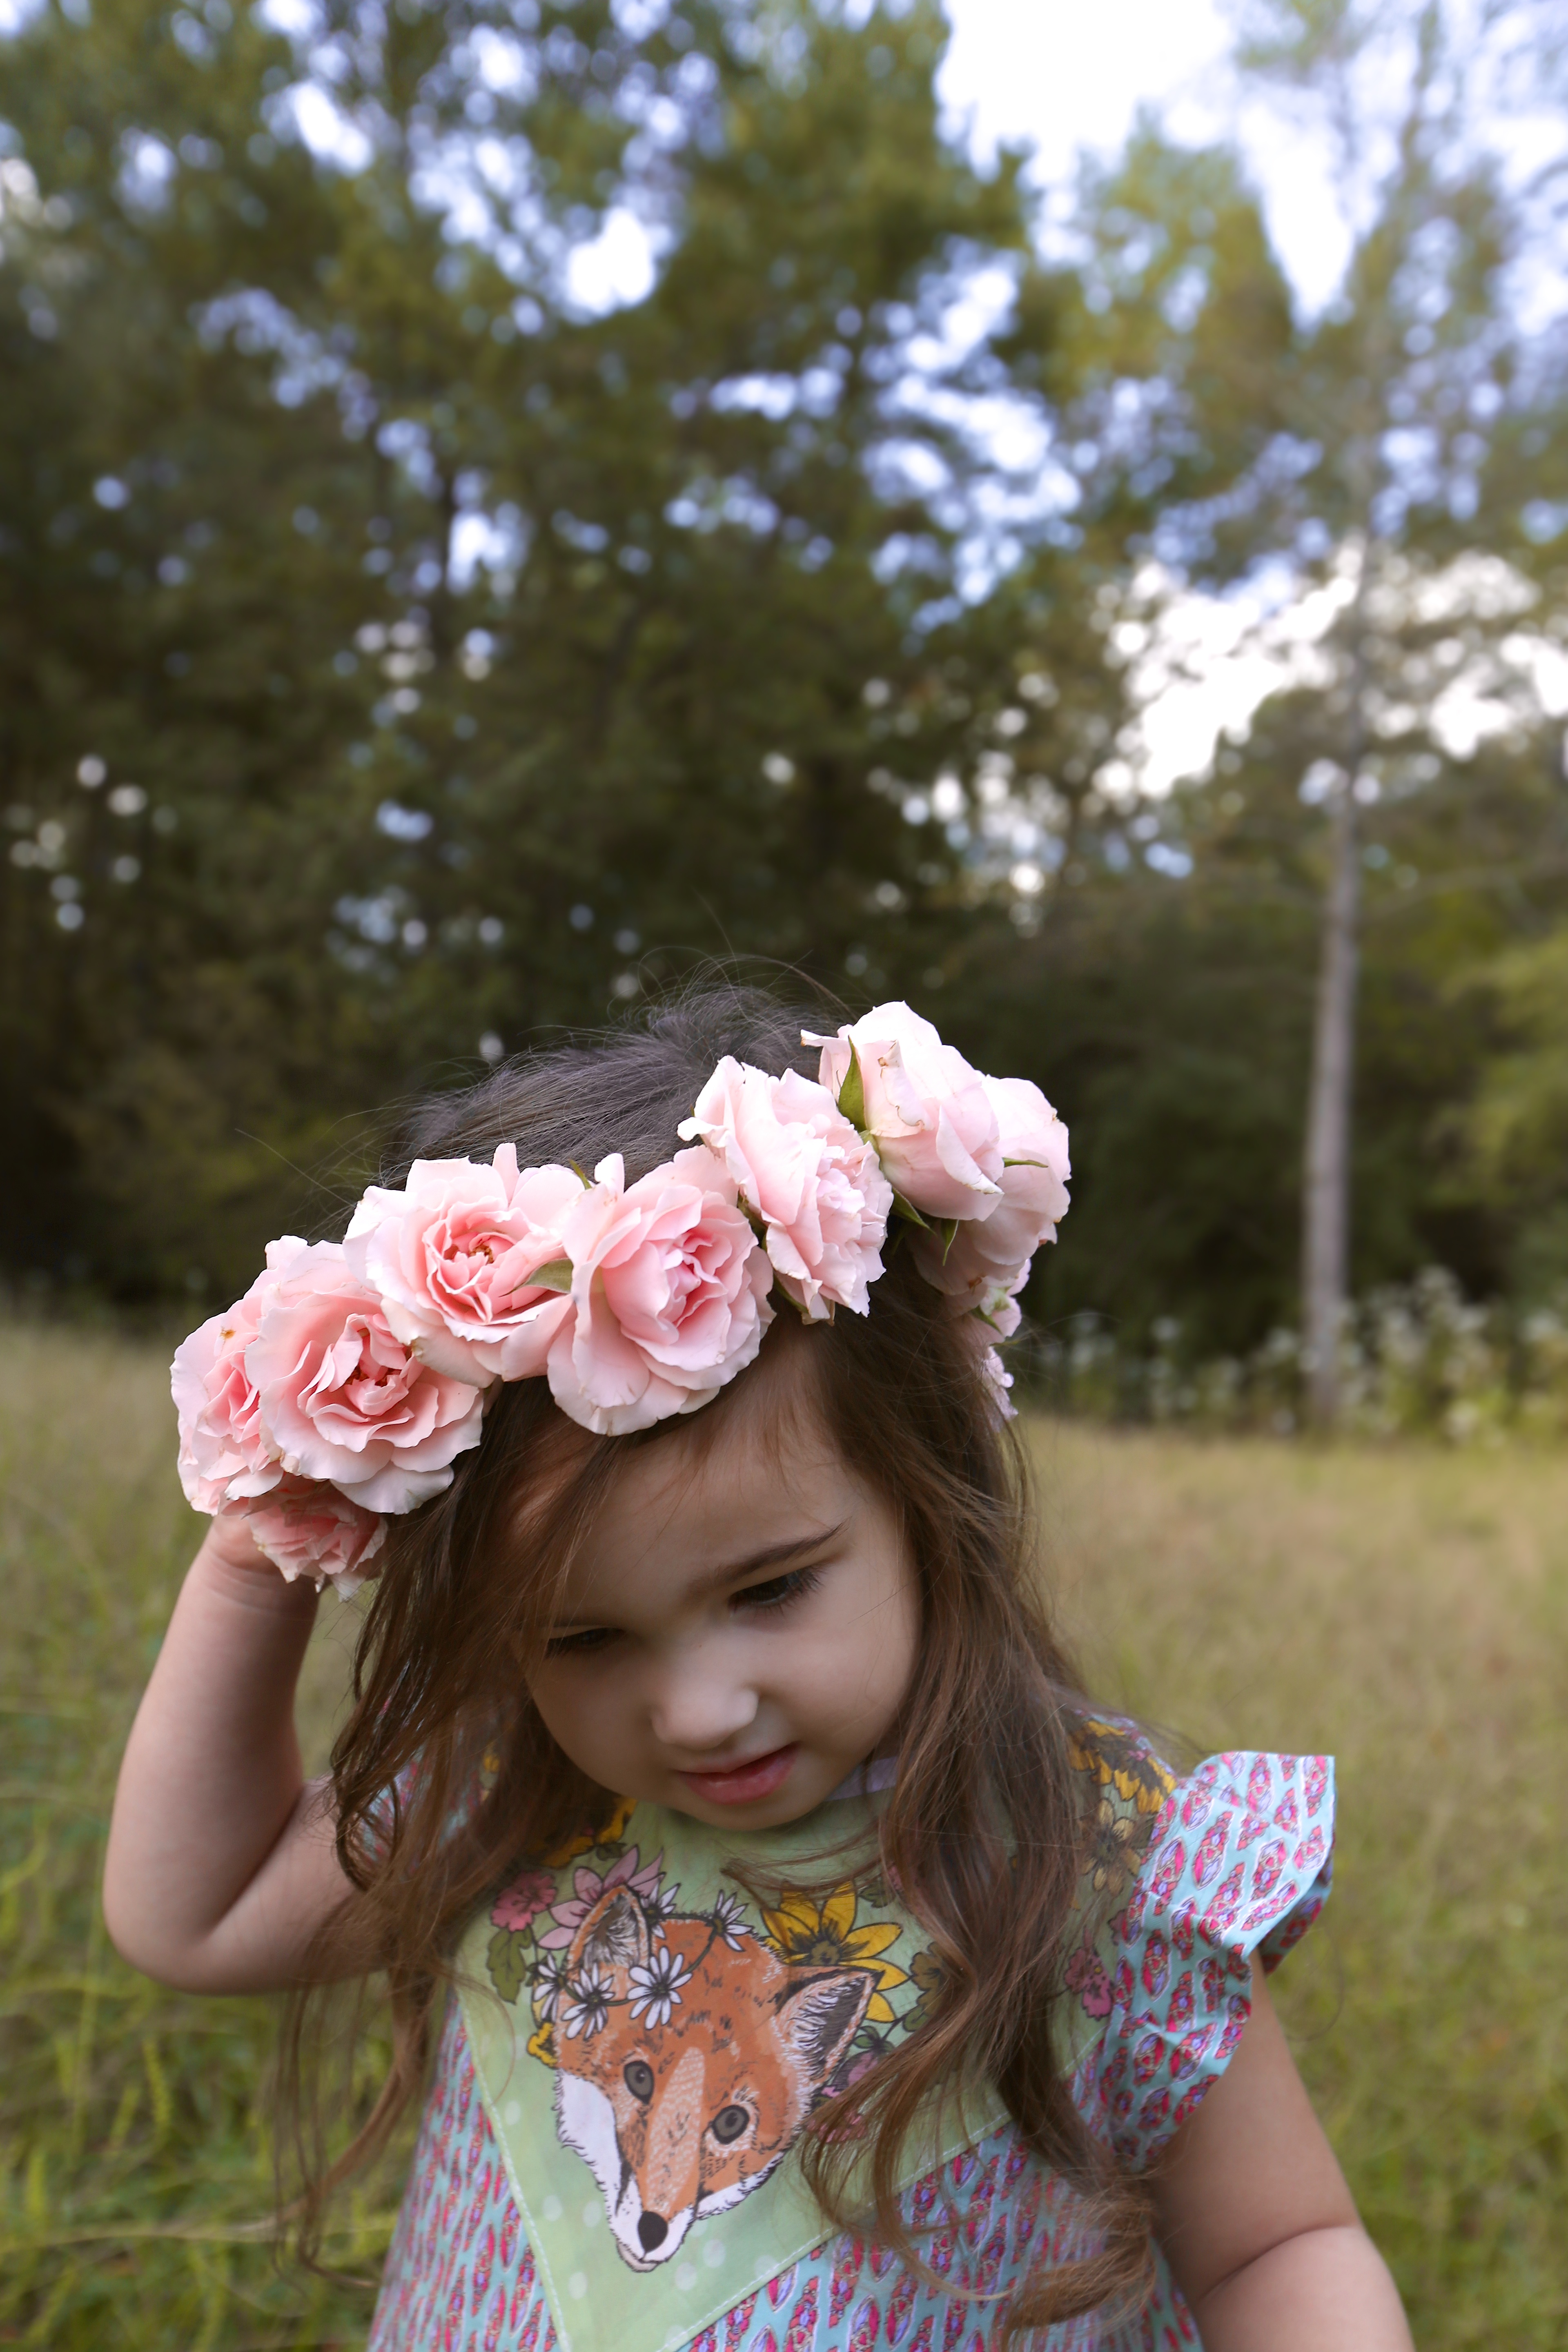
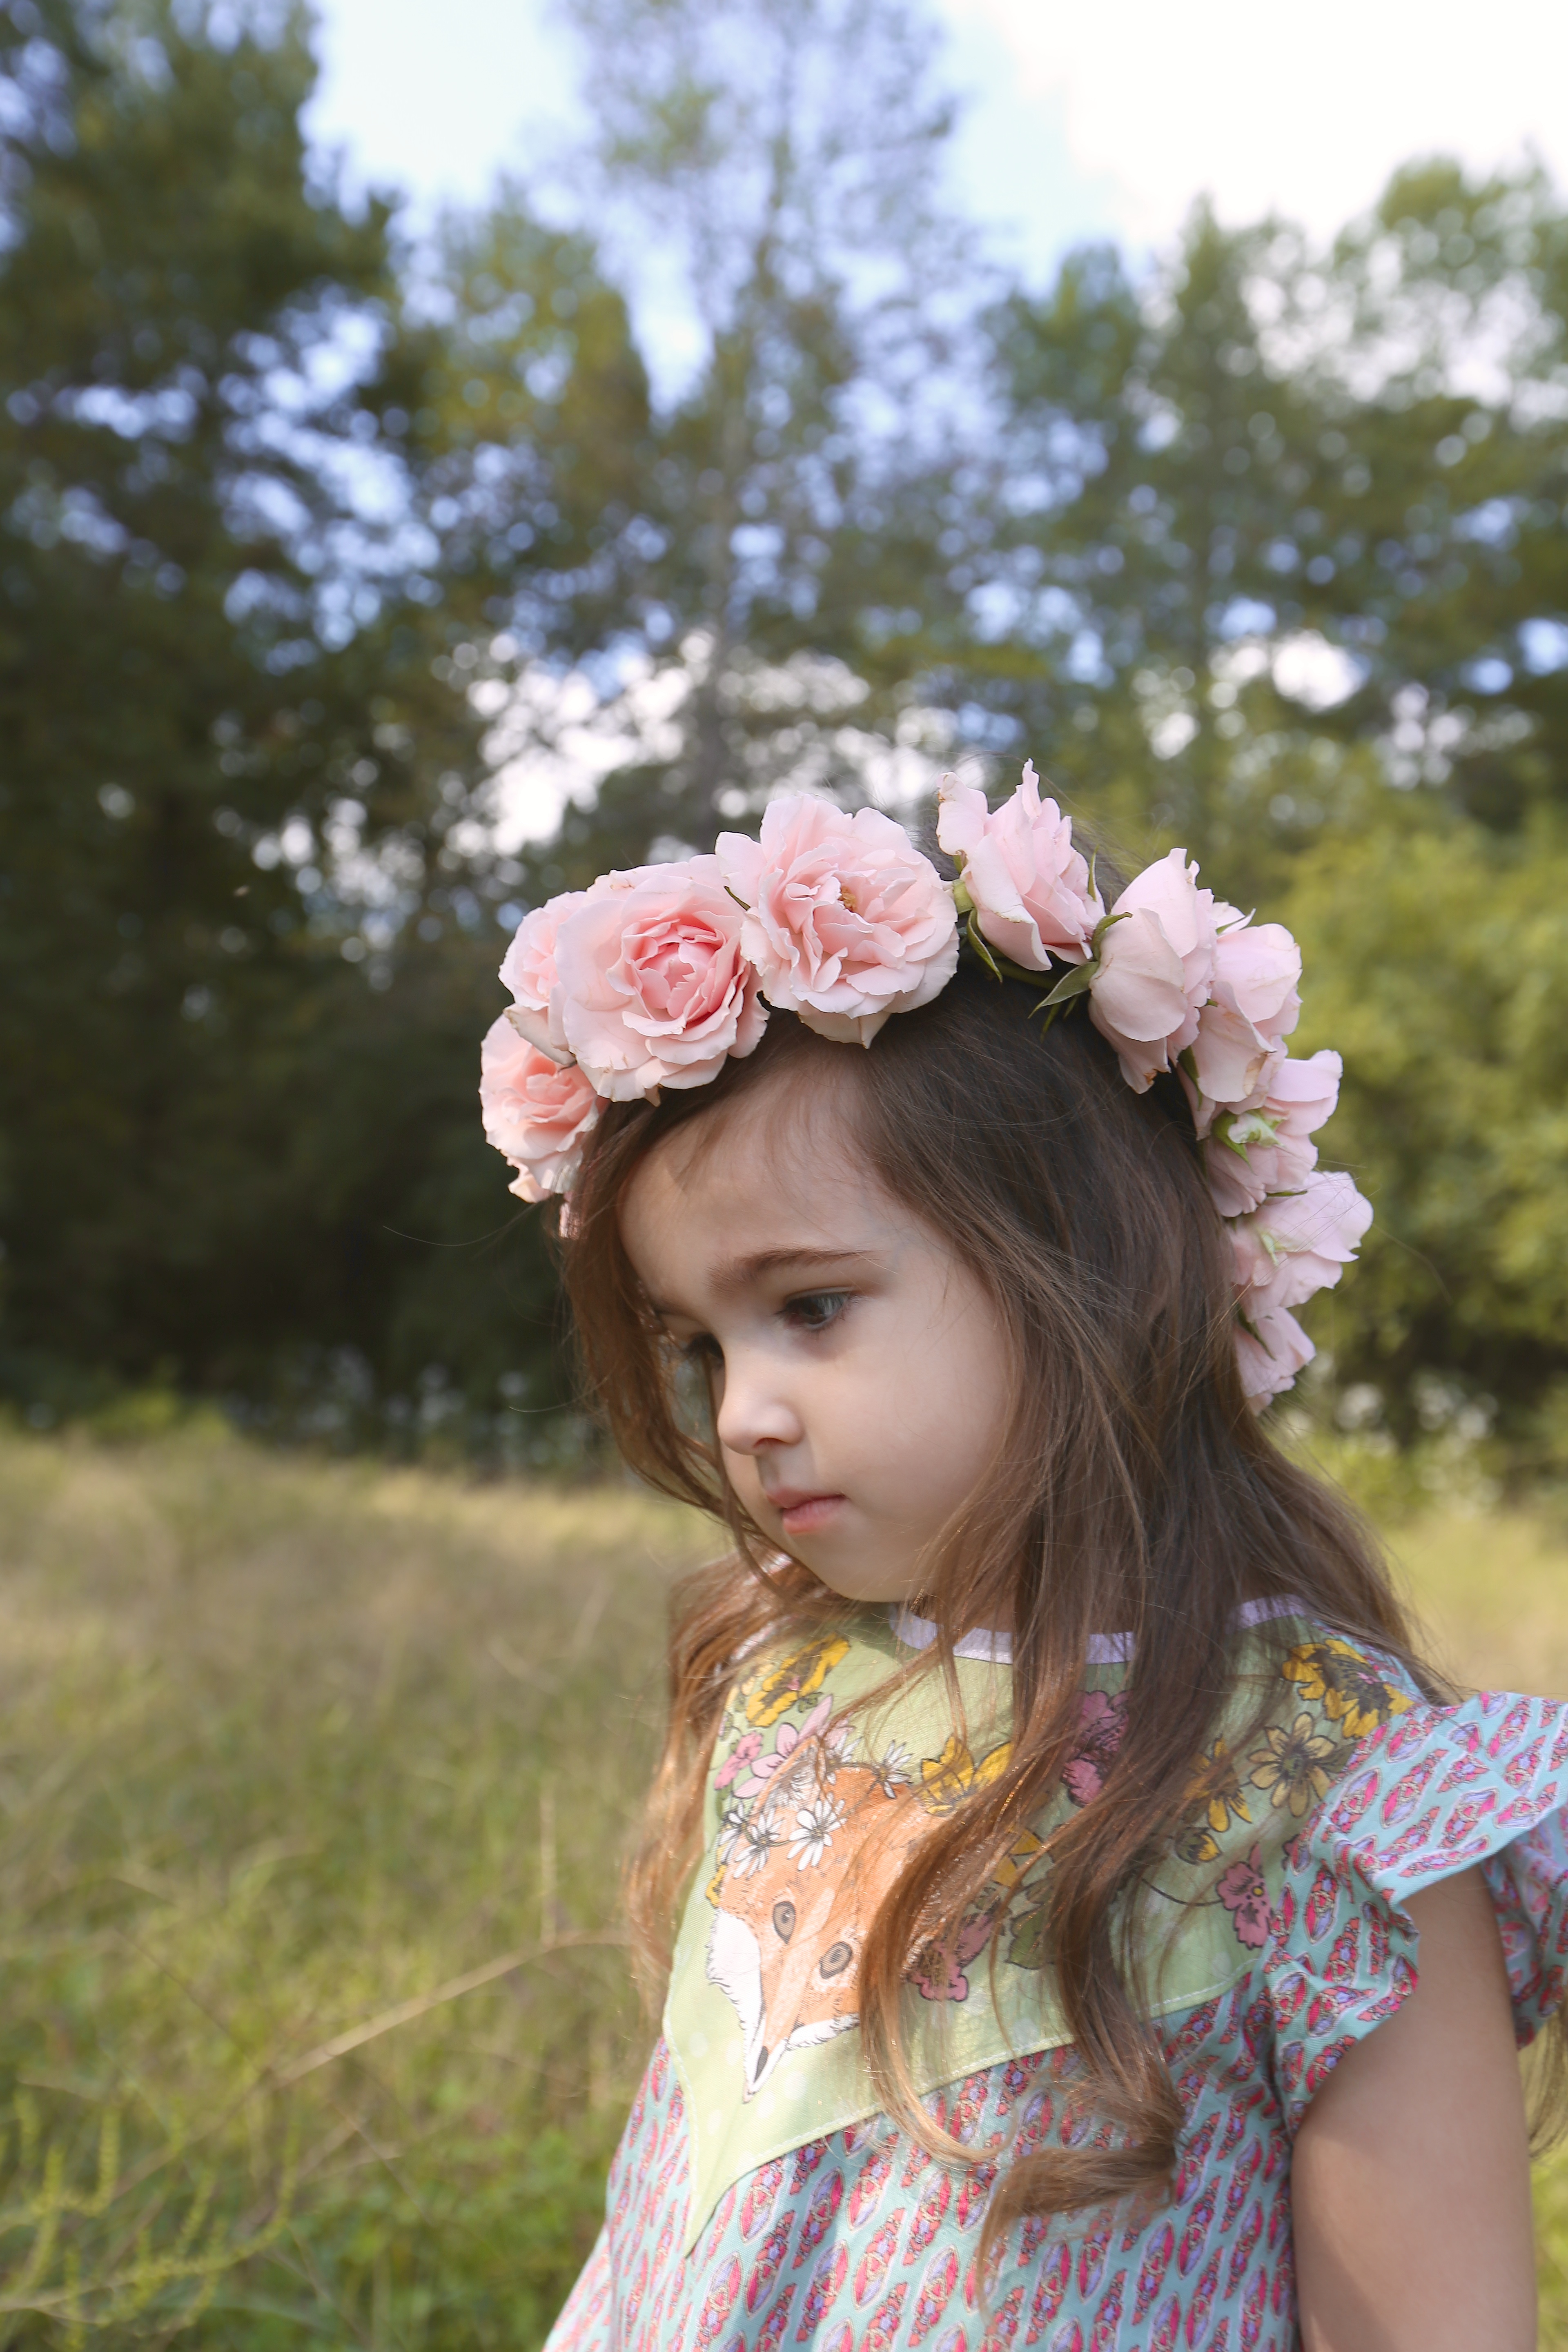
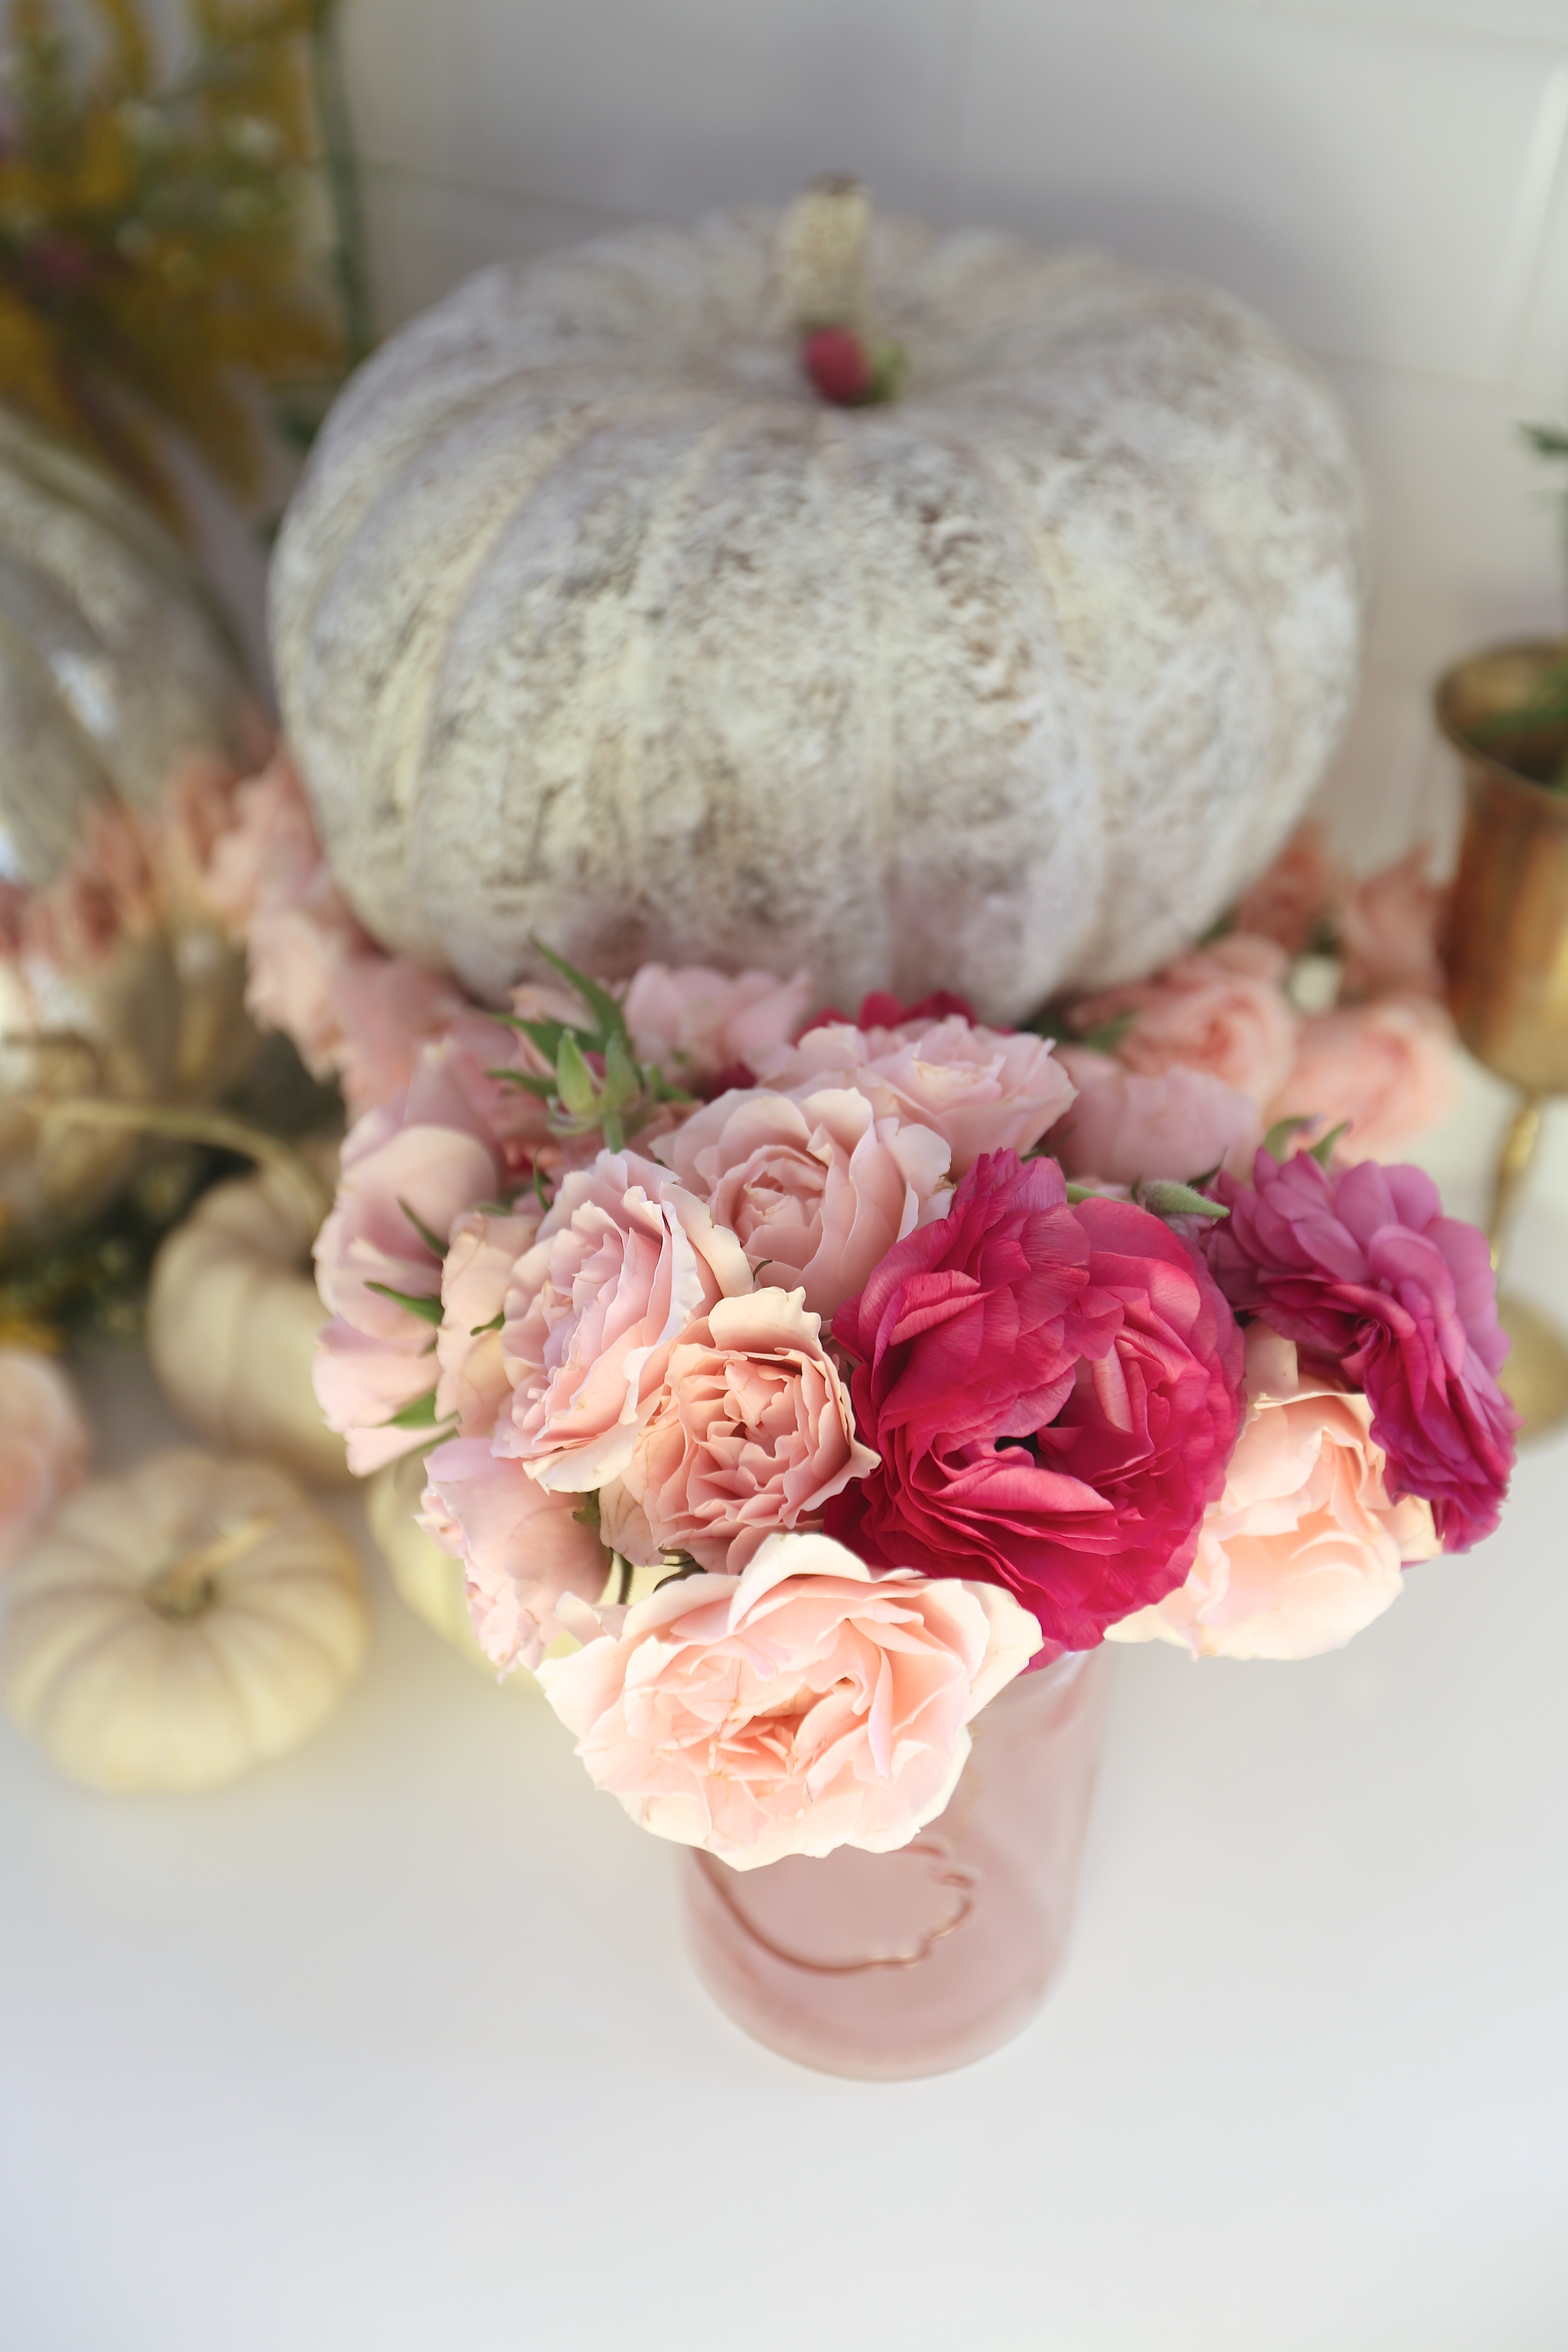
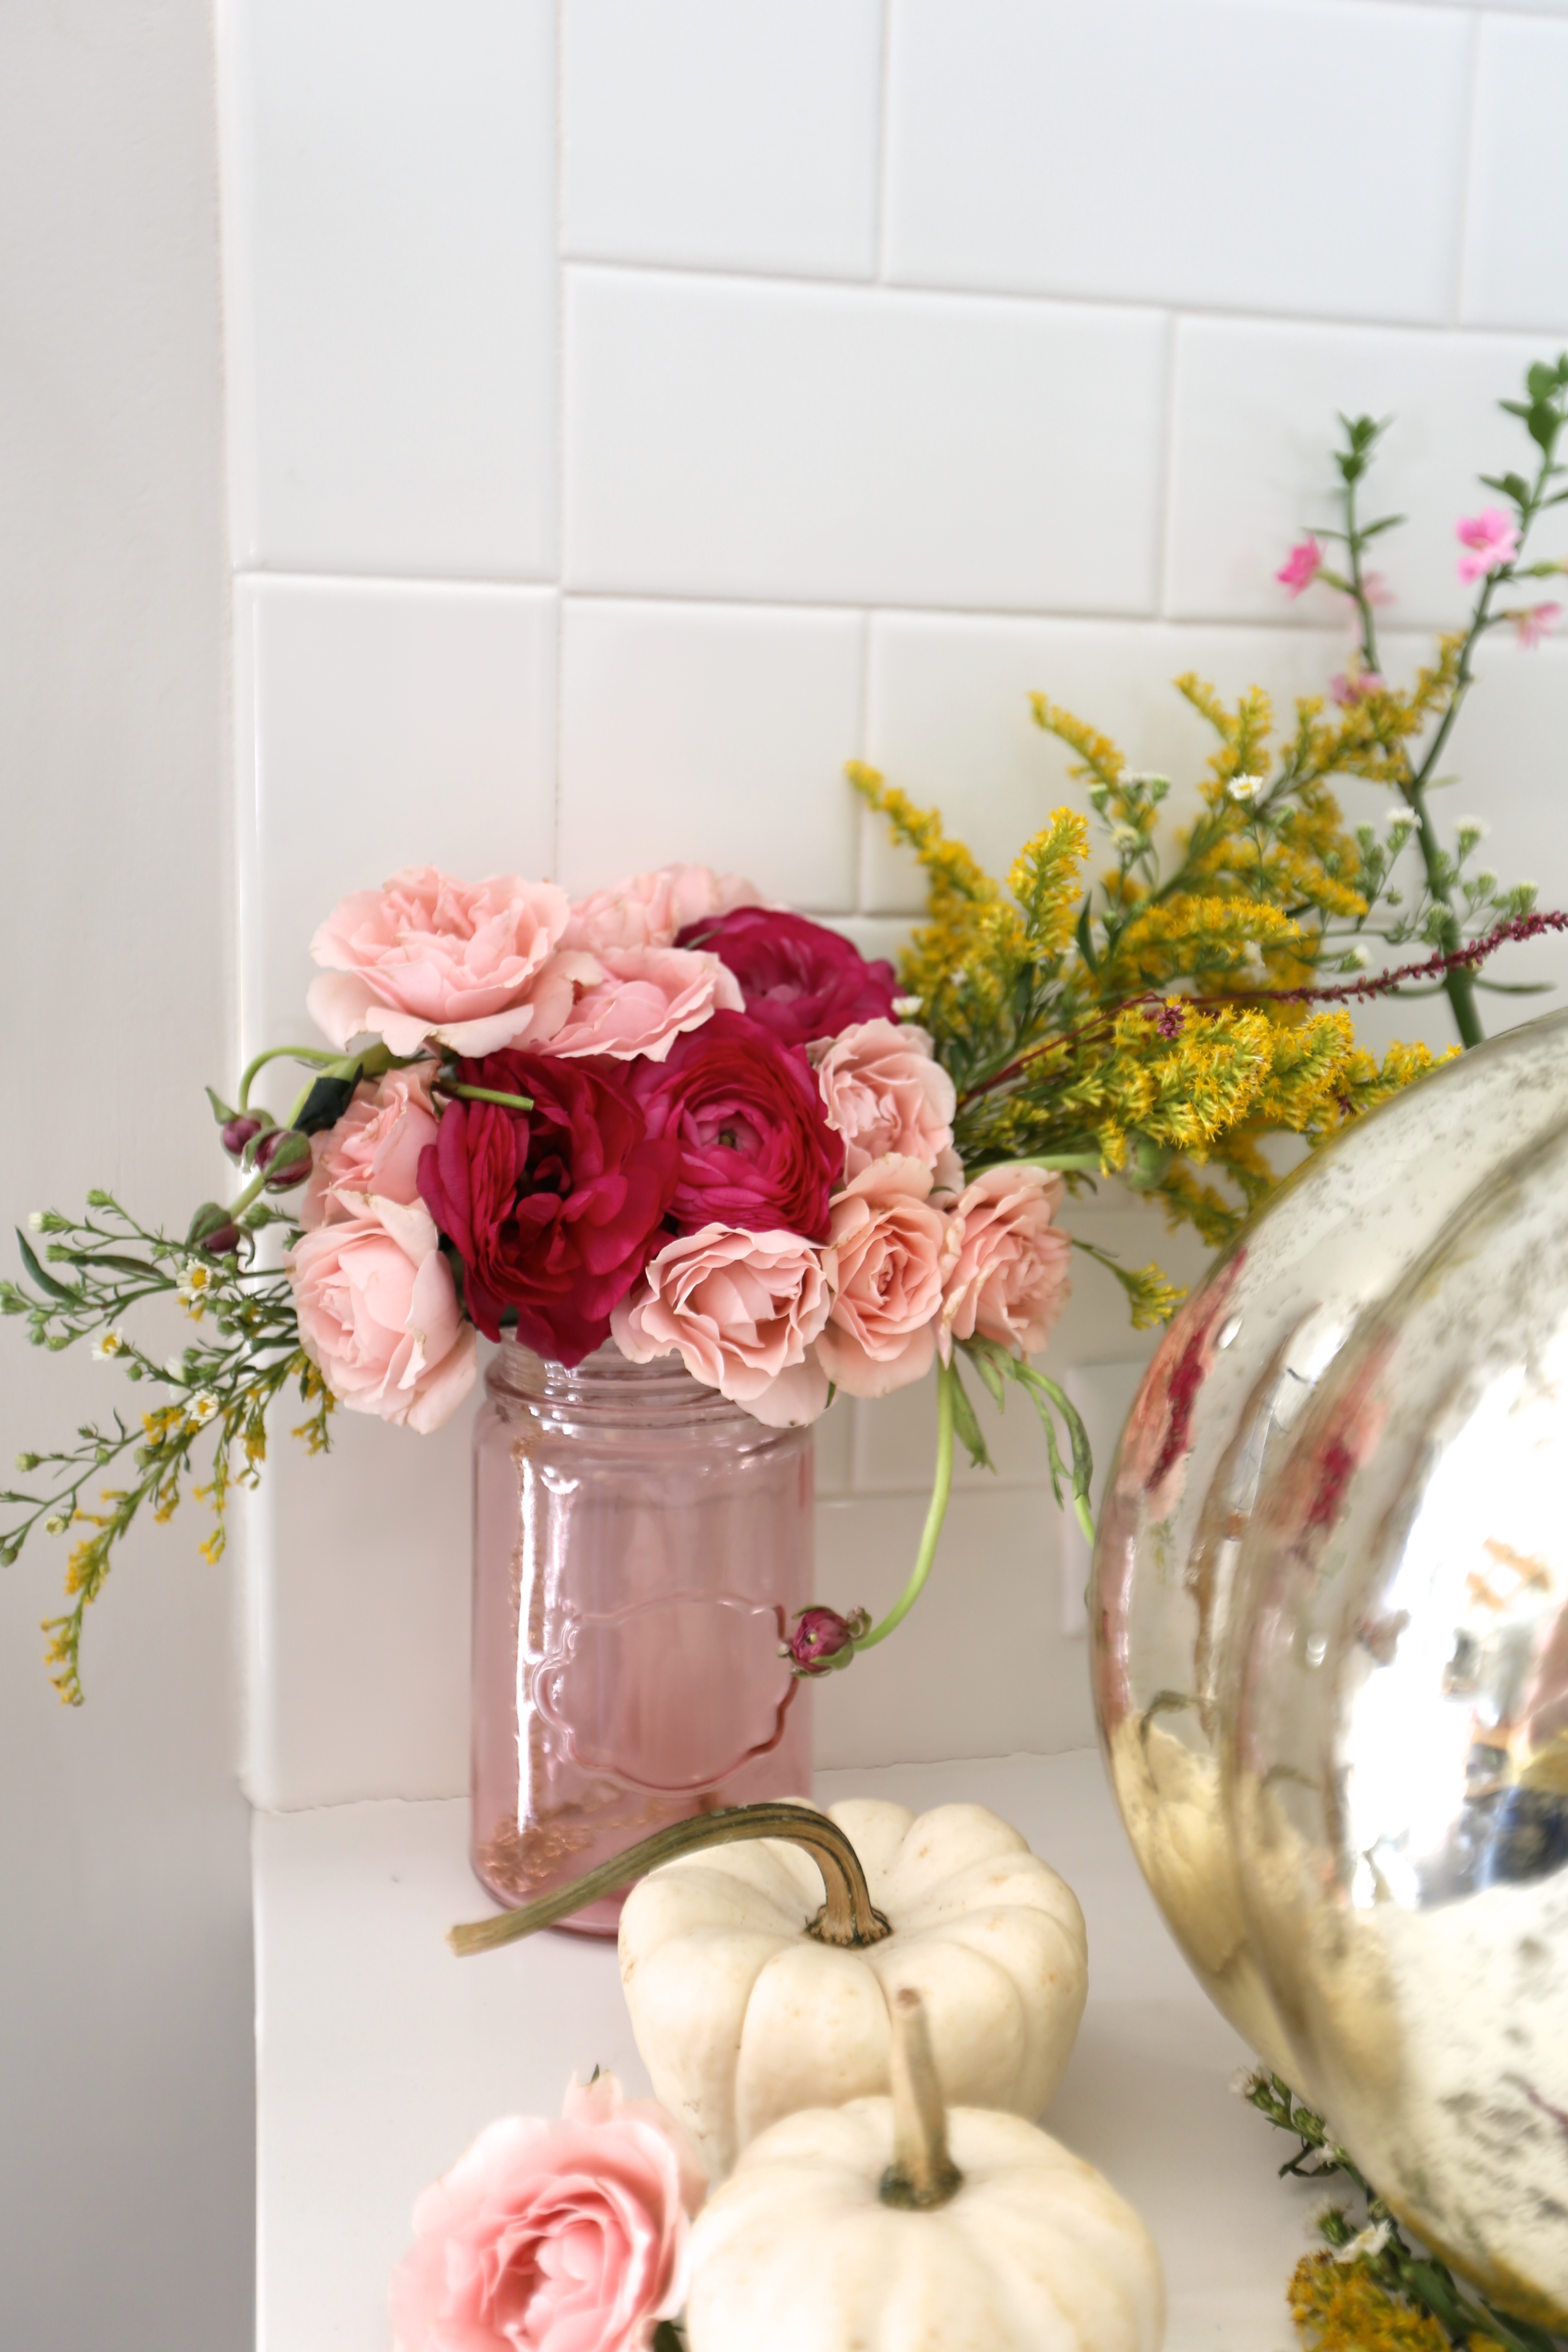
Once the girls had worn their flower crowns for, oh, about five minutes they were over them (sad), but I didn’t want to waste the fleeting, living flowers. So I did a mini-update to our fall decor and gave it a girly spin. (Ryan wasn’t too impressed, haha!) The girl-o-ween display only lasted a few days before the buds wilted, but it was fun while it lasted! ;)